
Halloween Rice Krispies Treats
This post may contain affiliate links, read our disclosure policy.
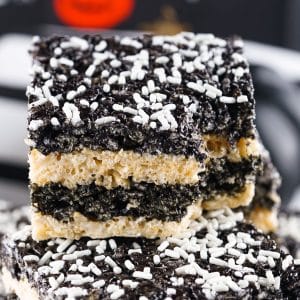
These Halloween Rice Krispie treats give the classic party dessert a fun Halloween makeover. They have the same buttery marshmallow taste and perfect chewy texture that everyone knows and loves, with a bold layered look that makes them a perfect choice for Halloween.
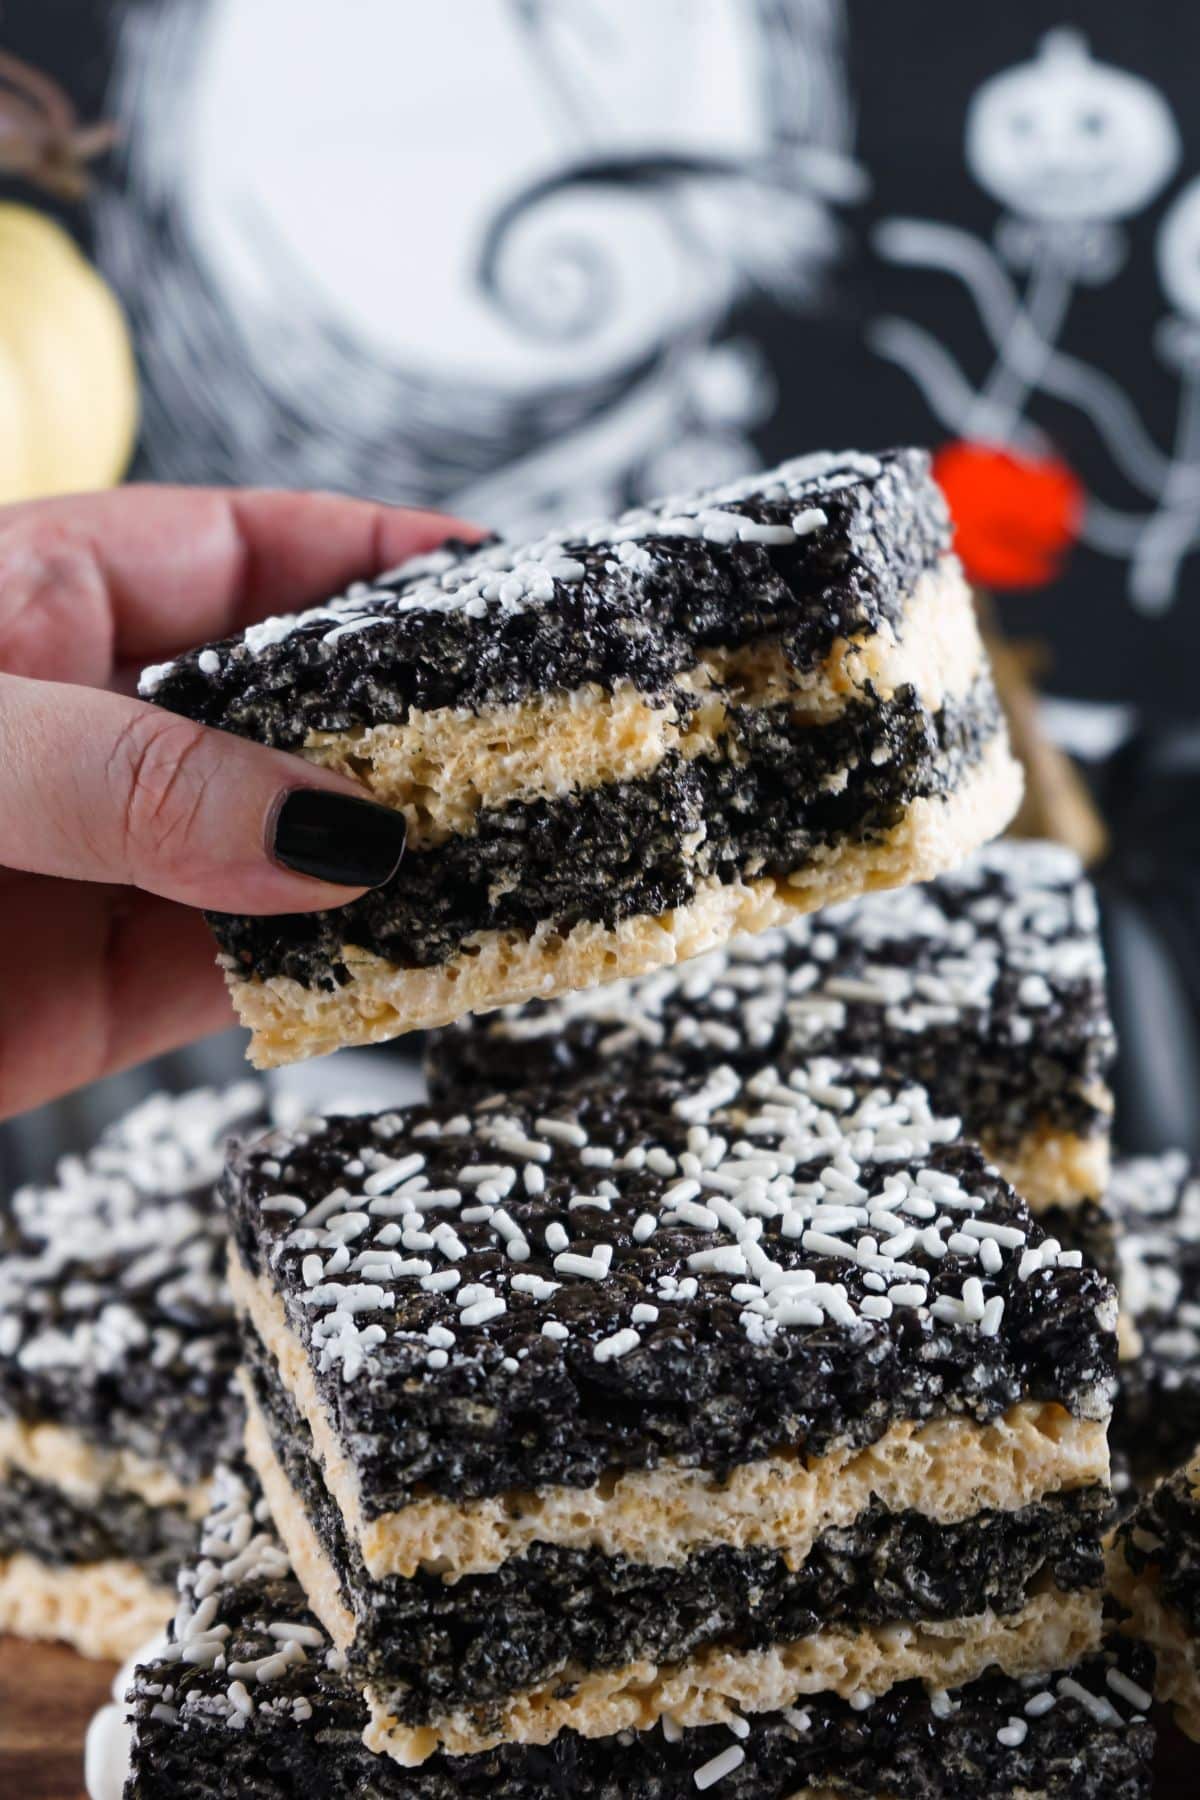
The fun black and white layers of these Halloween Rice Krispie treats will make them a showstopper at any Halloween party. Black and white gel food dye give the marshmallow mixture its fun and vibrant colors, and the treats are pressed into the pan in four different layers, giving them a fun striped appearance. With a look that’s bold and whimsical, these treats will look like they came from a fancy bakery, but they’re quite simple to make. Give this fun and easy recipe a try when you need an impressive-looking treat with a delicious familiar taste that everyone will love.
💗 Why We Love This Recipe
- Everyone loves the classic and delicious combination of gooey marshmallow and crispy rice cereal, making this recipe a sure crowd pleaser.
- Its striking color scheme and fun layered look make this an eye-catching treat that’s sure to get plenty of attention at your Halloween party.
- With just a few simple ingredients, it’s a great inexpensive treat that can easily feed a crowd.
- It’s a versatile recipe that can be adapted for all kinds of occasions just by changing the colors and decorations.
Recommended Tools
- Cake pan (9×13)
- Mixing bowl
- Measuring cups
- Measuring spoons
- Cooking spray
🛒 Ingredients
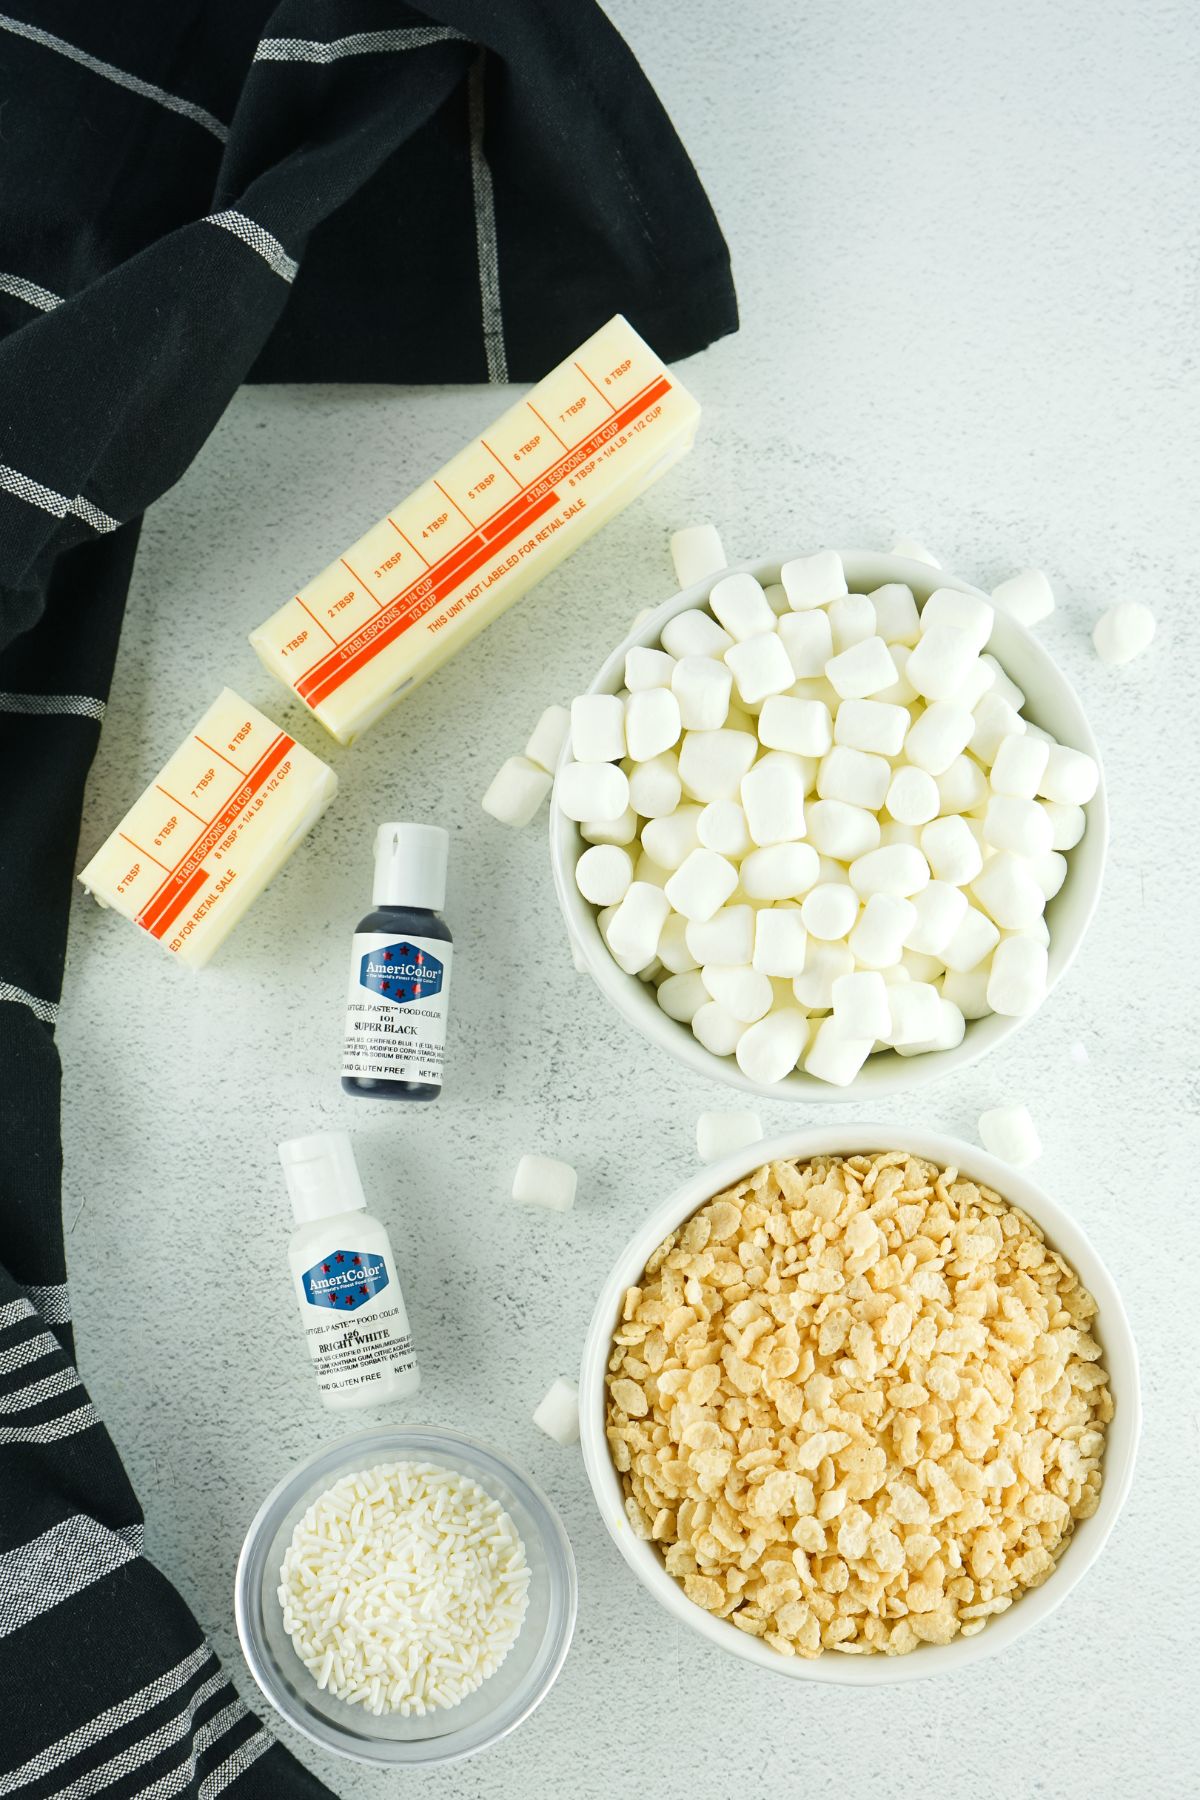
- Mini marshmallows
- Rice cereal
- Unsalted butter
- Black gel food dye
- White gel food dye
- Yellow gel food dye (optional)
- White sprinkles
🥄 Instructions
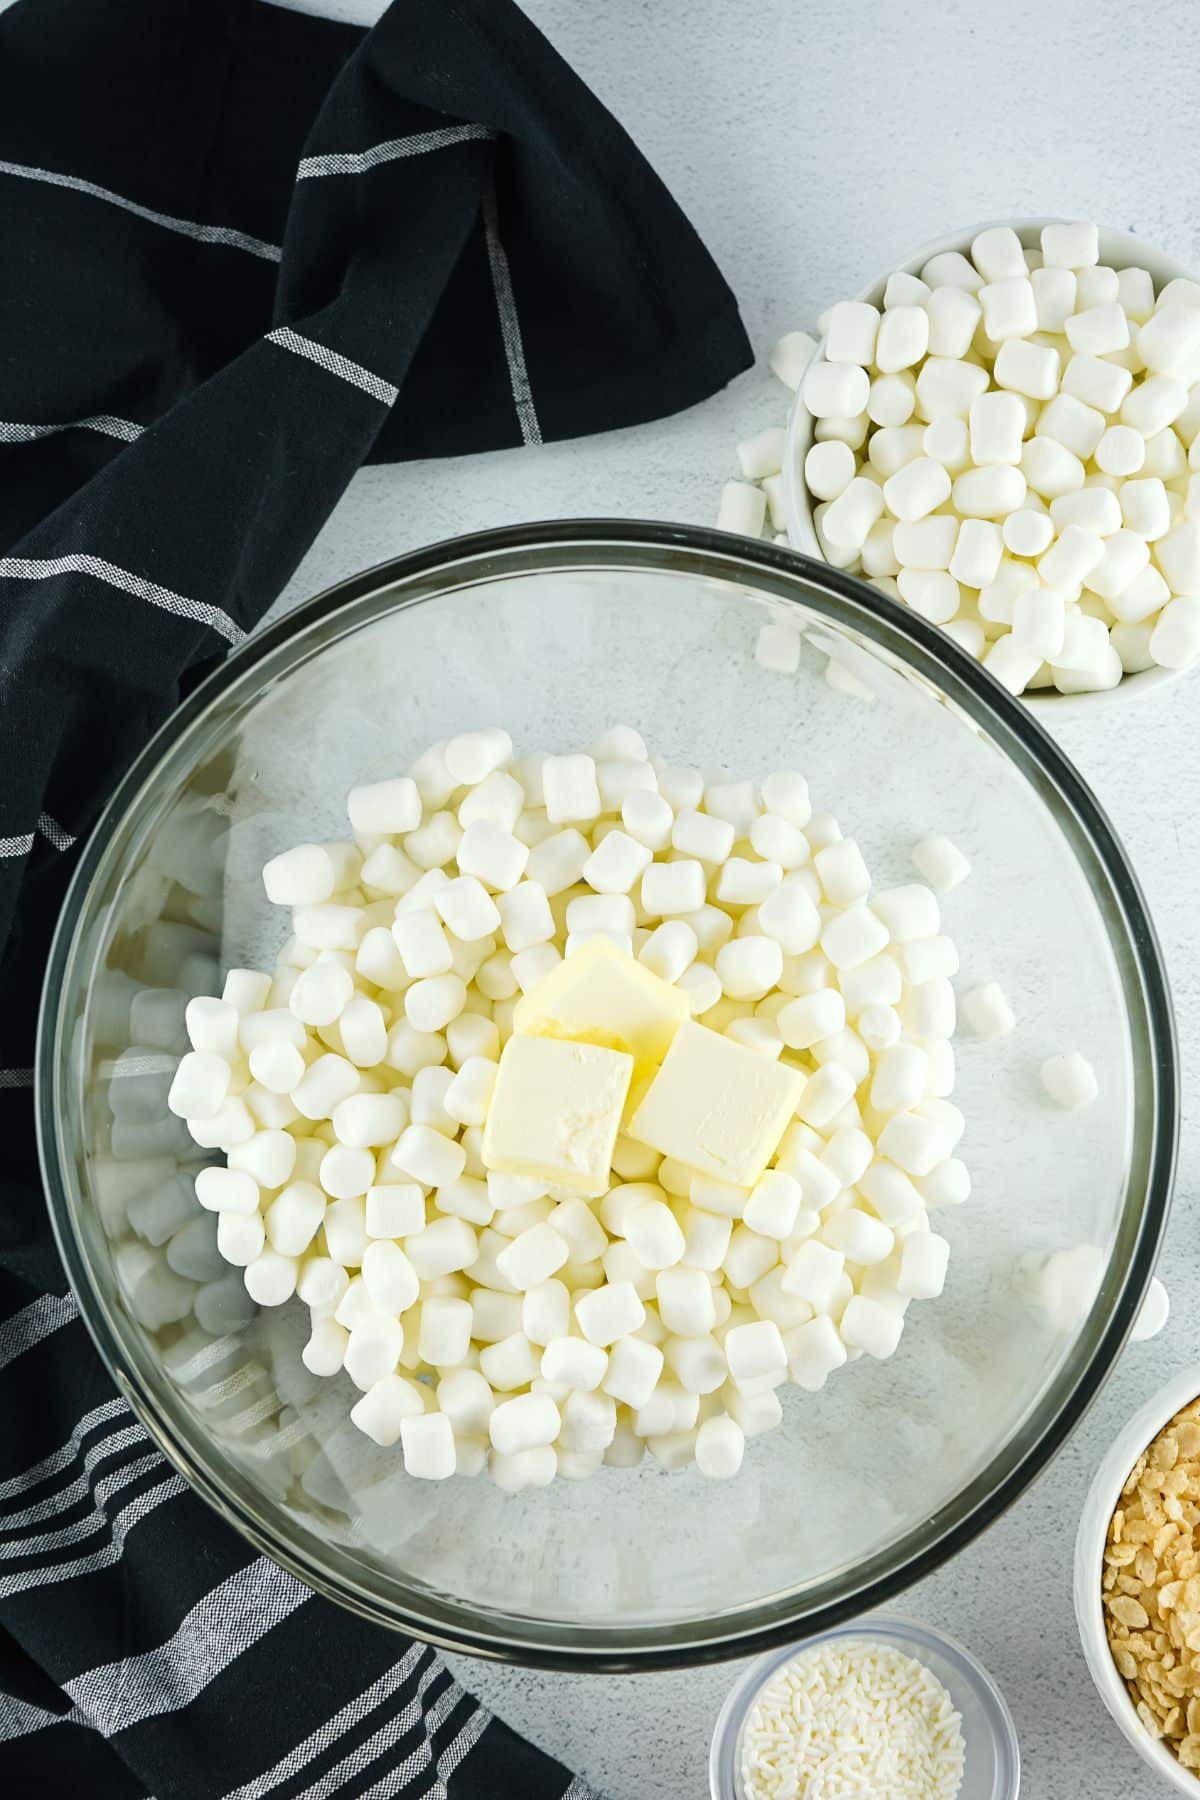
Step One: Melt Marshmallows
- Spray the cake pan with nonstick cooking spray and set it aside.
- Add 5 cups marshmallows and 3 tablespoons butter to a large mixing bowl.
- Cook for 2 minutes or until the marshmallows have swollen and the butter is mostly melted. Mix well.
- Add about ¼ teaspoon of white gel food dye and mix well. (This will give the mixture a brighter color and help offset the yellowish shade from the butter.)
Step Two: Make First Layer
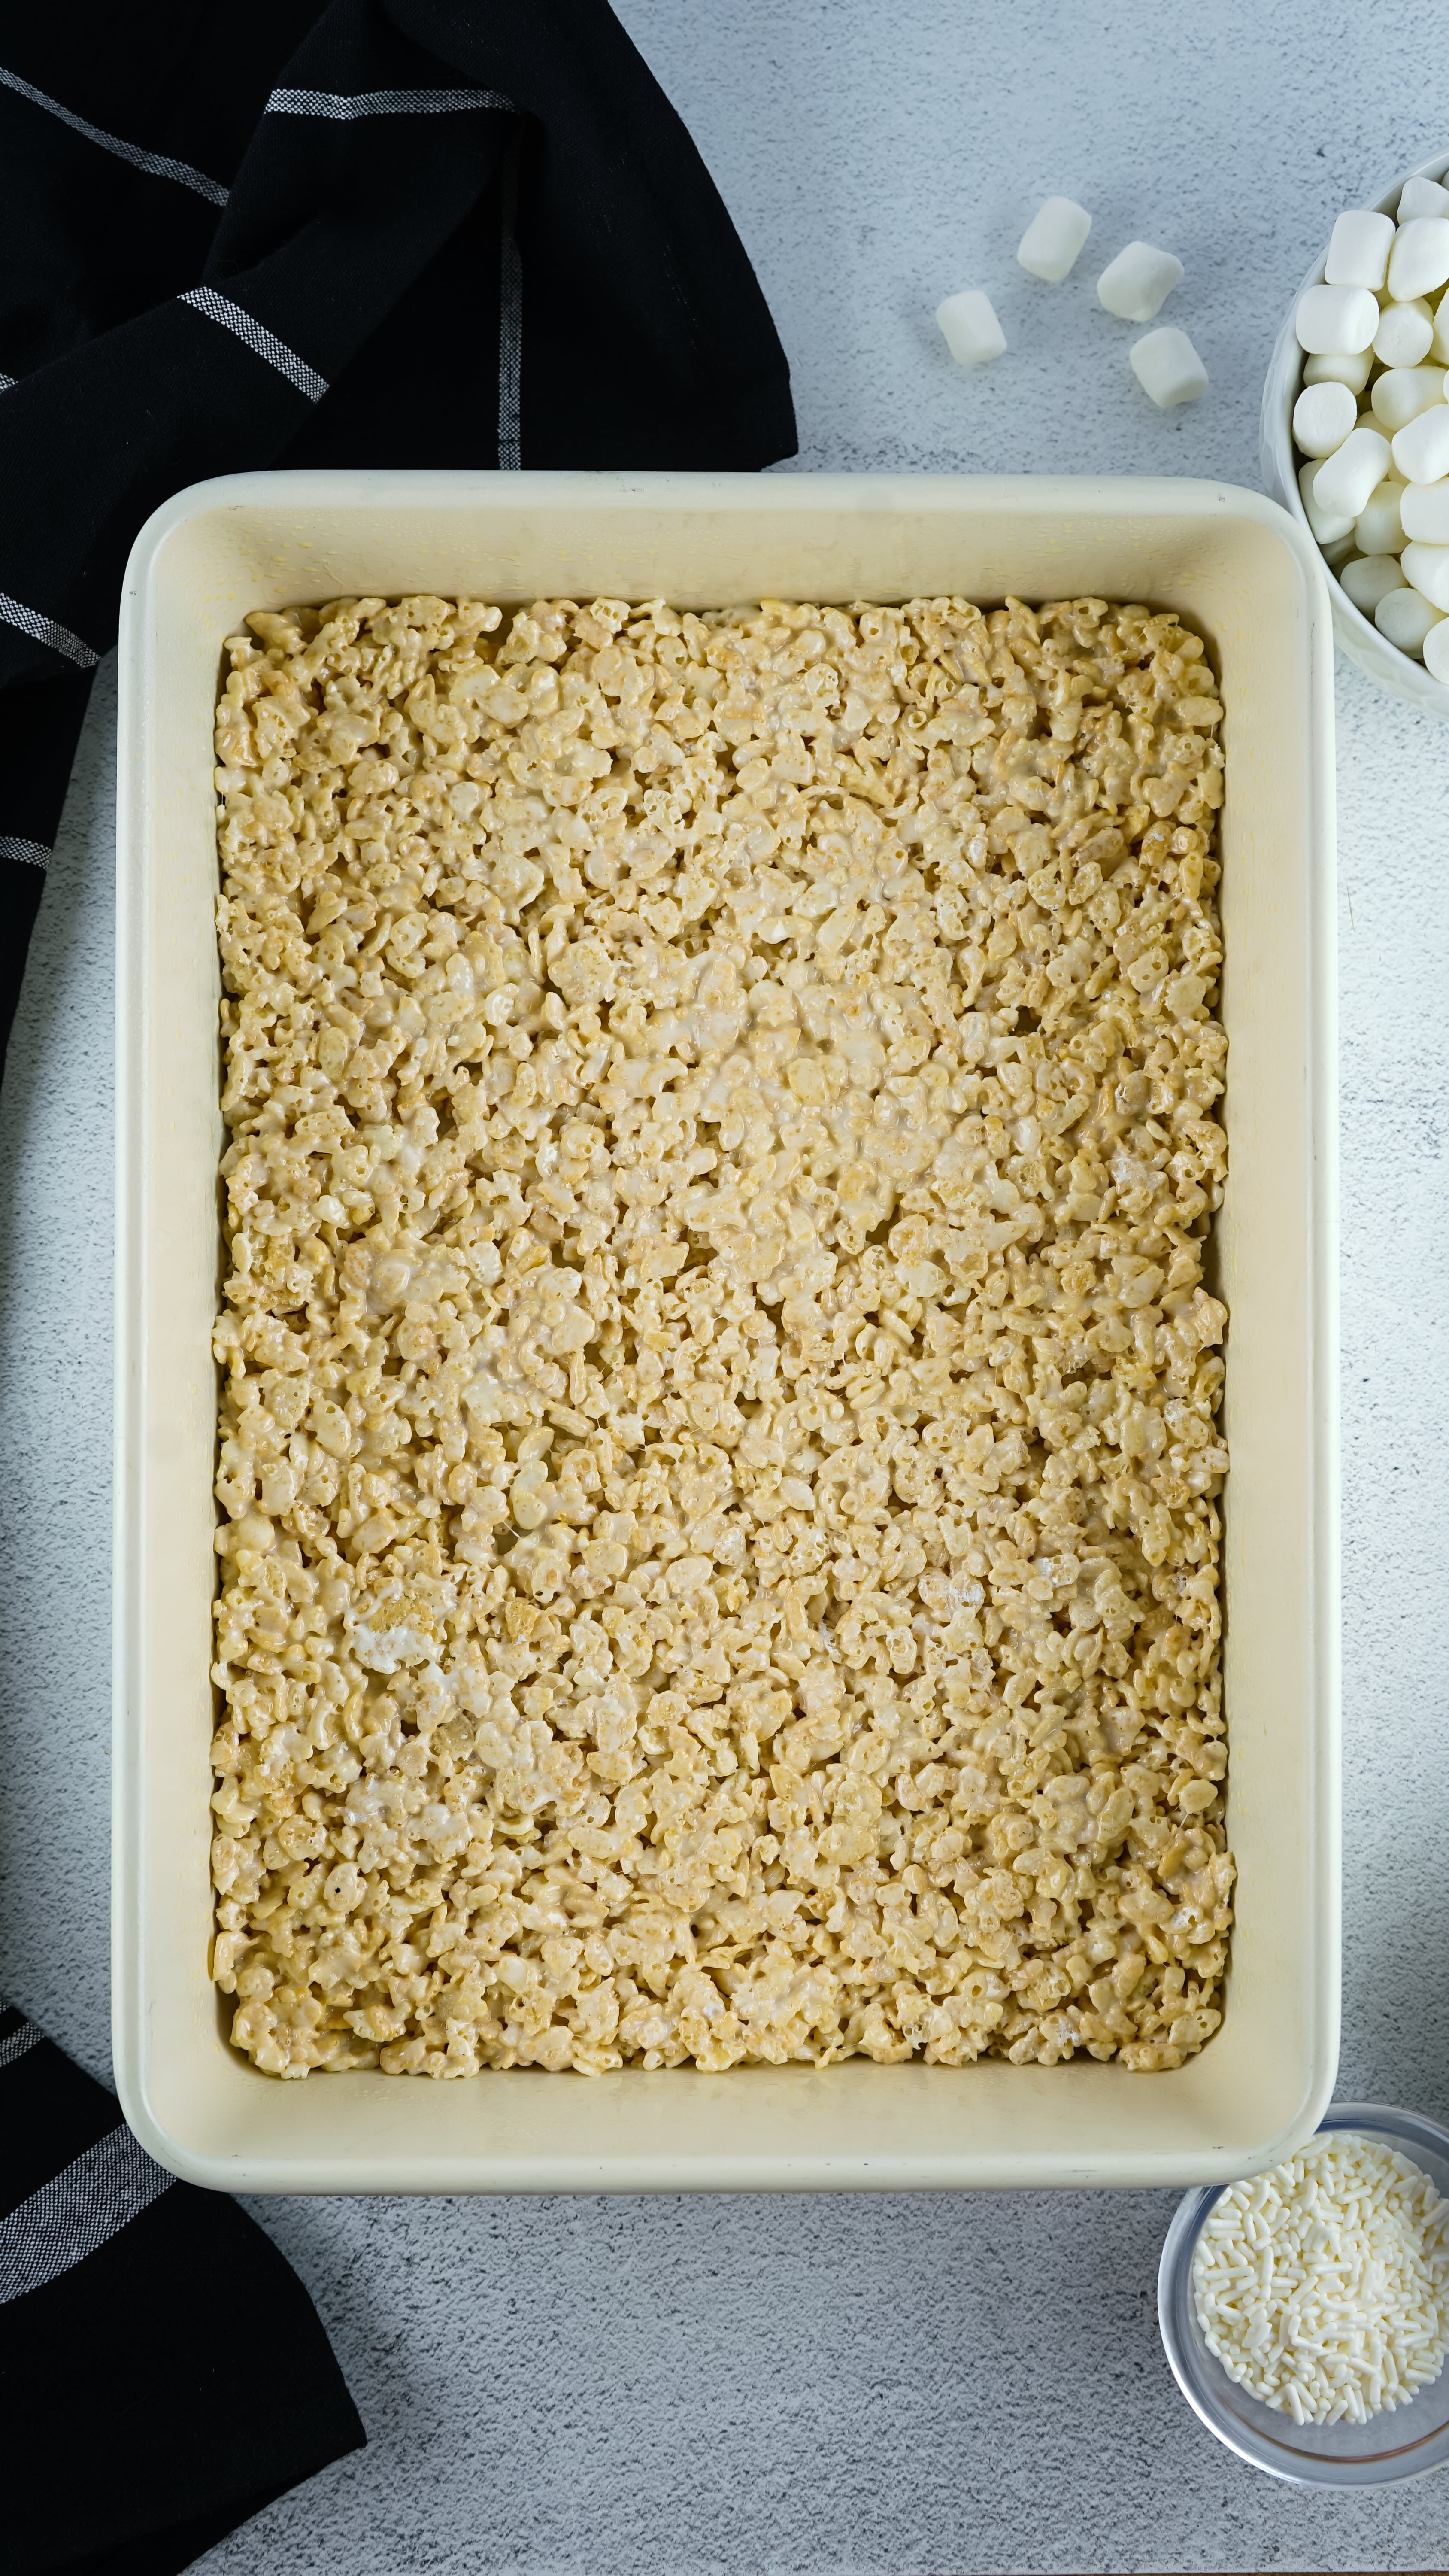
- Add 4 cups of rice cereal to the marshmallow mixture and stir until all the cereal is coated well.
- Place the mixture in the pan and spread it in an even layer that covers the entire bottom of the pan. Using your hand or a flat bottom measuring cup, press the layer into the pan.
Step Three: Make Remaining Layers and Decorate
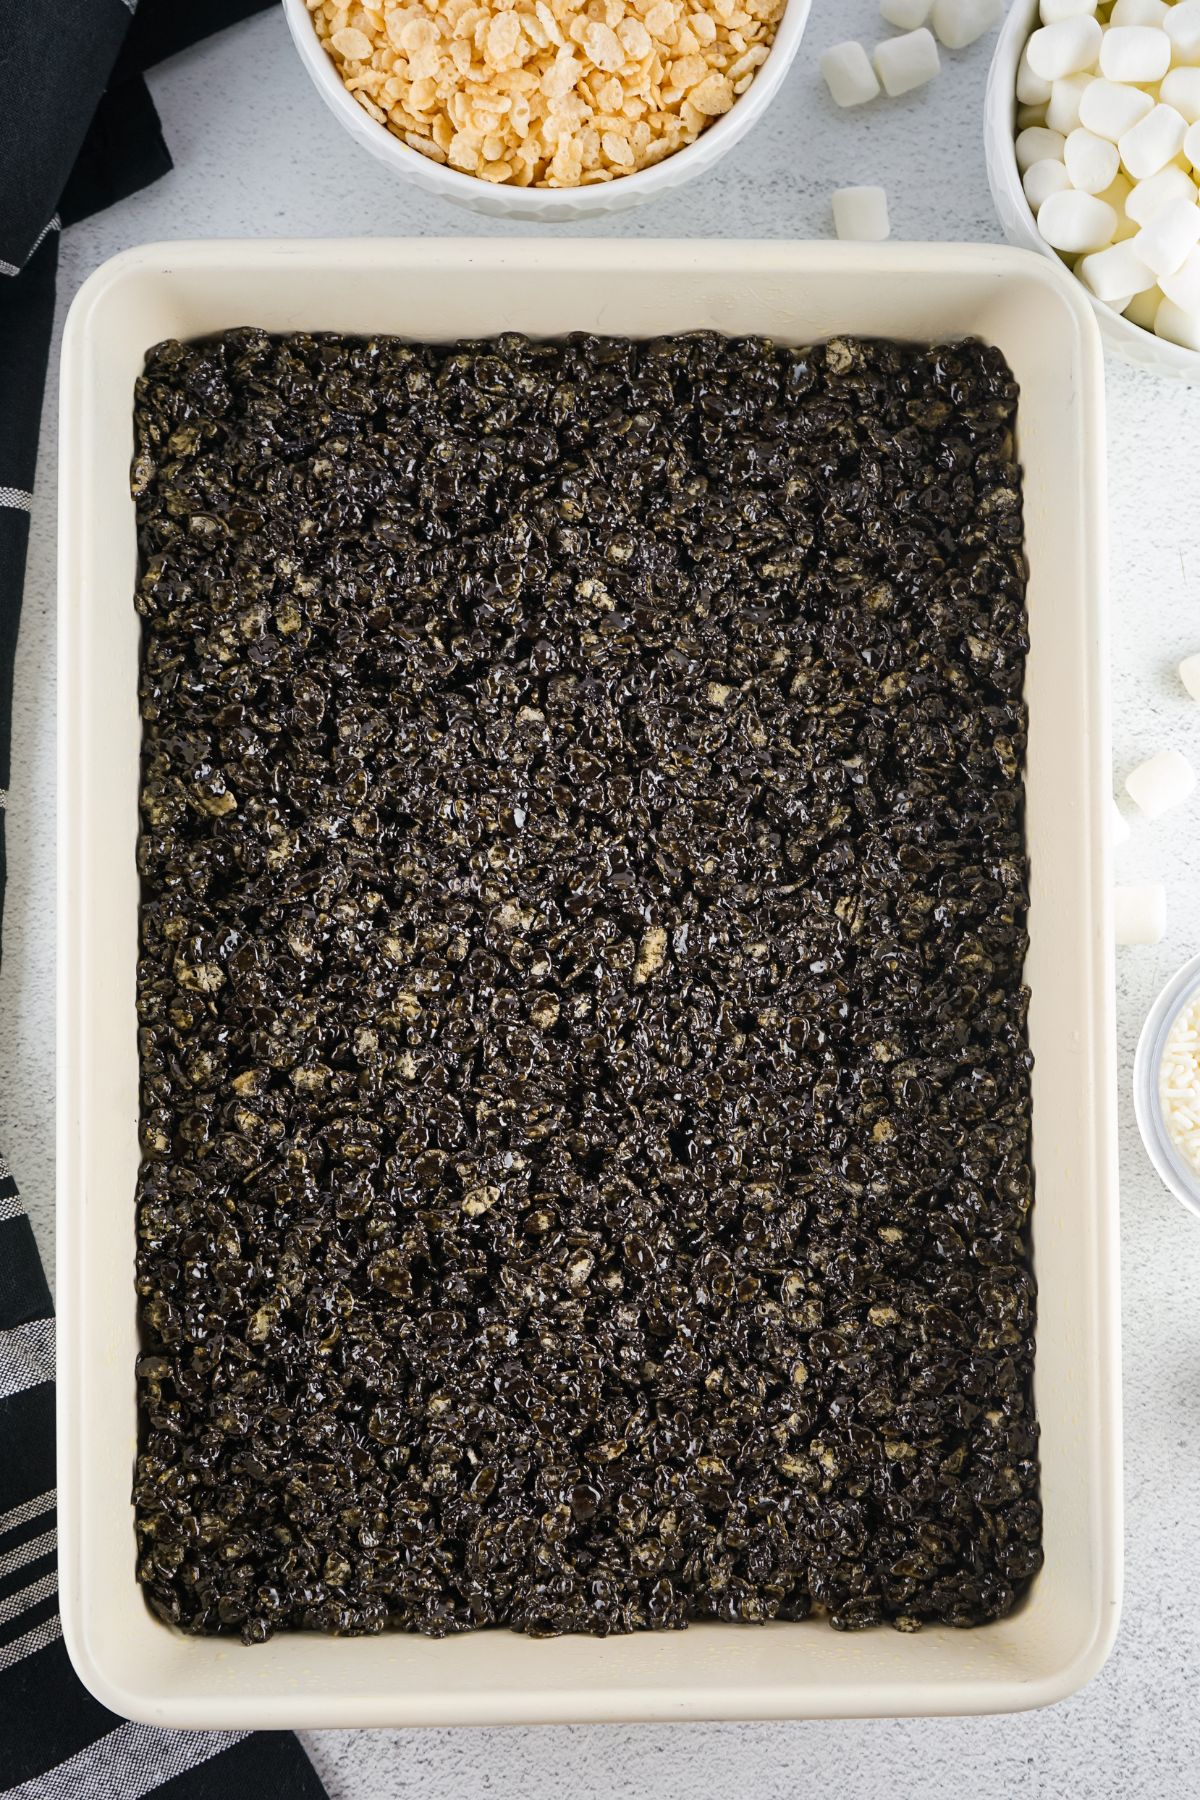
- Repeat the process for the next layer but use black food dye instead of white. Note: If your black dye has more of a dark purple look, you can add about 3 drops of yellow food dye to counteract the purple and give it a pure black color.
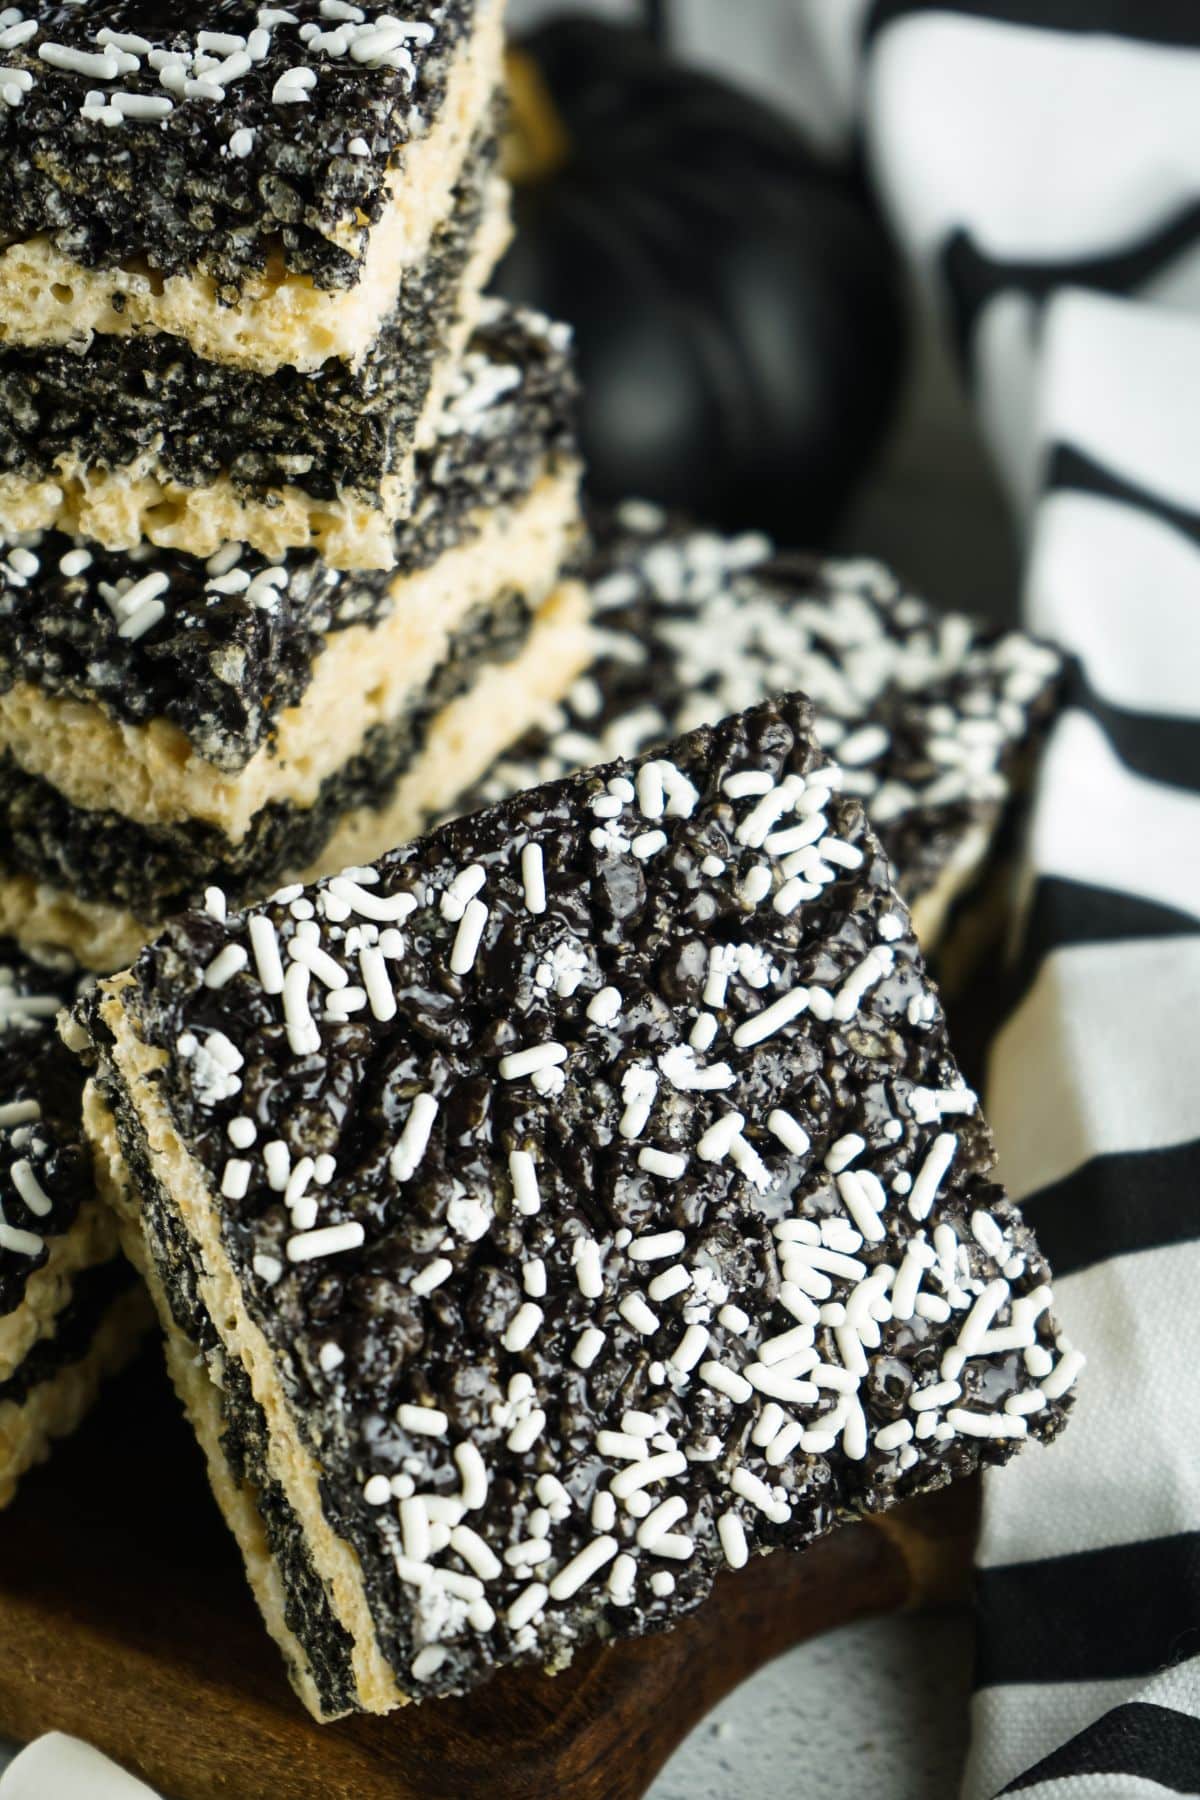
- Repeat again for one more white layer and another black layer, ending with the fourth layer as black.
- Sprinkle the top of the treats with white sprinkles. Cover and allow them to rest for 4 hours or until set.
Tips and Suggestions
- Spray your hands with non-stick cooking spray or place a piece of parchment on top of the treats before touching the layers to press them down. It will help prevent sticking. You can also spray some cooking spray on your knife before you cut the treats.
- For best results, remove the entire tray of treats from the pan before cutting them. If your pan has rounded edges, use a sharp knife to trim off the edges before cutting them into squares. This will help you ensure that each treat is the same size and shape.
- If your marshmallow mix looks a bit too wet, add a bit more cereal before pressing it into the pan. If it’s too dry, melt a bit more marshmallow and butter together and add it into the mix.
- Use orange food dye instead of white, to create black and orange layers for Halloween. You can also use multicolored Halloween sprinkles in orange, green, and purple instead of the white.
- Add a layer of chocolate or white frosting to the tops of the treats before adding the decorations.
- Try making these treats with a different variety of cereal, such as Cheerios, Chex, or Golden Grahams.
Questions
These are a perfect choice for a Halloween party treat, but you can also make them as a delicious dessert any time of year. You can change the color of the layers and toppings for other holidays, or simply leave the food coloring out.
Store any leftover treats in an airtight container at room temperature. They’ll taste best if consumed within 4-5 days.
More Krispies Treats Recipes
- Conversation Heart Krispies Treats
- Easter Egg Rice Krispie Treats
- Fourth of July Krispies Pops
- Mummy Krispies Treats
- Pumpkin Spice Krispies Treats
- Reindeer Krispies Treats
- Chocolate Dipped Krispies Popsicles
- Red Velvet Krispies Treats
🎃 More Halloween Recipes
- Nutter Butter Ghosts
- Halloween Bundt Cake
- Spider Cookies
- Witch Hat Cupcakes
- Ghost Cupcakes
- Candy Corn Cookies

Black and White Krispies Treats
Ingredients
- 16 cups rice cereal
- 12 Tablespoons unsalted butter
- black gel food coloring
- white gel food coloring
- yellow gel food coloring optional
- white jimmy sprinkles
Instructions
- Spray the pan with nonstick cooking spray and set aside.
- In a large mixing bowl, add 5 cups marshmallows and 3 tablespoons butter.12 Tablespoons unsalted butter
- Cook for 2 minutes or until the marshmallows have swollen to fill the bowl and the butter is mostly melted.
- Remove the bowl and mix well. Add about ¼ teaspoon white gel food dye. This won’t make the mixture overly white, but it will definitely make it a little whiter and help offset the offwhite look. Mix well.white gel food coloring
- Add 4 cups rice cereal and mix until all the cereal is coated well.16 cups rice cereal
- Place the mixture in the pan and spread even until it makes a layer that covers the entire bottom of the pan. Using your hand or a flat bottom measuring cup, press the layer flat so it’s nice and tight.
- Repeat steps 2-5 for the next layer but do it in black. If your black dye gives off a dark purple look rather than full black, add 3 drops or so of yellow food dye to make it pitch black.black gel food coloring, yellow gel food coloring
- Repeat steps 2-5 for another white layer and another black layer, ending with the fourth layer as black.
- Sprinkle the top with white jimmy sprinkles. Cover and let rest for 2-4 hours or until set and able to be cut.white jimmy sprinkles
Nutrition
Did You Make This Recipe?
Don’t forget to share it with me on @thebalancingmom and follow on Tiktok @balancingmotherhood and Pinterest @thebalancingmom for more!


