
Mummy Krispies Treats
This post may contain affiliate links, read our disclosure policy.

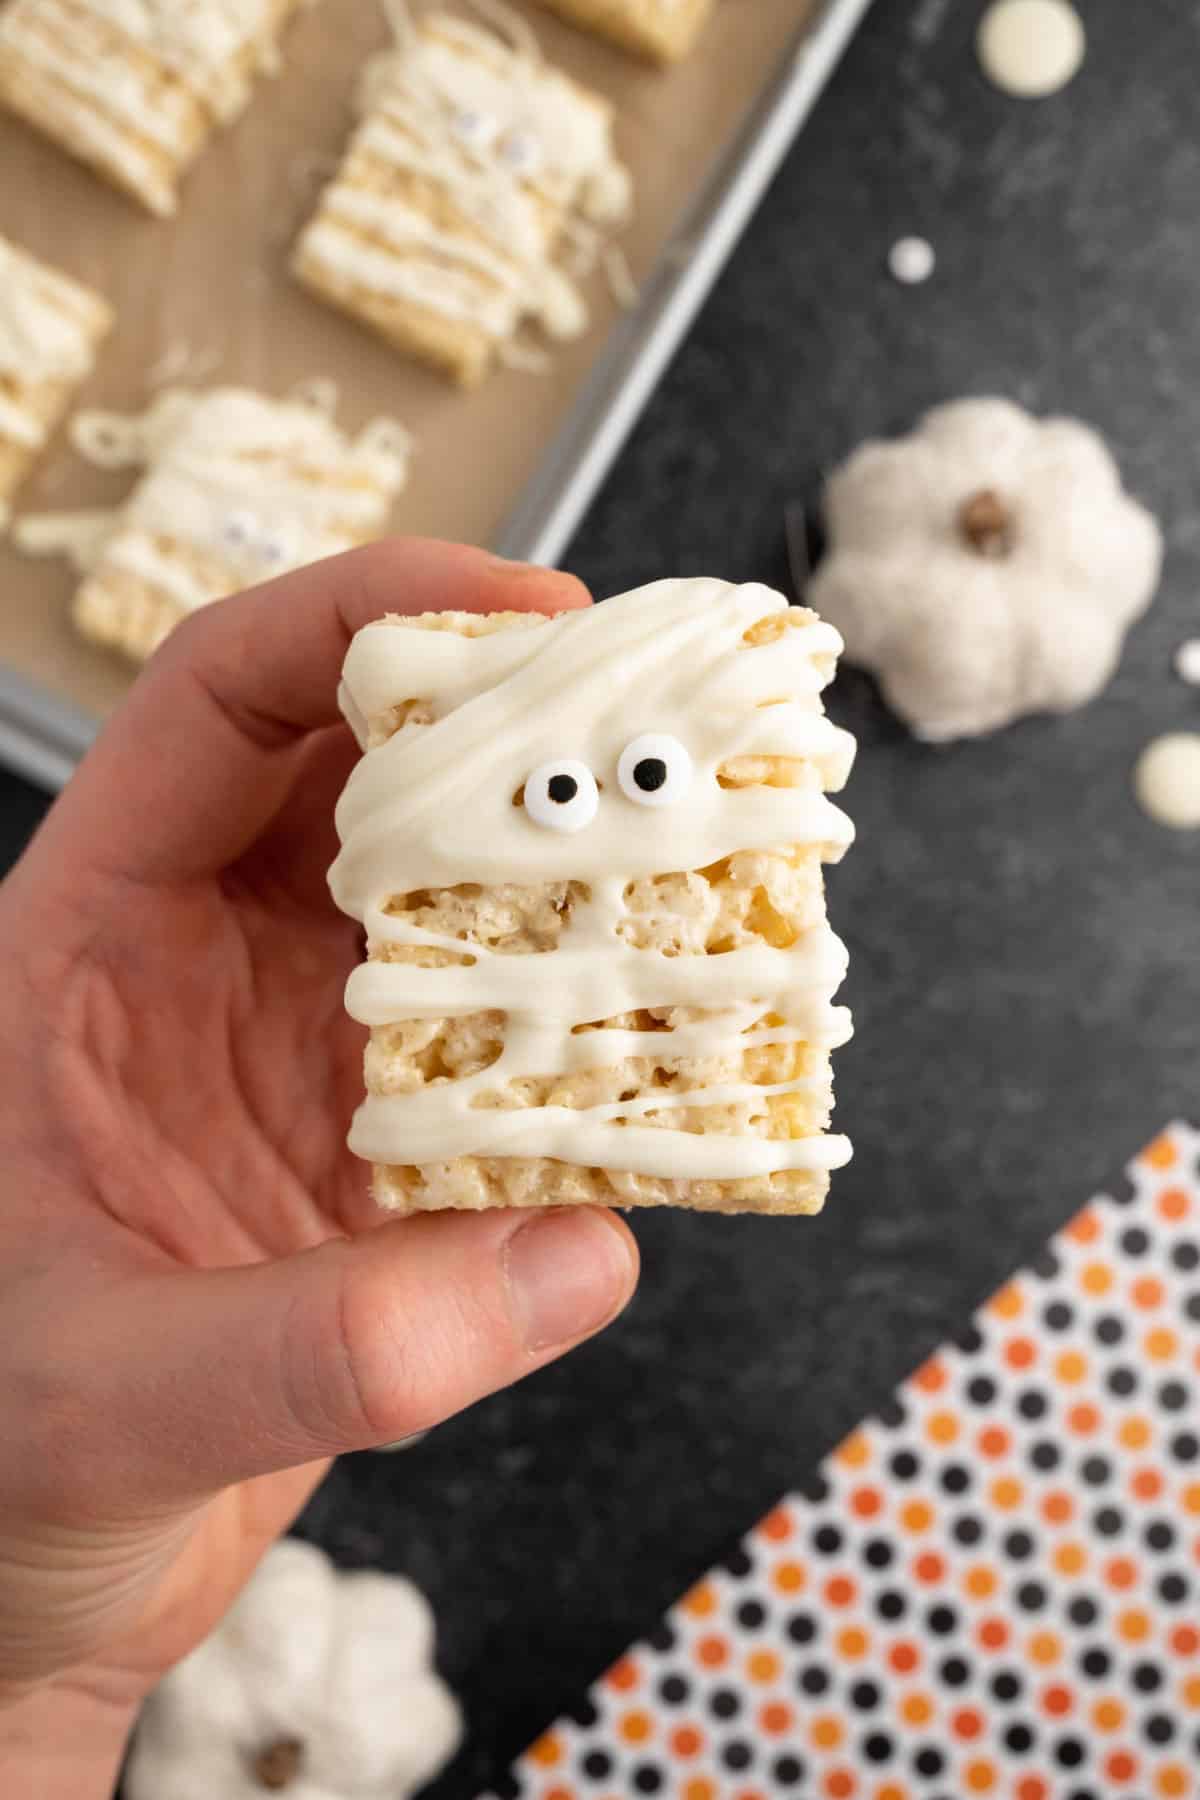
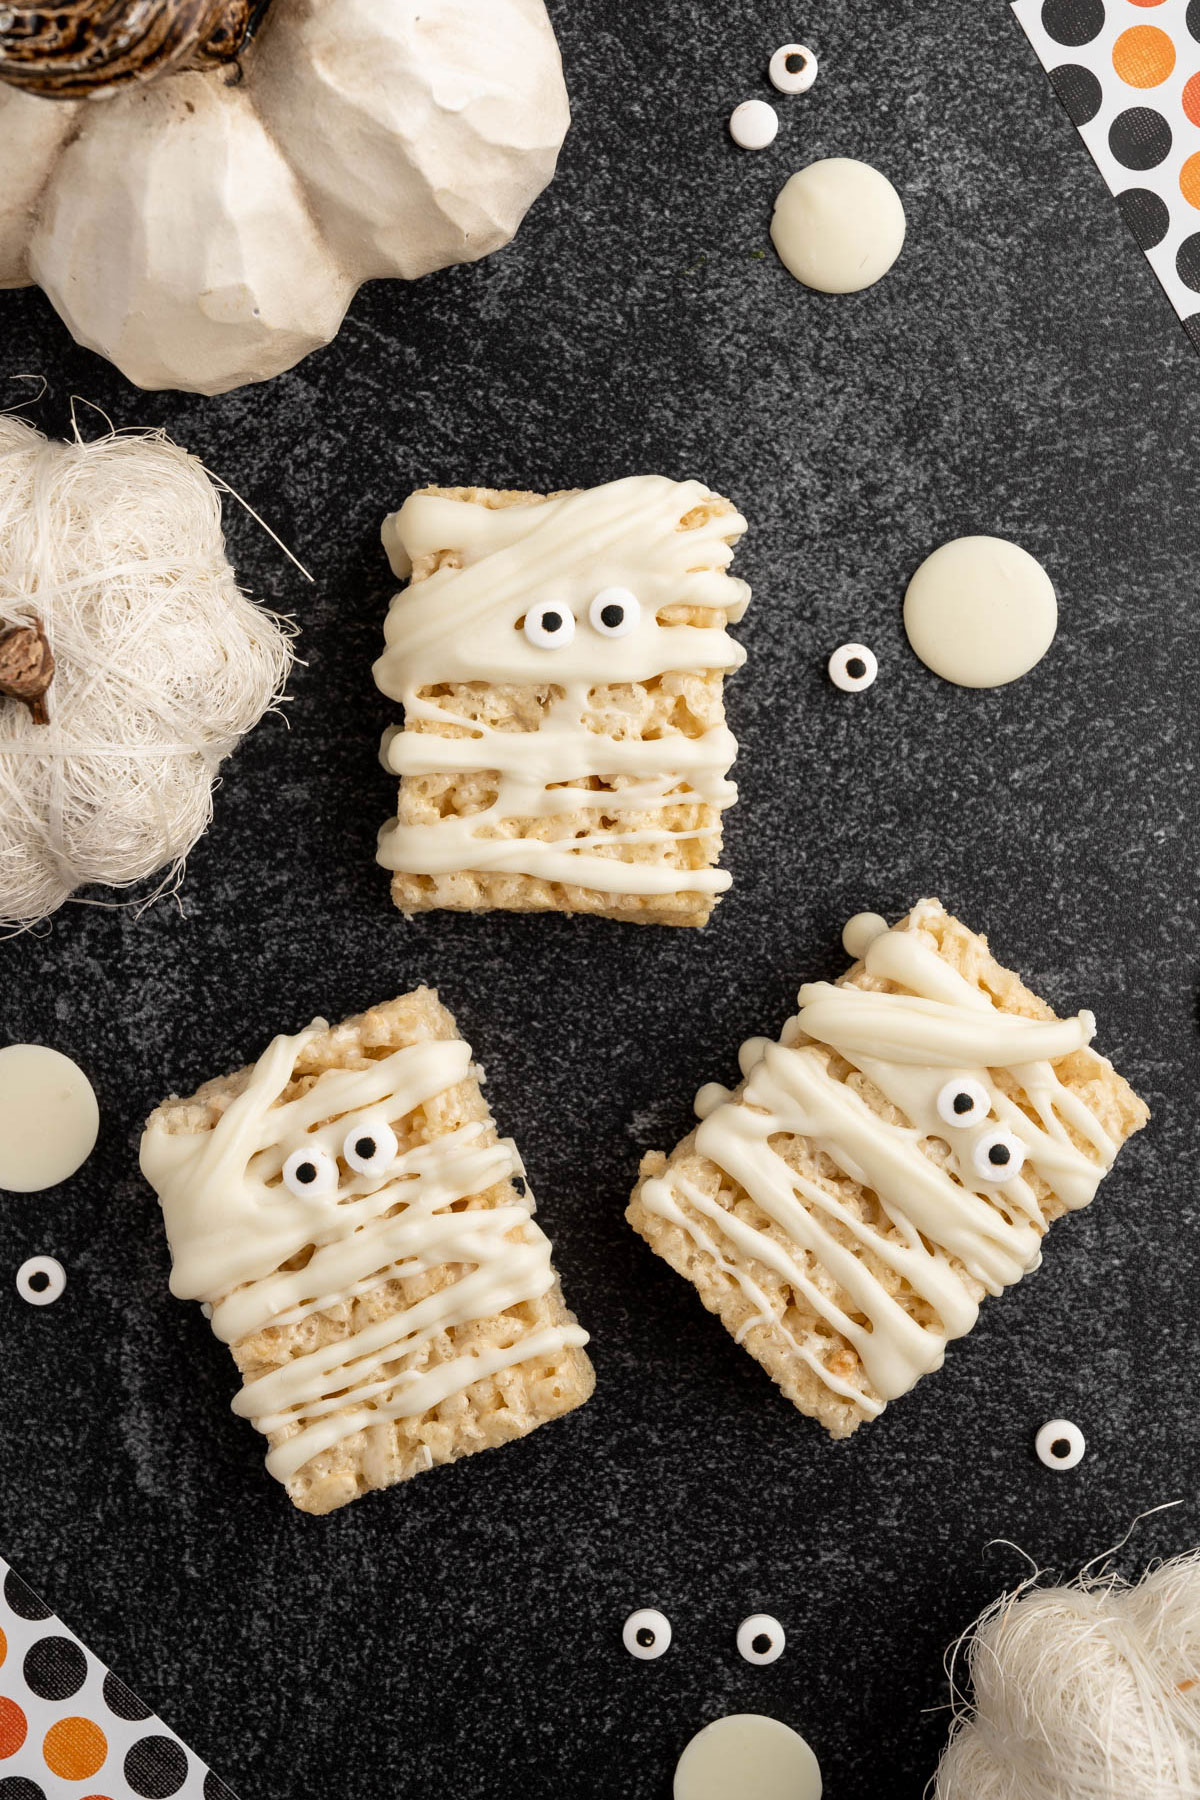
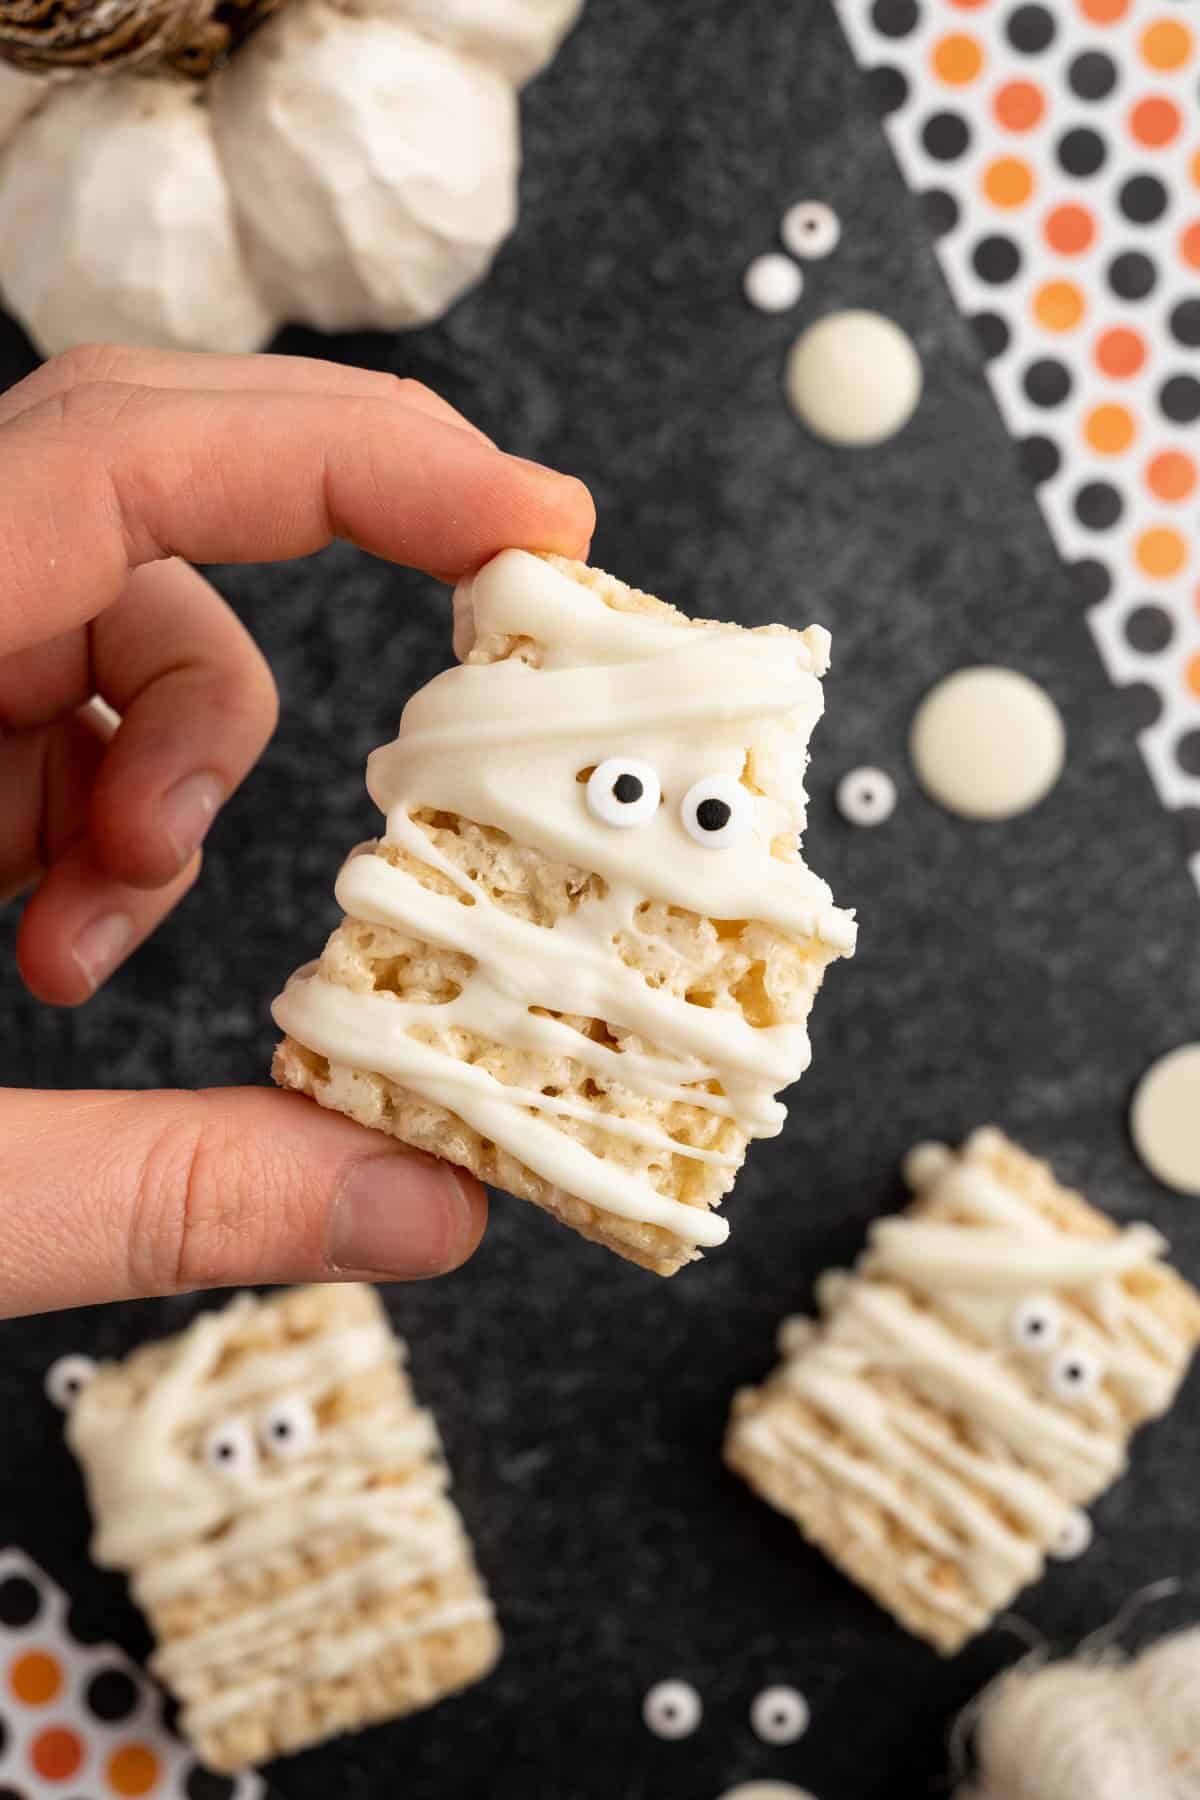
These mummy Krispies treats are an adorable and fun addition to any Halloween party or school event. Chewy and delicious Rice Krispies treats are decorated with creamy white chocolate drizzle and candy eyeballs to turn them into cute and spooky mummy treats that are also super quick and easy.
Mummy Krispie Treats
If you’re looking for a Pinterest-worthy treat for your next Halloween party, look no further than these mummy Krispies treats. Their cute appearance is sure to be the talk of the party, and you won’t believe how easy they are to make.
Make a quick batch of Rice Krispies treats or buy pre-made from the store, and then add a drizzle of white chocolate provides the mummy wrap and candy eyeballs add the finishing touch. Get the whole family in the kitchen to help with this fun and easy recipe that’s sure to delight your party guests!
You’ll also want to see these cute Mummy cookies and cute Nutter Butter ghosts.
💗 Why We Love This Recipe
- These treats are a huge hit with kids and would be a perfect addition to any Halloween party or event.
- You can start with store-bought Rice Krispies Treats to make this recipe super quick and easy with there’s no baking required.
- It’s a great recipe to get the whole family involved with helping in the kitchen.
- It has only three ingredients and takes only 30 minutes to make, so it’s perfect for when you need a last-minute party treat.
⏲ Recommended Tools
- spoon or piping bag with round tip
- parchment paper
- baking sheets
- microwave safe bowl
🛒 Ingredients
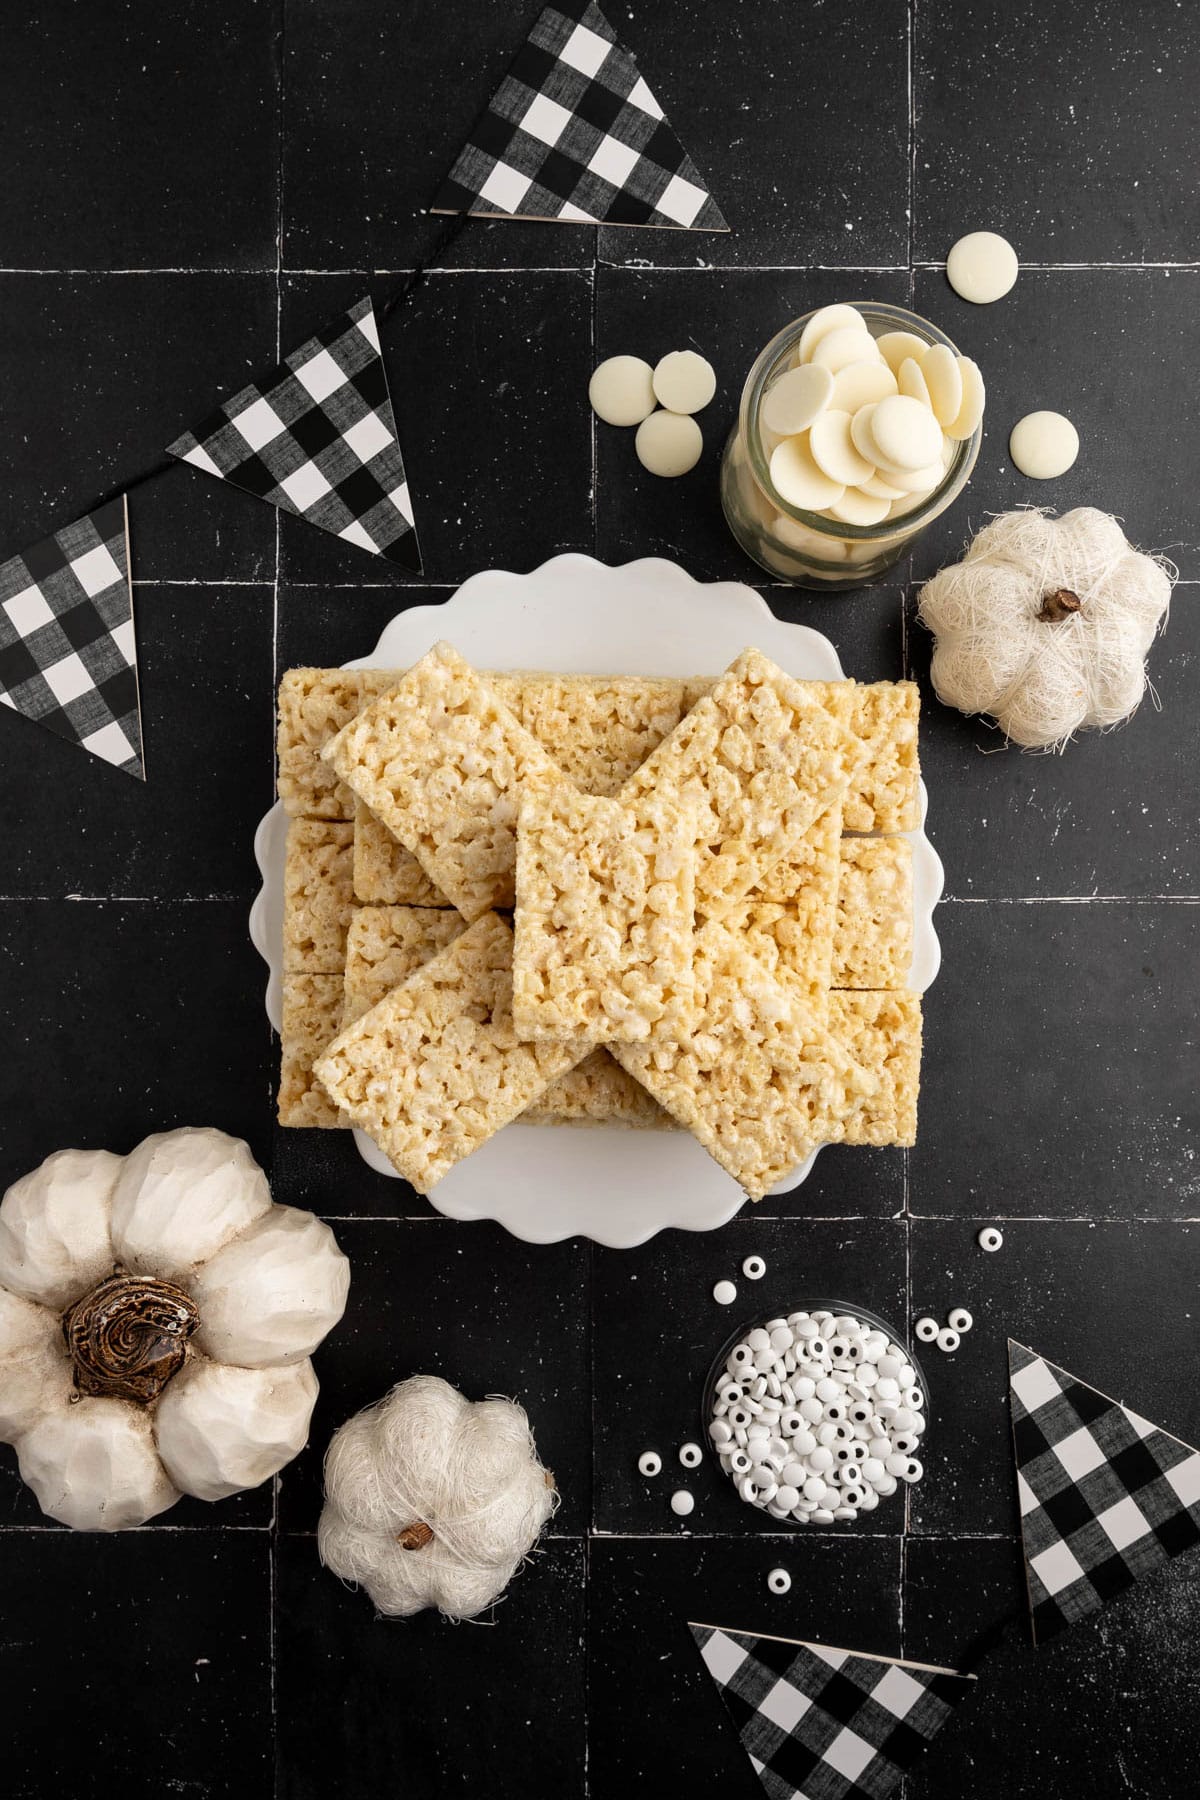
- Rice Krispies treats – pre-made or make a batch from scratch (here’s the original recipe)
- vanilla melting wafers or white dipping chocolate
- candy eyes
👩🍳 How to Make Mummy Krispie Treats
Step One: Melt the Chocolate
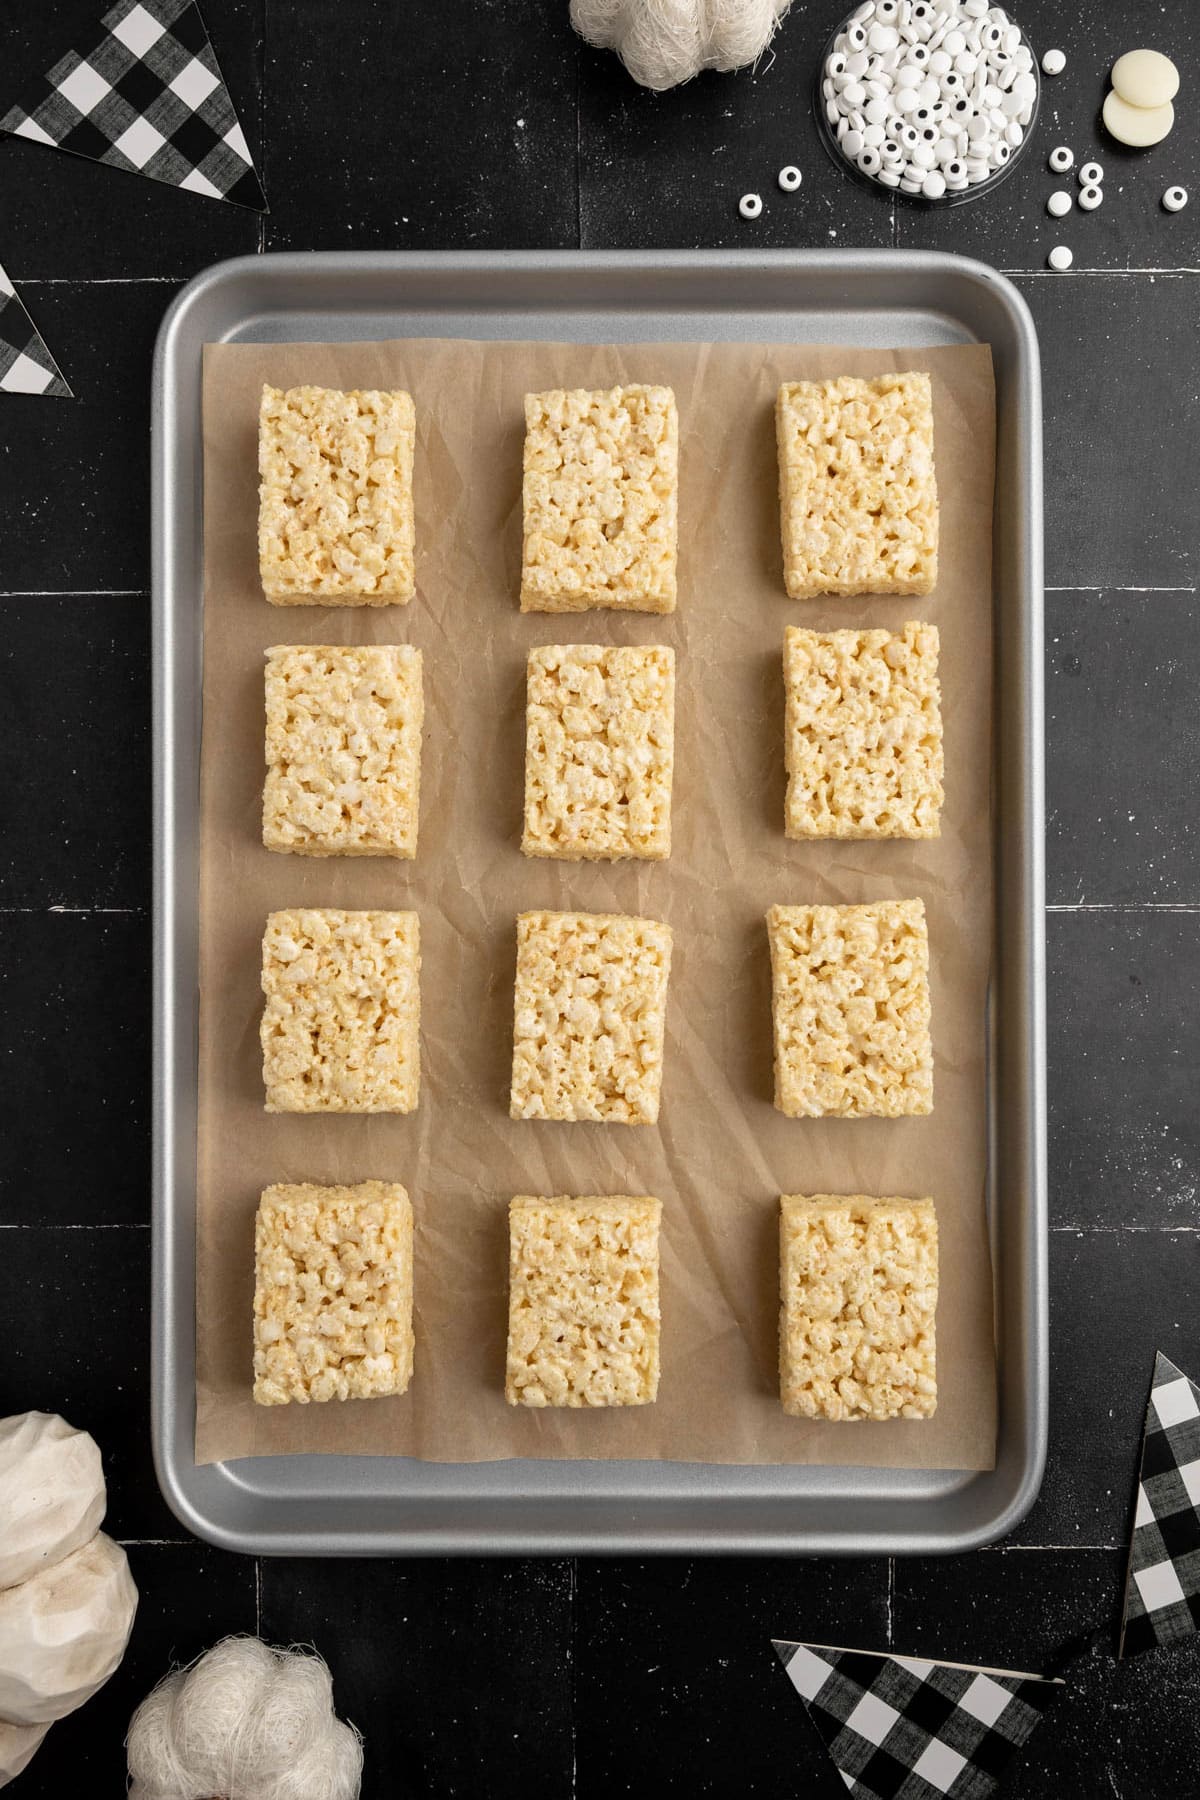
- Place the Rice Krispie treats on baking sheets lined with parchment paper. Leave about 1-2 inches between each treat. Each baking sheet should hold about 10 treats.
- Place the dipping chocolate or melting wafers in a microwave-safe bowl. Microwave on high for 30 seconds, then remove and stir. Continue to microwave for 15-second intervals, removing each time to stir before heating for another 15 seconds. Repeat until the wafers are completely melted.
- If using a spoon to drizzle, you can skip to the next step. If using a piping bag, attach the tip and transfer the melted chocolate to the bag. Use a rubber band to close the end.
Step Two: Decorate the Treats
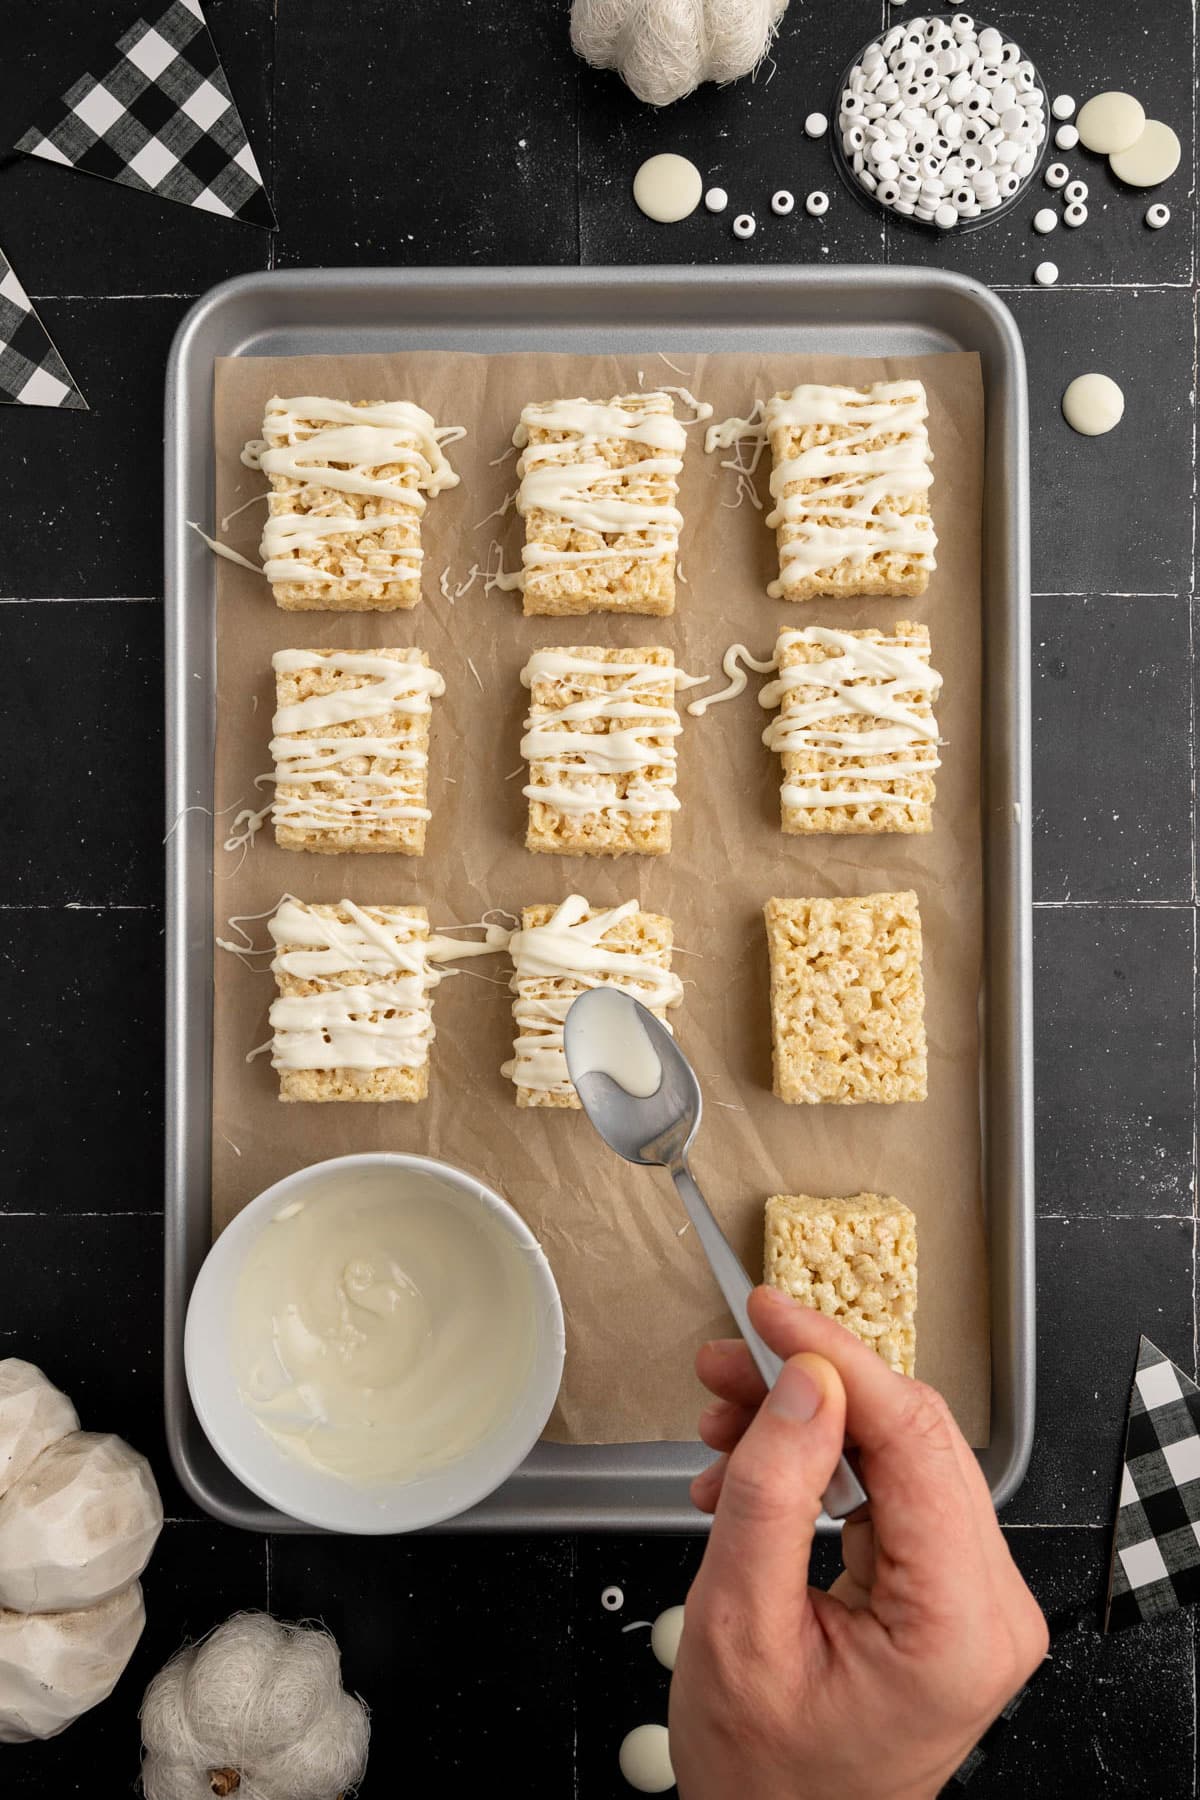
- Drizzle the melted chocolate by making horizontal lines over the top of each Rice Krispies Treat. Continue back and forth until there are lines of chocolate all the way down the treat.
- Next, drizzle the chocolate in a zig-zag motion to create the mummy wrap. The drizzle should be pretty thick. Leave some spaces between some of the lines to make it look like the mummy is unraveling.
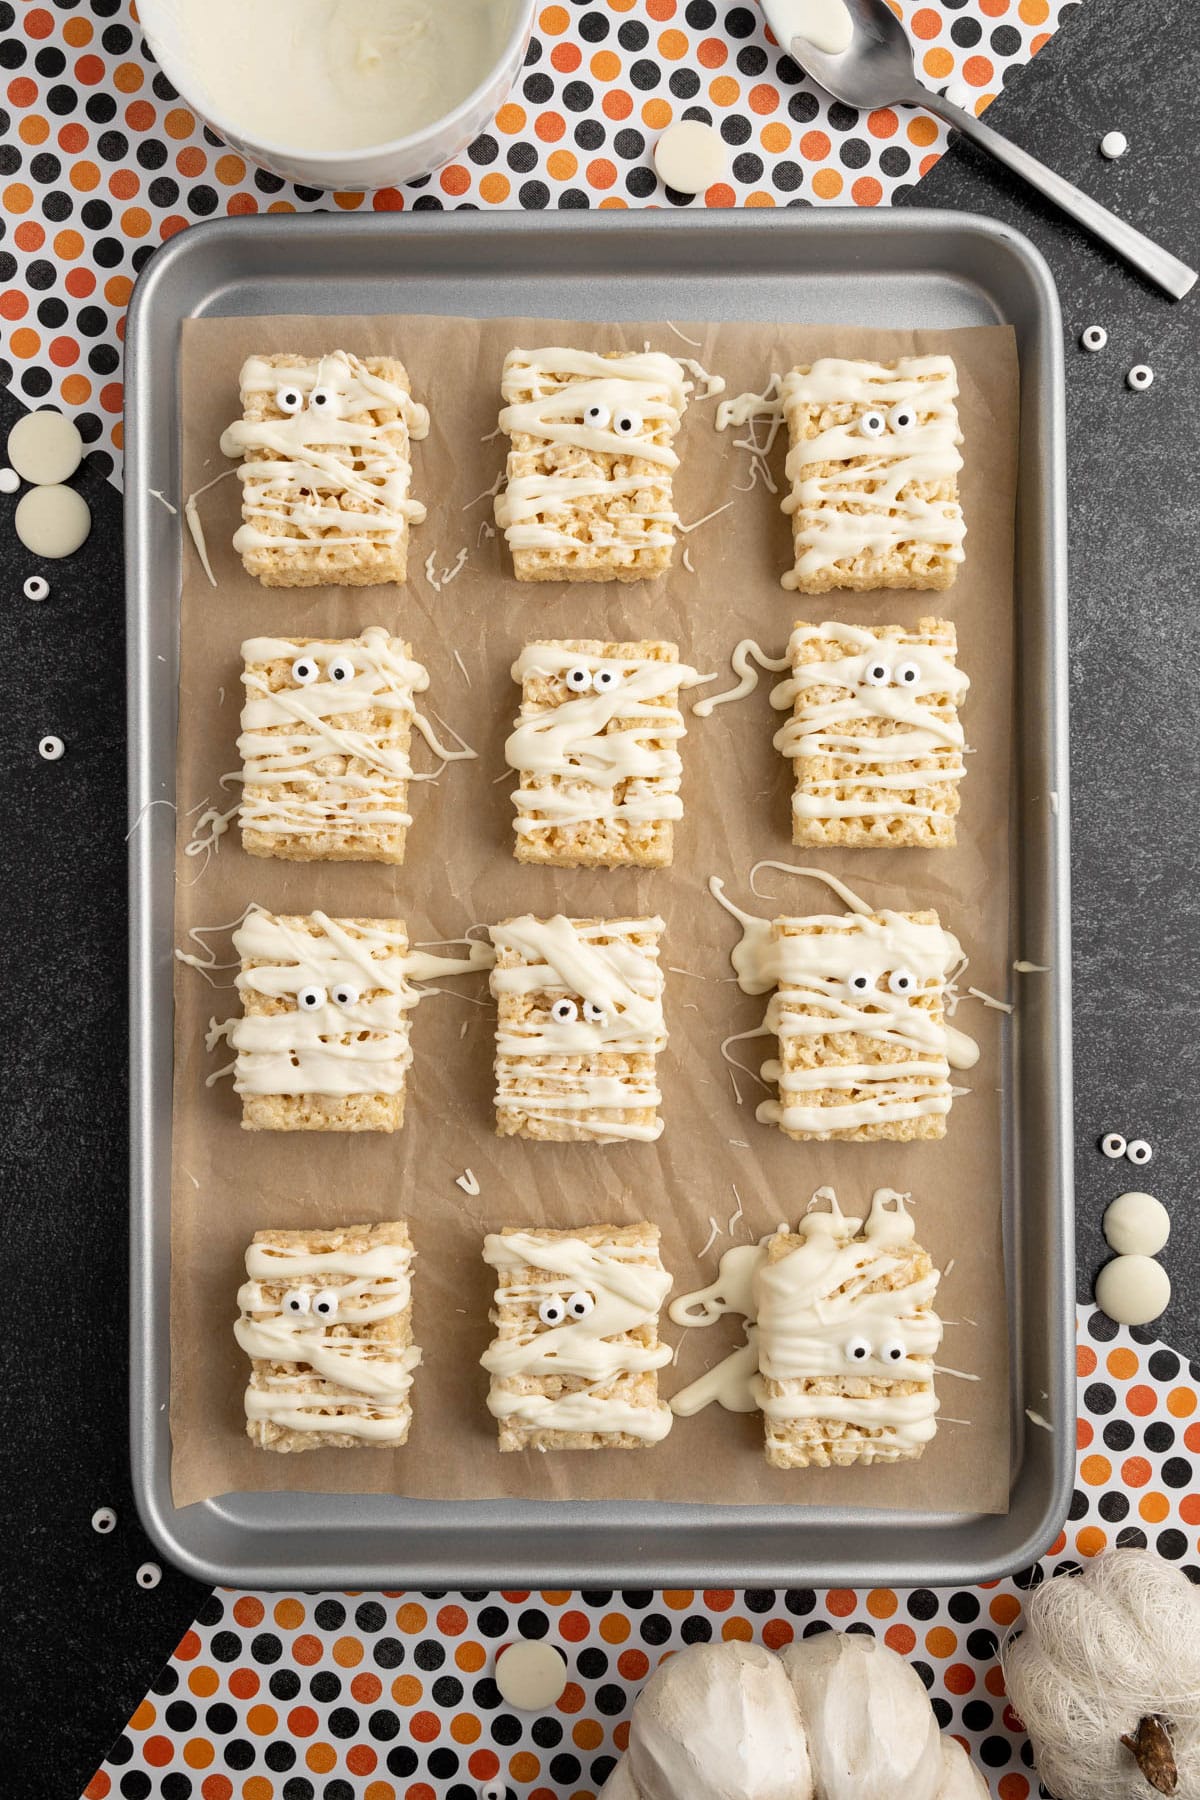
- Once all the treats are drizzled with chocolate, place two candy eyes on each treat in the space between the mummy wrap on the top third of the treat. Dab some leftover melted chocolate on the back of the candy eyes to help them stick. Let the chocolate dry for 10-15 minutes.
Tips and Suggestions
- I recommend using a #7 or #8 round tip. These will work best to give you the right size lines for the mummy wrap.
- If you don’t have a piping bag and don’t want to use a spoon, you can also cut a small corner off a baggie and use that as your piping bag.
- If you like extra chocolate, you can dip the tops of your treats in dark chocolate before adding the white chocolate mummy wrap. Just make sure the dark chocolate is completely dry before you add the white.
- If your chocolate starts to harden before you’re finished decorating, simply pop it back in the microwave for another 15 seconds and then give it a stir before continuing.
- If these are going to be handed out at school, put each treat in an individual clear treat bag or wrap individually with plastic wrap.
Variations
- If you’re feeling ambitious or have extra time on your hands, feel free to make homemade Rice Krispie treats instead of using the store-bought ones in this recipe. Just make sure the treats are completely set before you start decorating.
- Serve these on a stick for a cute, portable treat. Carefully insert a popsicle stick into the bottom of each treat before you start decorating.
Make sure the treats are fully dry, then store in an airtight container on the counter. They’ll taste best if consumed within 4-5 days.
Sure – you can use the same decorating technique to turn lots of different types of desserts into mummy treats. Brownies and all kinds of different cookies will work.
Suggestions and Alternatives
👻 More Fun Halloween Recipes
- Nutter Butter Ghosts
- Halloween Bundt Cake
- Spider Cookies
- Witch Hat Cupcakes
- Ghost Cupcakes
- Candy Corn Cookies
- Halloween Oreo Fudge
- Halloween S’mores Dip
- Halloween Pinwheel Cookies
- Halloween Ooey Gooey Cookies


Mummy Rice Krispies Treats
Equipment
- Spoon or piping bag and round tip for drizzling
- Parchment paper
- 2 Baking sheets
- Microwave safe bowl
Ingredients
- 20 premade Rice Krispies Treats or make your own
- 10 oz. package of vanilla melting wafers or white dipping chocolate
- 40 candy eyes
Instructions
- Begin by placing the unwrapped Rice Krispies Treats on a baking sheet lined with parchment paper. Leave about 1-2 inches between each treat. You will need two lined baking sheets to decorate all 20 treats at the same time.20 premade Rice Krispies Treats
- Transfer the melting wafers or dipping chocolate to a microwave-safe bowl. Place the bowl in the microwave and microwave on high for 30 seconds, remove and stir. Microwave for 15-second increments, removing each time to stir before heating for another 15 seconds. Repeat until all the wafers are completely melted.10 oz. package of vanilla melting wafers or white dipping chocolate
- If using a piping bag, attach the tip (a #7 or #8 round tip would work best) and transfer the melted chocolate to a piping bag. Close the end with a rubber band. If using a spoon to drizzle you can skip to the next step.
- Drizzle the melted chocolate by drawing the stream of chocolate over the top of each Rice Krispies Treat horizontally. Continue back and forth until there are lines of chocolate all the way down the treat. Next, drizzle the chocolate in a zig-zagging motion to create the ‘mummy wrap’. The drizzle should be relatively thick and spaces should be left between some of the lines to make it look like the mummy is unraveling.
- Once all the treats are drizzled with chocolate, place two candy eyes on each mummy in the spaces between the ‘mummy wrap’ on the top third of the treat. Dab a little of the leftover melted chocolate on the back of the candy eyes to help them adhere.40 candy eyes
- Let the chocolate dry for about 10-15 minutes. Once fully dry, store in an airtight container on the counter. For best quality, consume within 4-5 days.
Notes
• Adding a tsp. of coconut oil to most real white chocolates can help it drizzle smoothly without tempering.
• Instead of using a piping bag paired with a round tip, you could use a plastic zipper bag and cut a small hole in one of the corners. Drizzling spoons (found in the cake decorating aisle at the store) also work well and are less work and mess.
• Melting wafers tend to dry quickly. If you are working with kids or are just taking your time you may want to melt half of the wafers at one time so the chocolate doesn’t harden while you work.
• Individually wrap each mummy with plastic wrap or pop them into individual treat bags if they are going to be handed out at school. Make sure the chocolate is completely dry before wrapping.
Nutrition
Did You Make This Recipe?
Don’t forget to share it with me on @thebalancingmom and follow on Tiktok @balancingmotherhood and Pinterest @thebalancingmom for more!


