
No Bake Peanut Butter Pie Recipe
This post may contain affiliate links, read our disclosure policy.
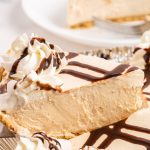
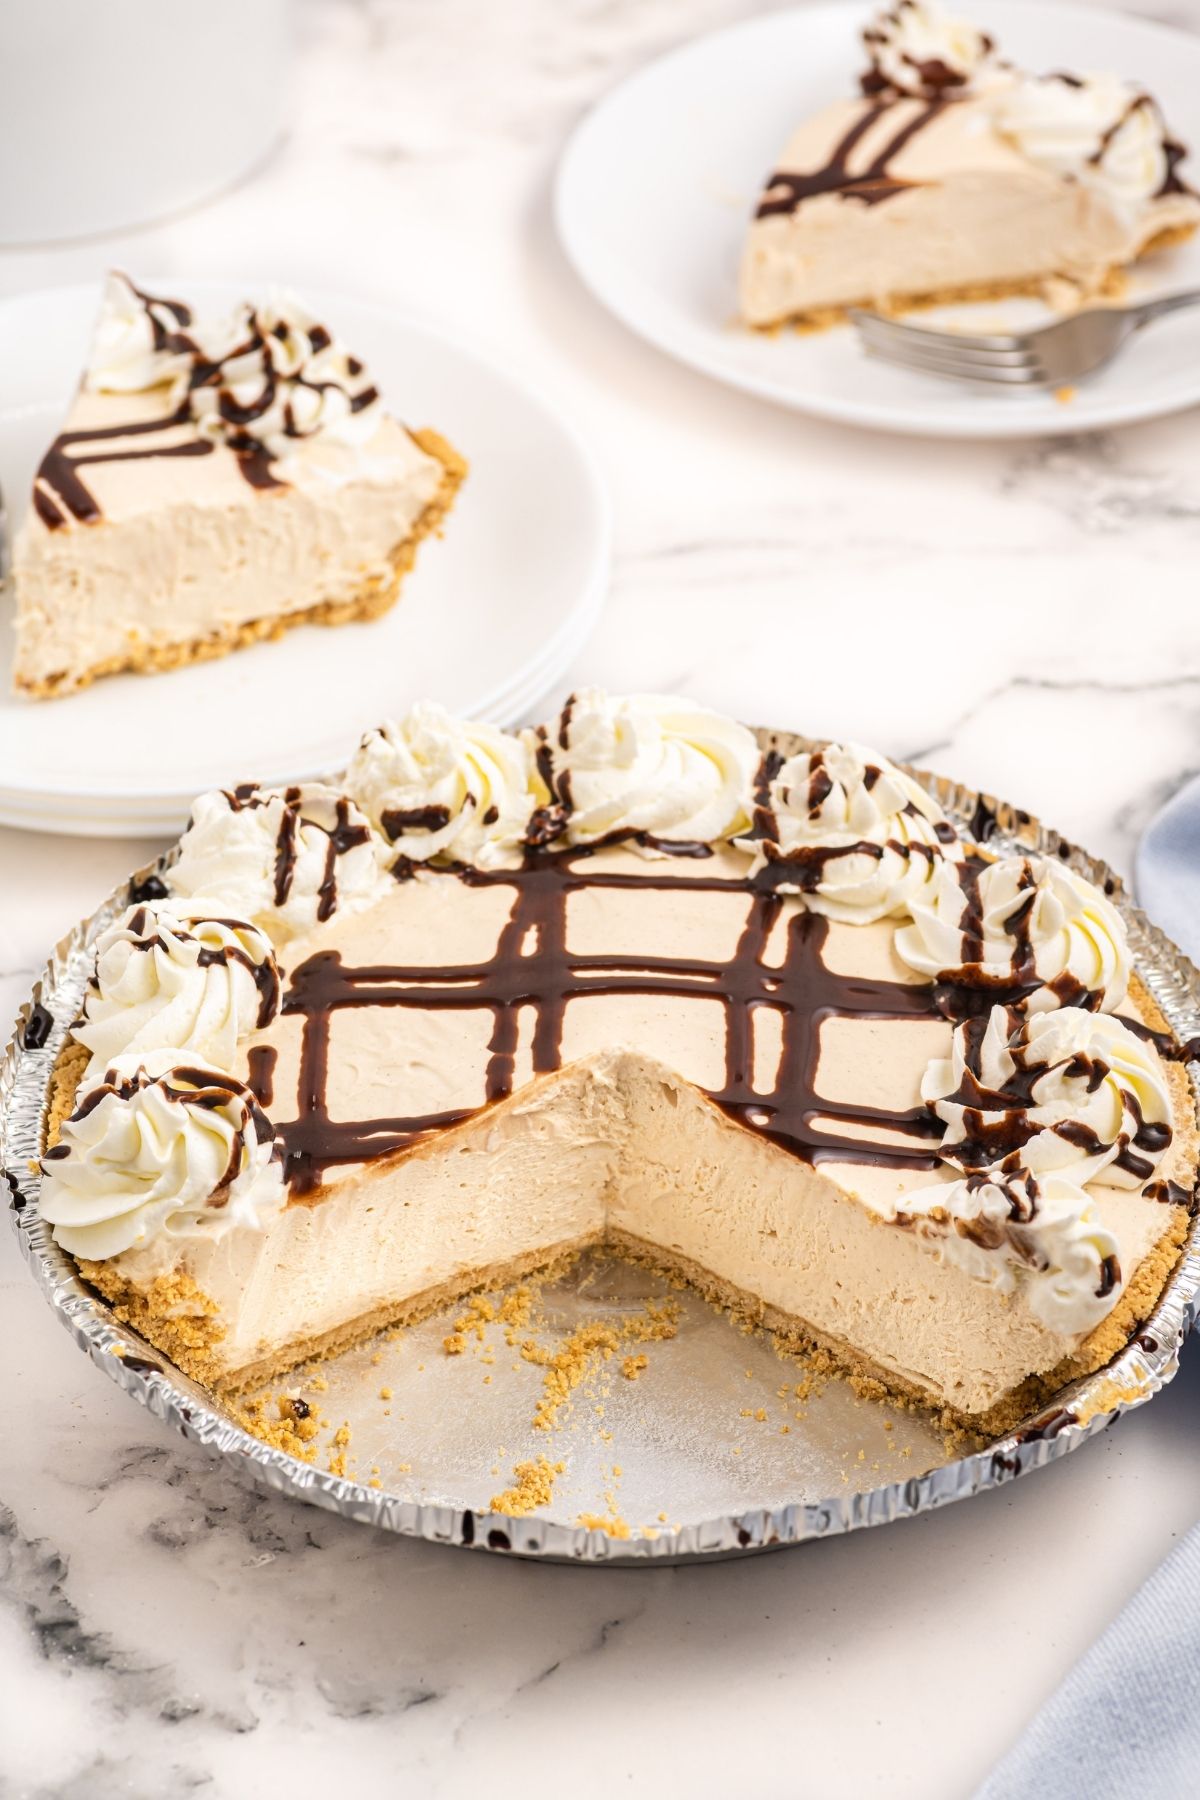
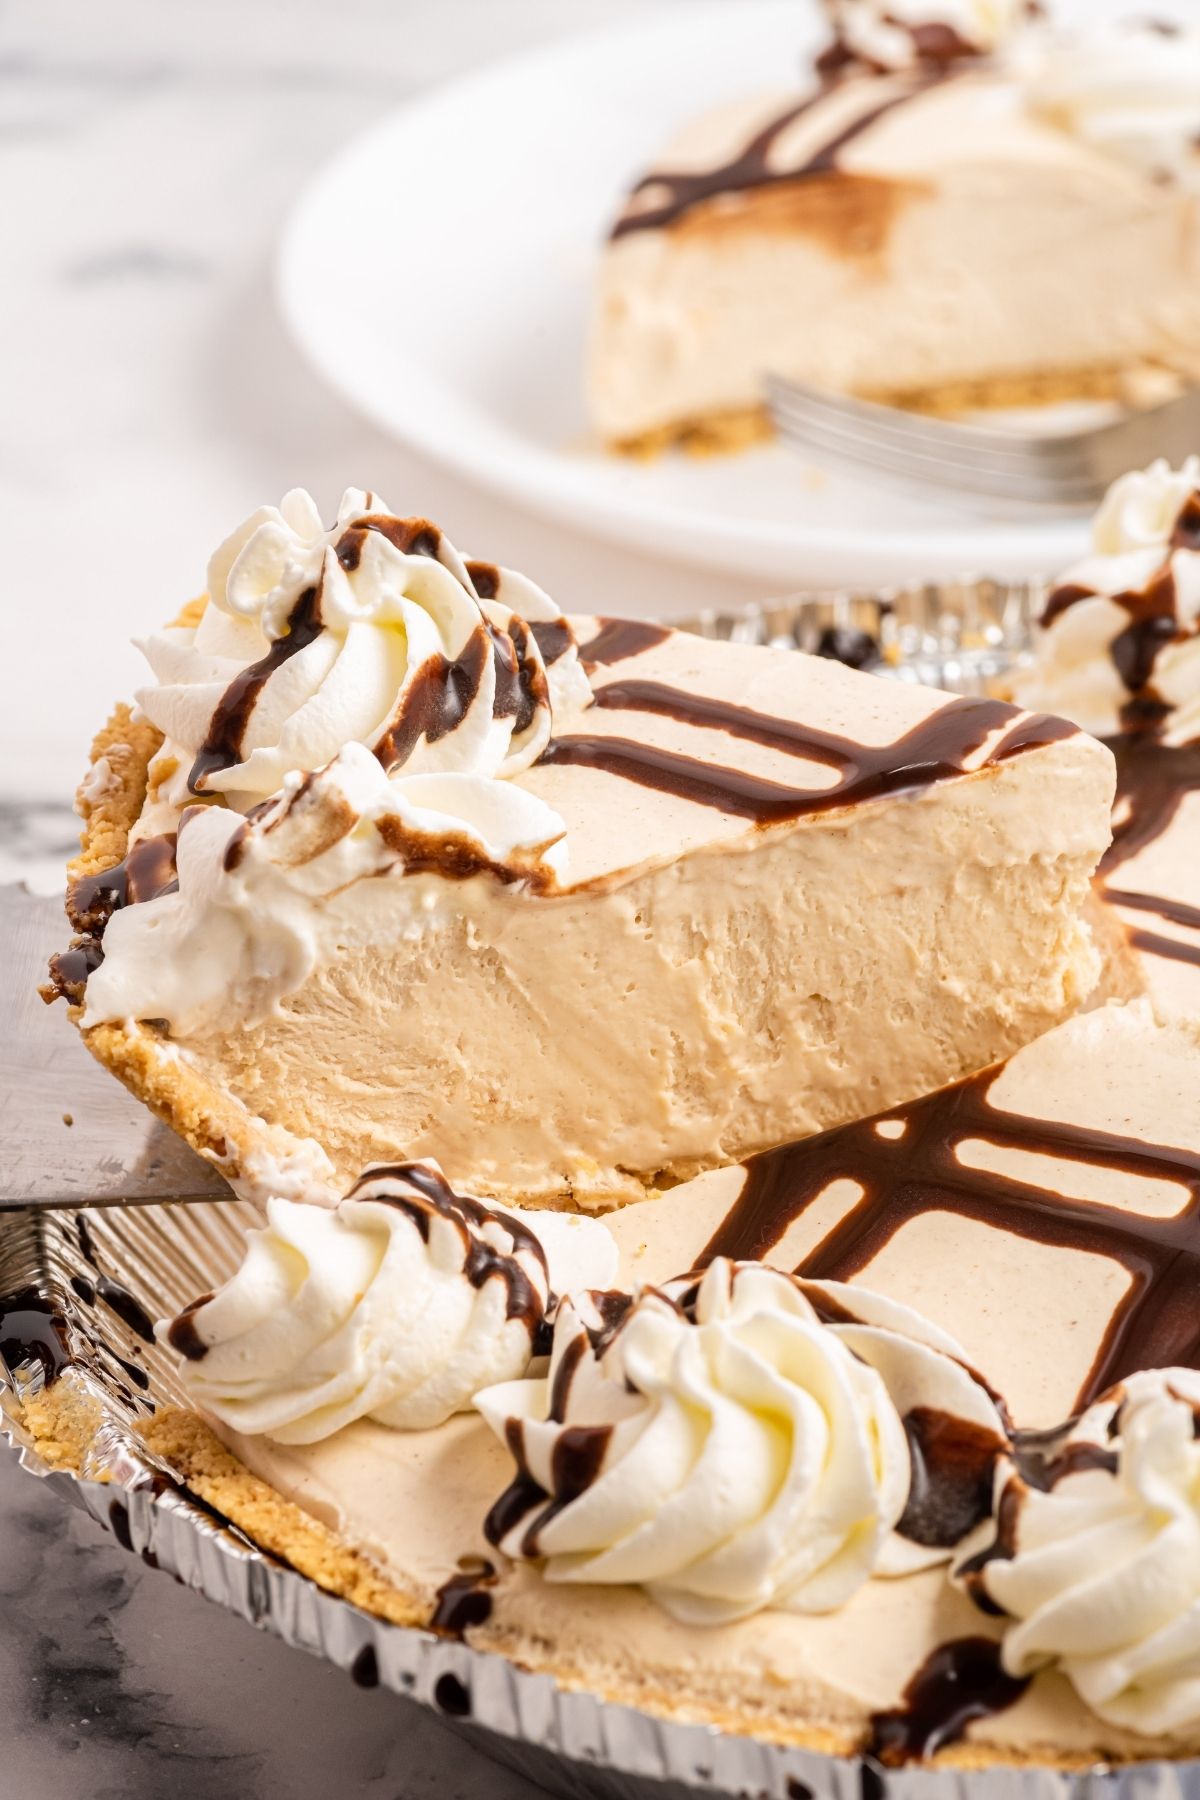
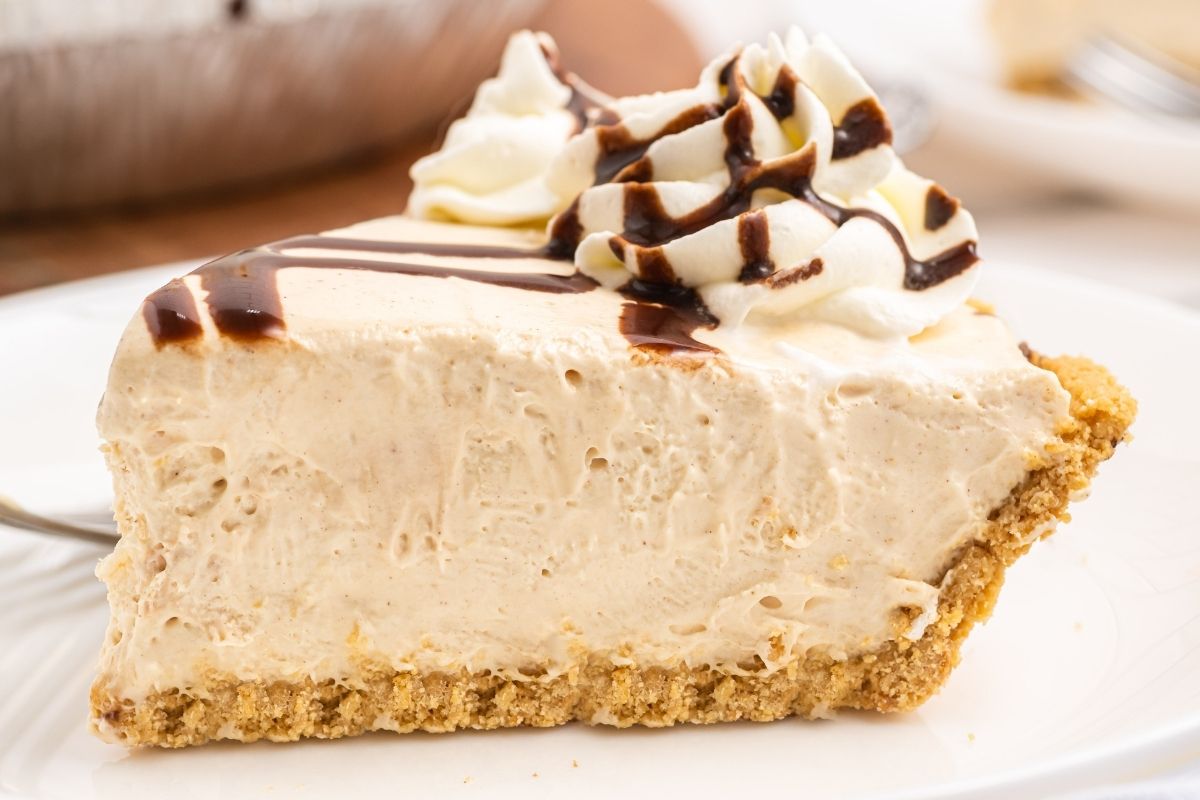
This easy No Bake Peanut Butter Pie is a silky smooth, rich and decadent dessert sure to please all the peanut butter fans in your life! Featuring a sweet and creamy peanut butter filling in a graham crack crust with a whipped cream topping, this one insanely delicious pie!
Silky Peanut Butter Pie
Peanut butter recipes are always a hit. But this is hands down one of the easiest, most impressive desserts you’ll ever make. It has a delectable peanut butter cheesecake-like filling and a crunchy crust that truly taste like a dessert you spent a lot of time making.
One of the best parts about this amazing peanut butter pie recipe is it is a no-bake dessert. With just a few simple ingredients and little bit of time, it’s ready for the fridge. The only thing hard part is having to wait for it to firm up in the fridge! But trust me, it is worth the wait!
If you love this no bake dessert, you should also try this No-Bake Banana Split Cake, No Bake Strawberry Cheesecake Layer Cake or for all you peanut butter lovers, you’ll love these No-Bake Peanut Butter Bars!
No Bake Peanut Butter Pie Ingredients
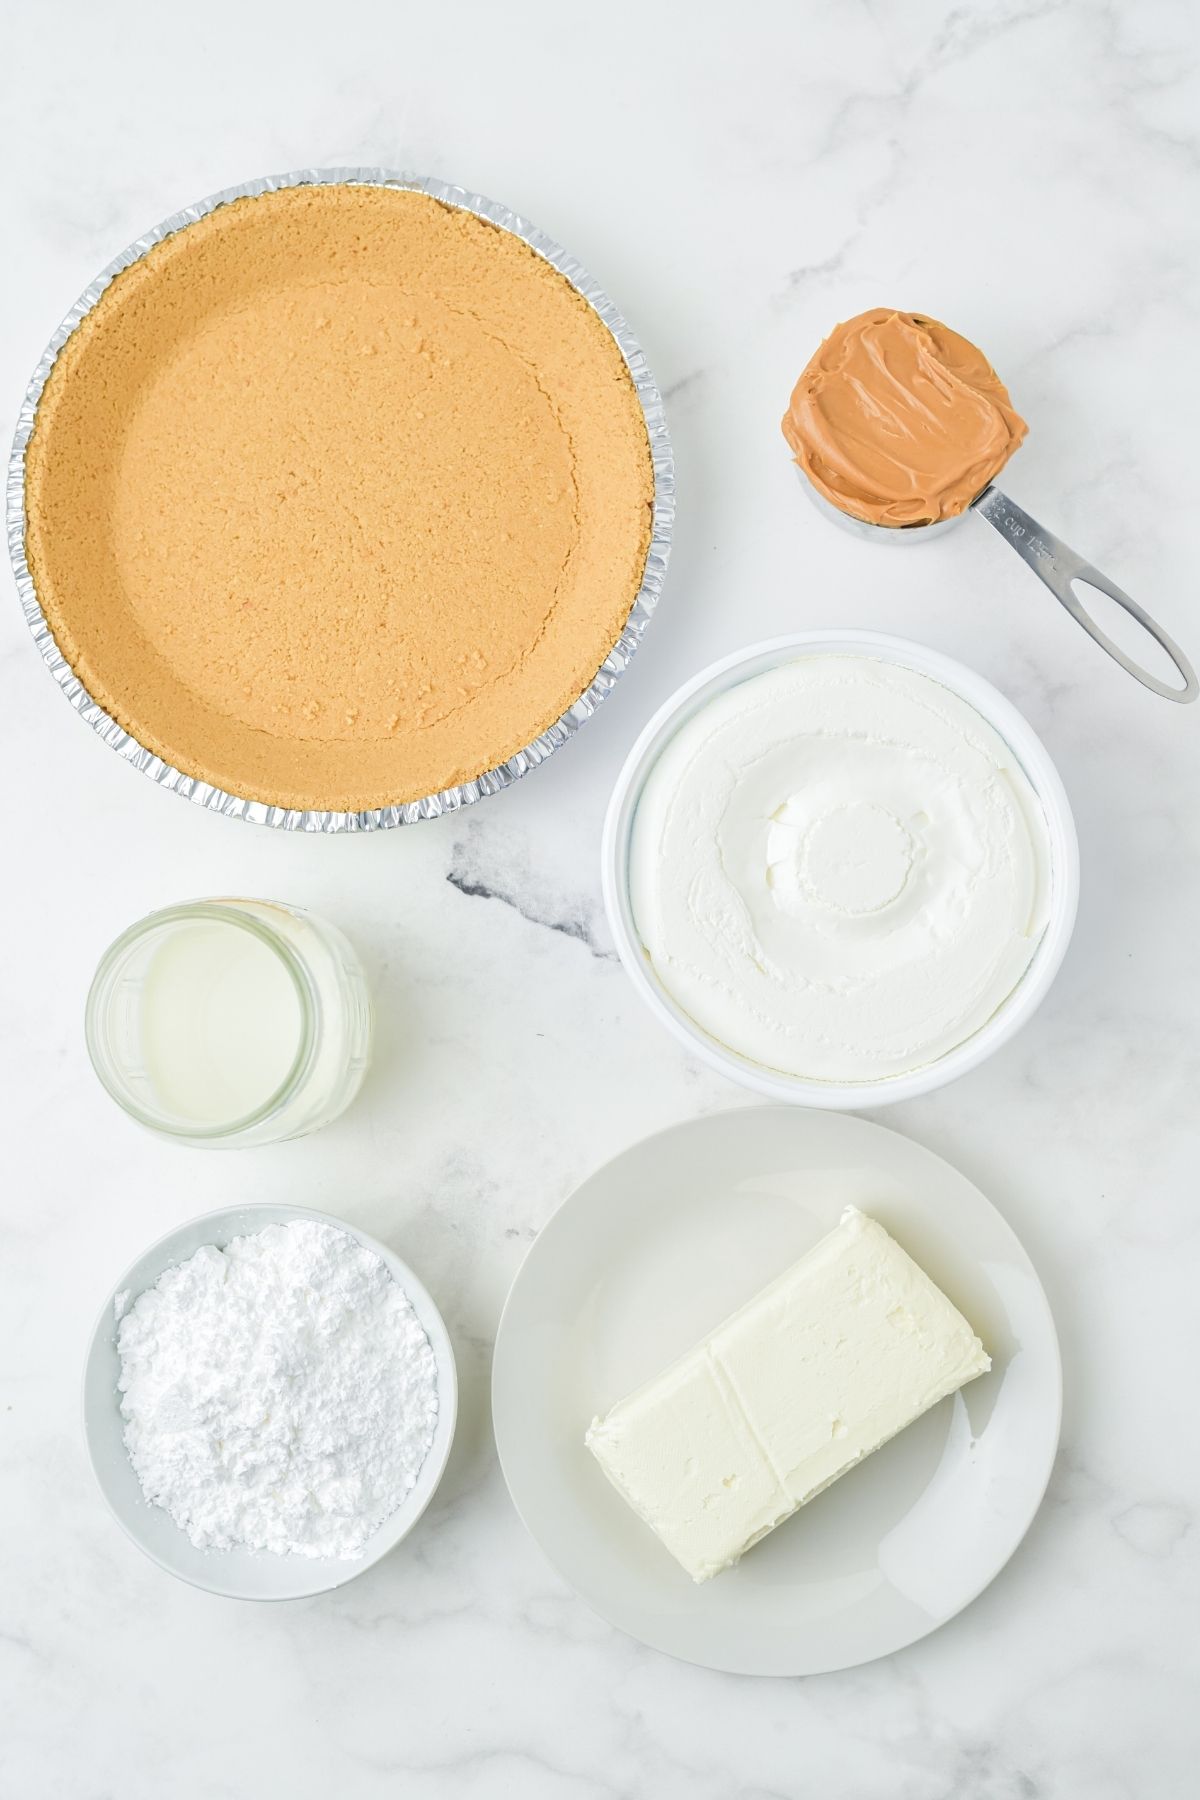
- Prepared graham cracker crust: We used premade, but you can make your own homemade crust.
- Creamy peanut butter: You can also use the crunchy kind.
- Cream cheese: Thickens the peanut butter mixture and gives a cheesecake like texture
- Powdered sugar: Dissolves into the filling and add sweetens.
- Milk: Thins out the cream cheese to spreadable consistency.
- Whipped topping: We used Cool Whip, but you can make homemade whipped topping with heavy whipping cream if you prefer.
- Chocolate syrup– This is an optional topping. There some other topping suggestions listed below.
How to Make This Silky Peanut Butter Pie Recipe
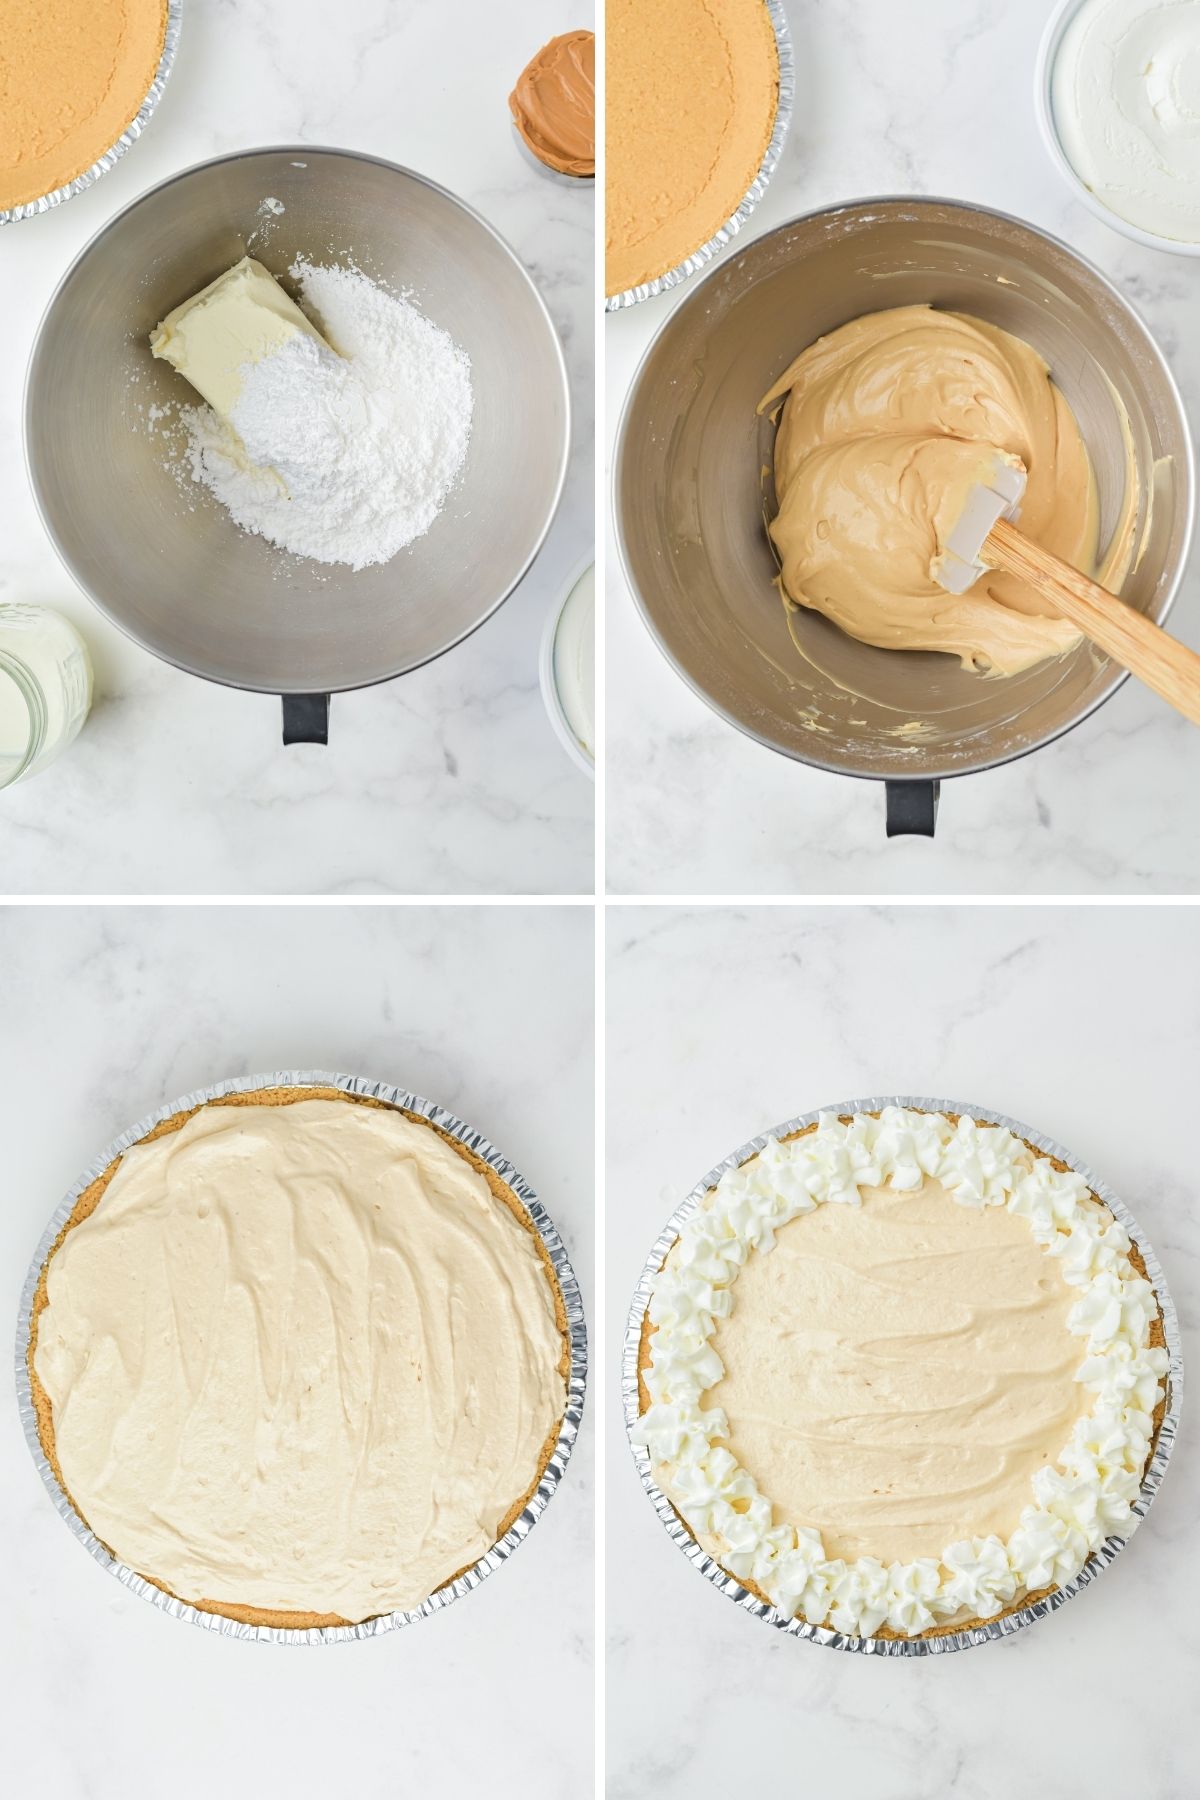
Combine cream cheese and confectioners’ sugar in a large mixing bowl. Using an electric mixer or hand mixer, blend the ingredients until smooth.
Add peanut butter and milk and mix until fully combined and smooth.
Gently fold in 8 oz thawed Cool Whip until combined.
Spoon peanut butter filling into prepared pie shell.
Top with 4 oz. thawed Cool Whip, spread to edges of pie.
Cover and refrigerate 2 hours.
Top the whole thing with drizzled chocolate
Store this pie covered in the fridge when not serving.
No Bake Peanut Butter Pie Recipe topping suggestions
The best part of this recipe is all the different and fun toppings you can try. Here are some of the most popular:
- Drizzle options: Drizzle the top of the pie with melted peanut butter or for a melted chocolate drizzle, you can use chocolate syrup or melted hot fudge sauce.
- Candy toppings: Mini chocolate chips, chopped Reese’s peanut butter cups and mini chocolate chips are great options. Or for extra peanut butter flavor, you can use peanut butter chips.
- Nuts: Add any of your favorites, like pecans, walnuts and of course chopped peanuts.
- Whipped topping: You can even get creative with the type whipped topping you use. You can use dollops of Cool Whip, of use the Real Whipped Cream that comes in a can. If making your own whipped topping, add a little bit of cocoa in the heavy cream to give it a slight hint of chocolate flavor.
Peanut Butter Pie No Bake Tips
- For a really smooth consistency, it’s important to allow your cream cheese to come to room temperature before mixing. If it’s still hard you will most like end up with little cream cheese lumps in the filling.
- While you certainly CAN use reduced fat peanut butter spreads, most only contain about 60% peanut butter so they have less peanut butter flavor.
- For a really cute twist, instead of making one whole pie for the kids, you can buy the mini-graham cracker crusts and let everyone have fun adding their own favorite toppings!
How to Freeze Silky Peanut Butter Pie
For best results wrap the pie in plastic wrap, then in a layer of aluminum foil labeled with the date you froze it. It will keep for several months if wrapped well. You may want to wait to add the whipped topping until after it has thawed and you’re ready to serve it
To thaw out the pie, place it overnight in the fridge. Though thawing it out is great, leaving it slightly frozen on the inside makes this the perfect dessert for hot summer days. It’s soft but has a really cold semi-frozen texture. So refreshing!
Easy No Bake Peanut Butter Pie variations
Chocolate Peanut Butter Pie: For more chocolate flavor, you can use a premade Oreo chocolate crust. Or you can make your own chocolate cookie crust like the in this Chocolate Lasagna Recipe.
Scratch Graham Cracker Crust: This recipe uses a premade graham cracker crust. If you prefer making your own pie crust with graham cracker crumbs, you can use the same recipe as this No Bake Cherry Cheesecake, but you will use a 9-inch pie pan instead of the 8×8 one in that recipe.
All Natural Peanut Butter or Almond Butter: Both of these nut butters can be used in this recipe. If using either of them, keep in mind, they are thicker than typical creamy peanut butter. To compensate for that, you will need to add up to 6 additional tablespoons of milk to thin out the creamy filling.
How to store No Bake Peanut Butter Pie
For short-term storage, keep the No Bake Peanut Butter Pie in the refrigerator in an airtight container for up to 3-4 days. For longer storage, wrap it tightly in plastic wrap or aluminum foil and store it in the freezer for up to 1-2 months. Thaw frozen pie slices in the refrigerator overnight before serving.
Want More Peanut Butter Dessert Recipes:
Of you have peanut butter addicts in your house, you just have to try some of these other delicious treats! They are sure to be the perfect solution for everyone’s sweet tooth!
- Peanut Butter Balls
- Peanut Butter Blossoms
- Reese’s Peanut Butter Cup Cookies
- Peanut Cup S’mores Dip
- Copycat Reese’s Peanut Butter Eggs

Easy No Bake Peanut Butter Pie
Video
Ingredients
- 1 premade graham cracker crust
- 1/2 cup peanut butter
- 8 oz cream cheese softened
- 3/4 cups confectioners’ sugar
- 1/2 cup milk
- 12 oz whipped topping (we used Cool Whip), divided
- Chocolate syrup
Instructions
- In the bowl of an electric mixer, combine cream cheese and confectioners’ sugar and mix until smooth. Add peanut butter and milk and mix until fully combined and smooth.1/2 cup peanut butter, 8 oz cream cheese, 3/4 cups confectioners’ sugar, 1/2 cup milk
- Gently fold in 8 oz thawed Cool Whip until combined.12 oz whipped topping
- Spoon peanut butter mixture into prepared pie shell.1 premade graham cracker crust
- Top with 4 oz. thawed Cool Whip, spread to edges of pie. (Michelle, use the can whipped topping instead for photos)
- Cover and refrigerate 2 hours.
- Top with drizzled chocolate.Chocolate syrup
Nutrition
Did You Make This Recipe?
Don’t forget to share it with me on @thebalancingmom and follow on Tiktok @balancingmotherhood and Pinterest @thebalancingmom for more!


Hello! Just making sure I can make this 2 or 3 days before I serve it? Thanks!
You can definitely make it the day before, but I wouldn’t push it so multiple days.