Easy Rice Krispies Treats
This post may contain affiliate links, read our disclosure policy.
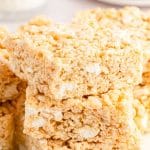
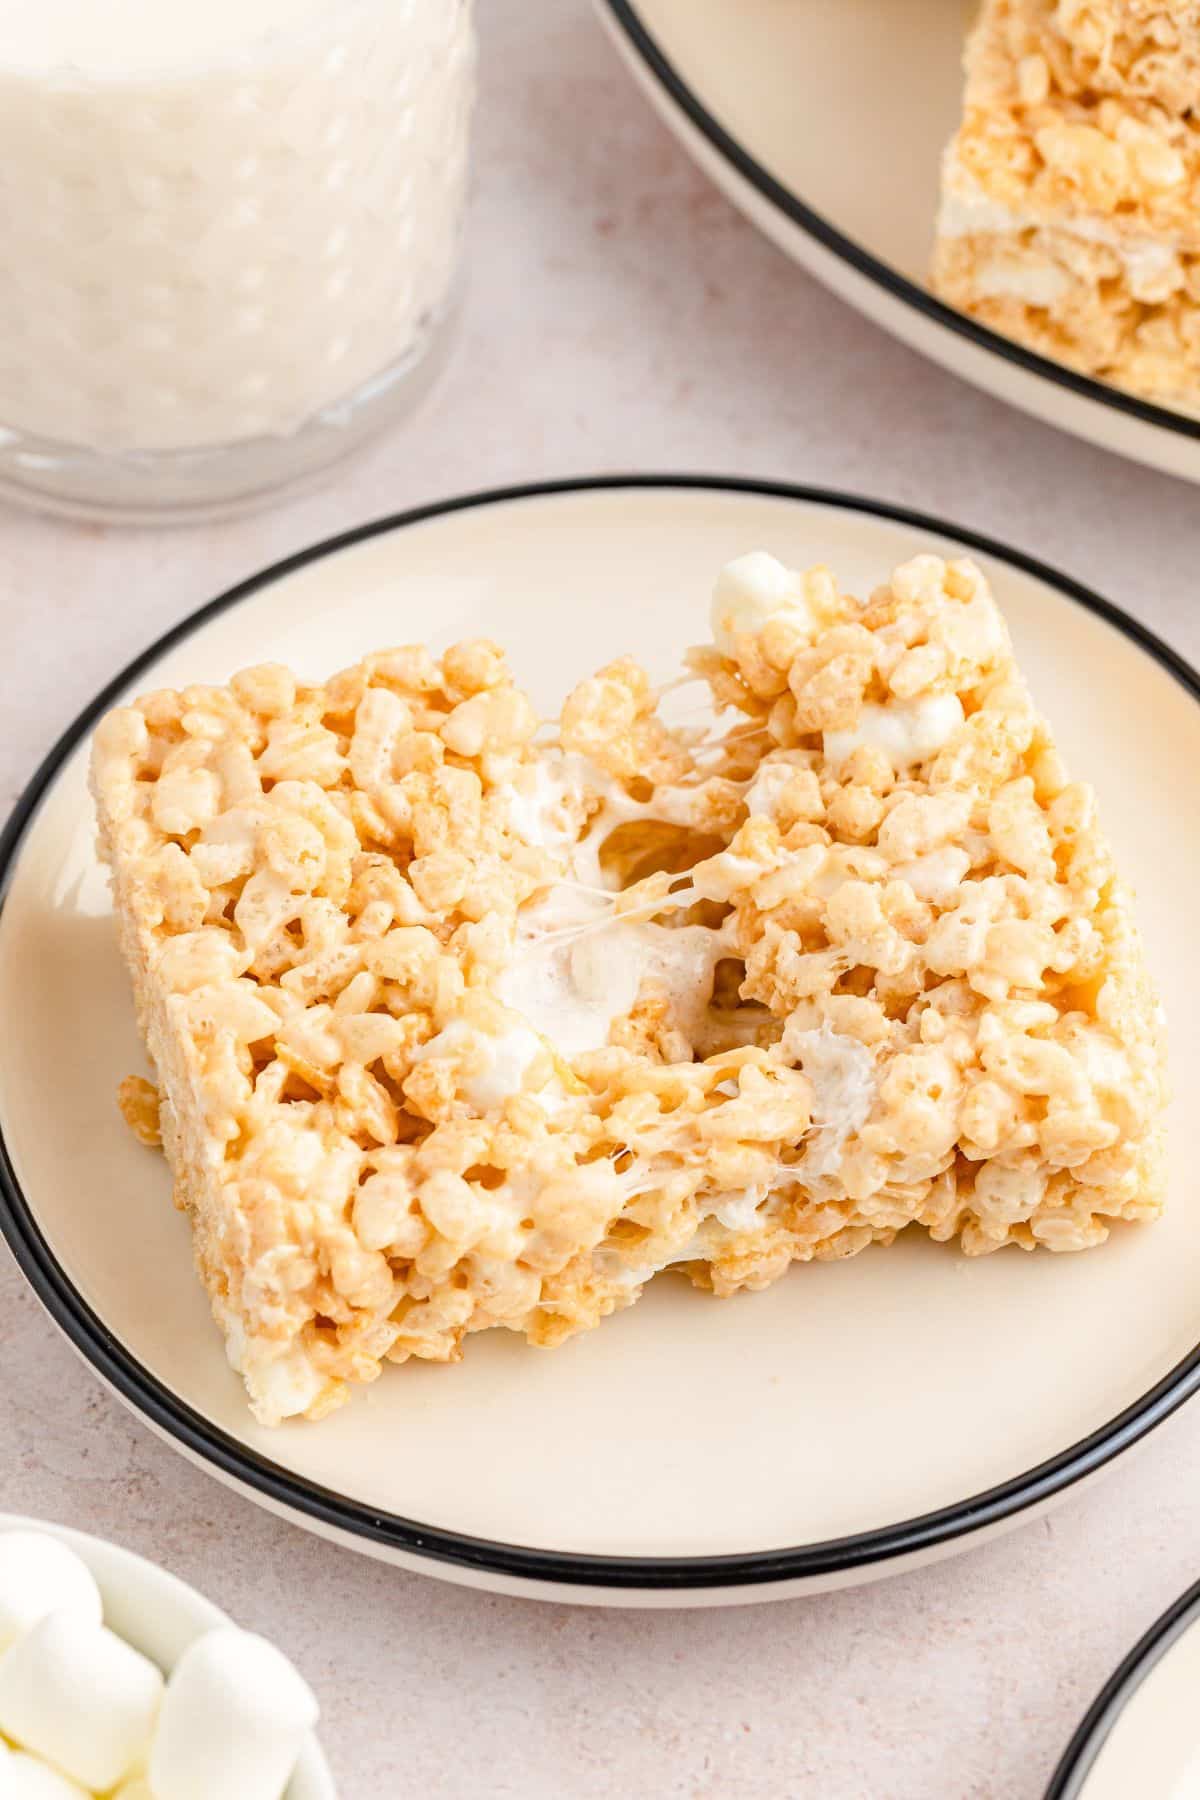
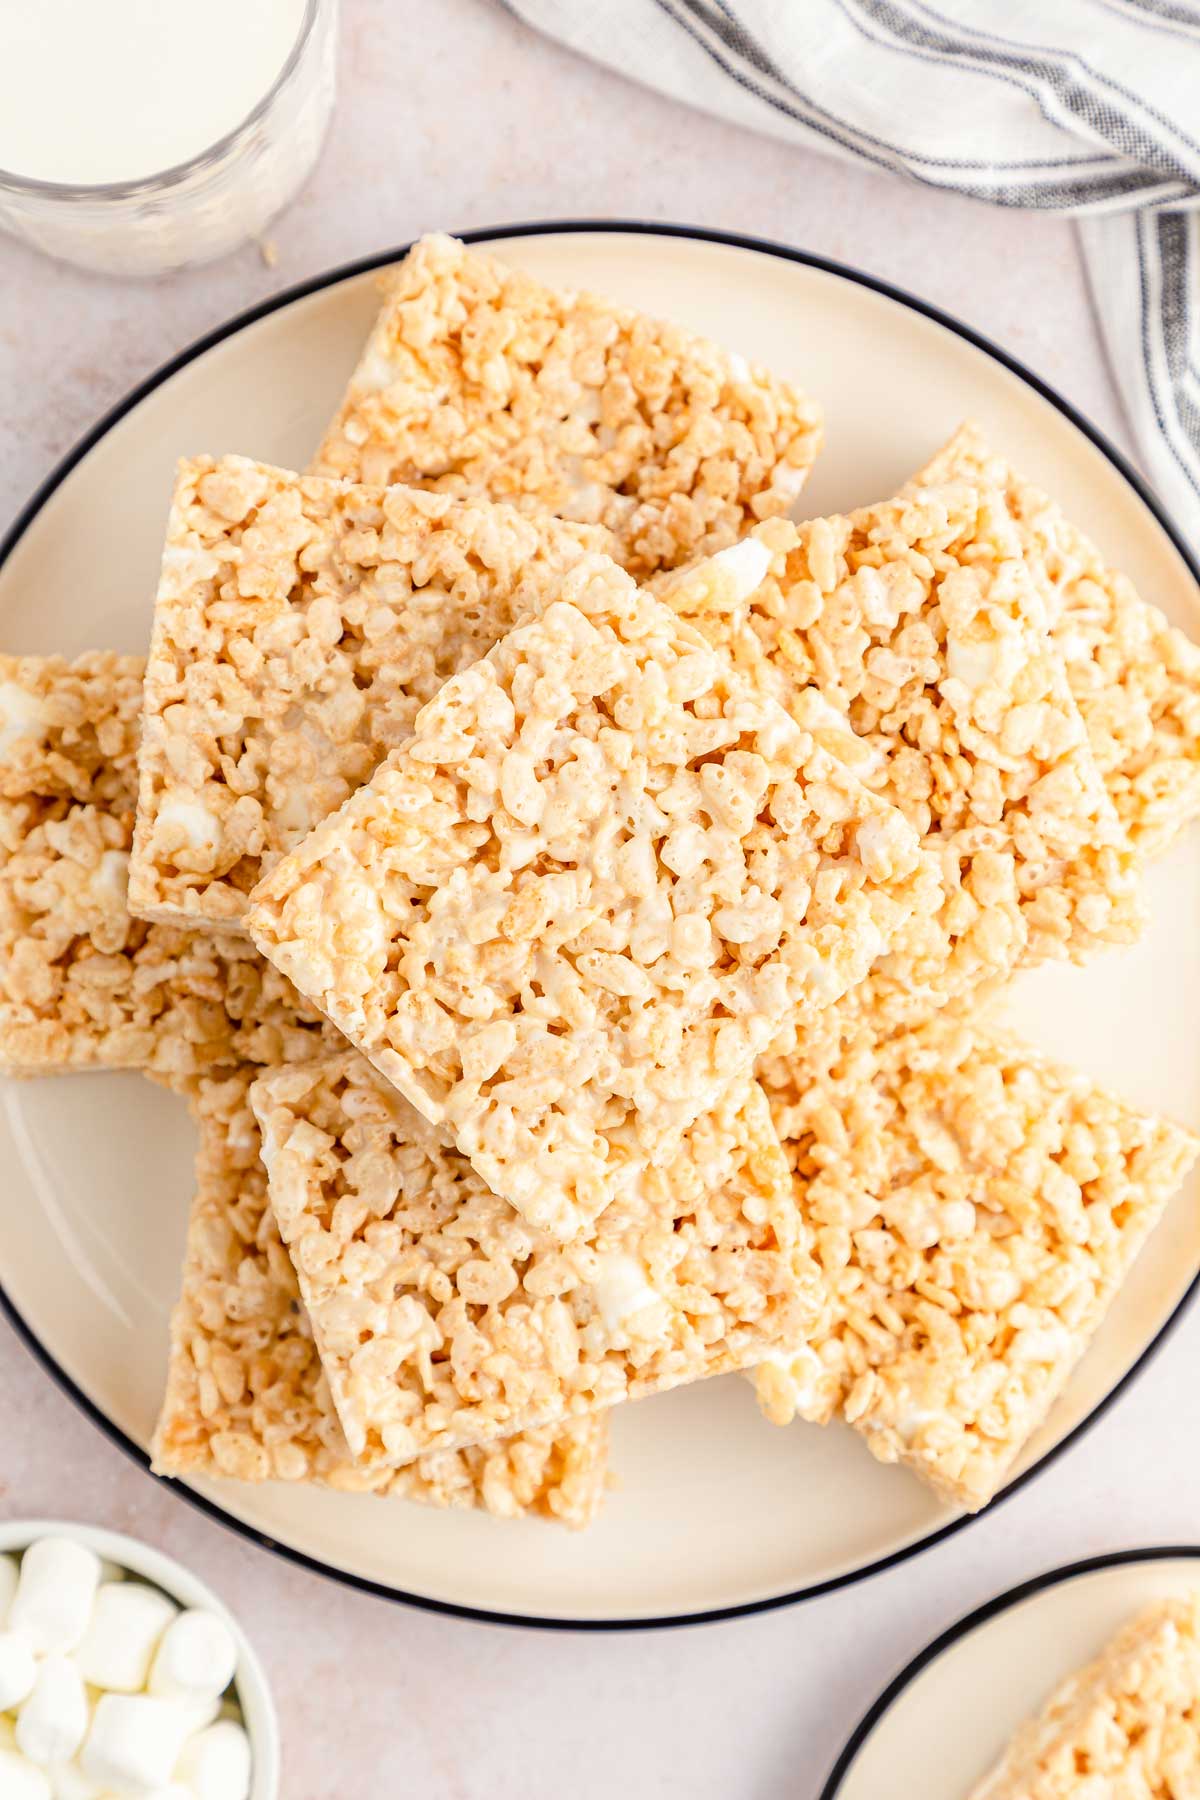
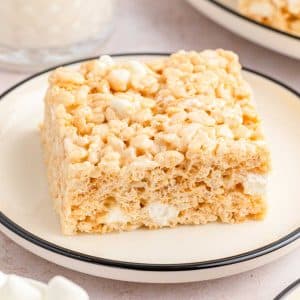
Nothing beats the nostalgic magic of homemade Rice Krispies Treats, and my version takes them to the next level. These bars are thick, gooey, and packed with buttery marshmallow flavor that melts in your mouth. With the perfect balance of crunch and chew, this recipe delivers that soft, bakery-style texture everyone loves. No dry or hard squares here. It’s a simple upgrade to a classic that will have you reaching for seconds and maybe even thirds.
Homemade Rice Krispie Treats
These Rice Krispie Treats are the ultimate throwback with a gooey twist. We mix in extra mini marshmallows for soft, chewy pockets in every bite, and a pinch of salt to bring out the flavor. They’re quick to make, perfect for any occasion, and easy to customize with chocolate chips, drizzles, or fun shapes. Simple, nostalgic, and seriously delicious.
And if you’re looking for even more amazing ways to turn crispy rice cereal into tasty no bake treats, check out these Red Velvet Rice Krispie Treats, Watermelon Rice Krispie Treats and these Rice Krispie Easter Eggs.
Why My Rice Krispies Treats are the Best
- Extra marshmallows for maximum gooeyness – My secret is using more marshmallows than the classic recipe, so every bite is soft and chewy instead of dry or stiff.
- Low and slow melt for rich, buttery flavor – Melting the butter and marshmallows gently creates a smooth, creamy texture and prevents the treats from getting hard later.
- No sticky mess, just easy prep – With my foolproof tips for mixing and spreading, you won’t end up with a gluey bowl or a pan that’s impossible to press.
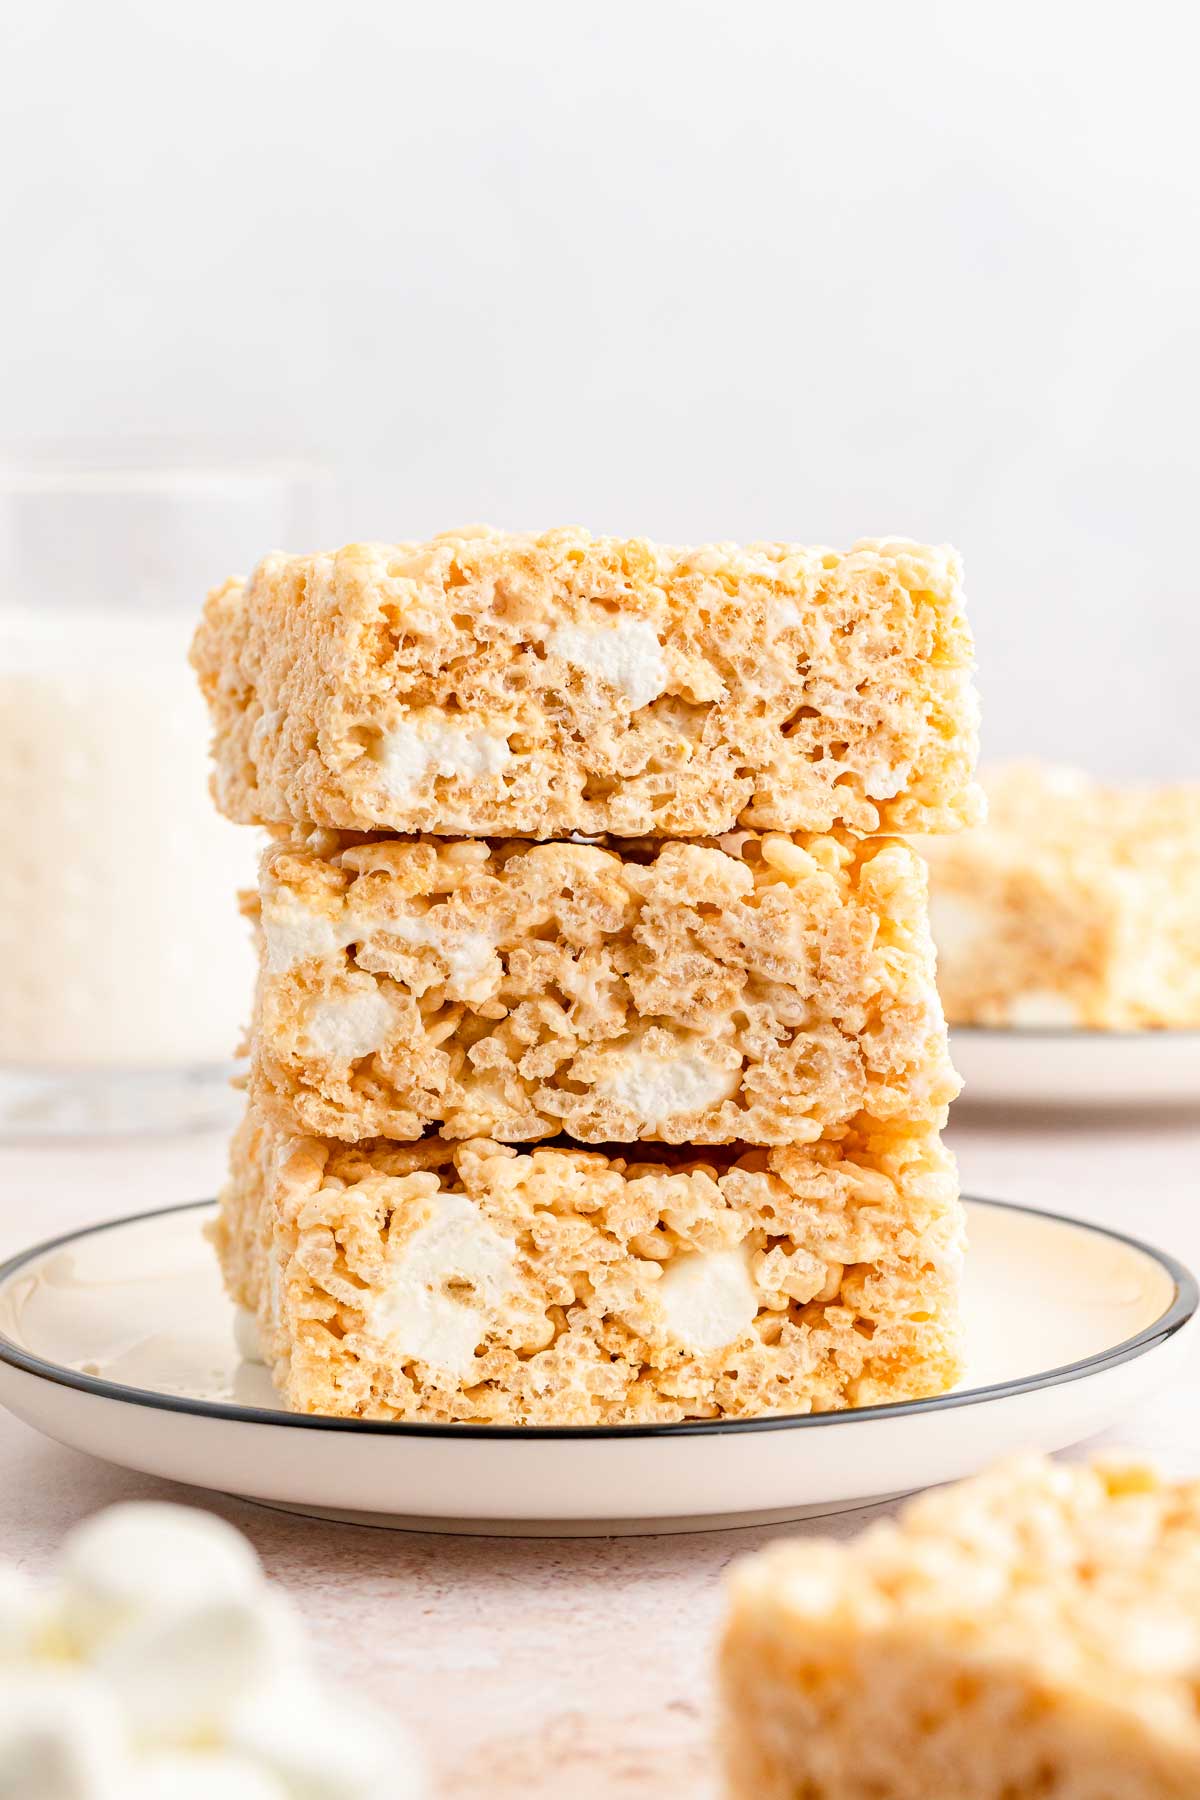
Ingredients for the Best Krispies Treats
Below is a list of the ingredients you’ll need to make this recipe. Scroll down to the full recipe card for the specific amounts.
- Unsalted butter, melted – for a rich, buttery base
- Mini marshmallows – some melted, some stirred in for gooey pockets
- Pure vanilla extract – adds warm, sweet flavor
- Salt – balances the sweetness perfectly
- Rice Krispies cereal – gives that classic crispy crunch
How to Make the Best Rice Krispie Treats
Here are my step-by-step instructions so you can make this recipe with ease. For the full, printable recipe with amounts and temperatures, scroll down to the recipe card below.
Prepare Pan and Melt the Butter
- Line a baking pan with parchment paper and set it aside. You can lightly spray the bottom with nonstick spray to help keep the parchment paper in place, but you do not need to spray the top.
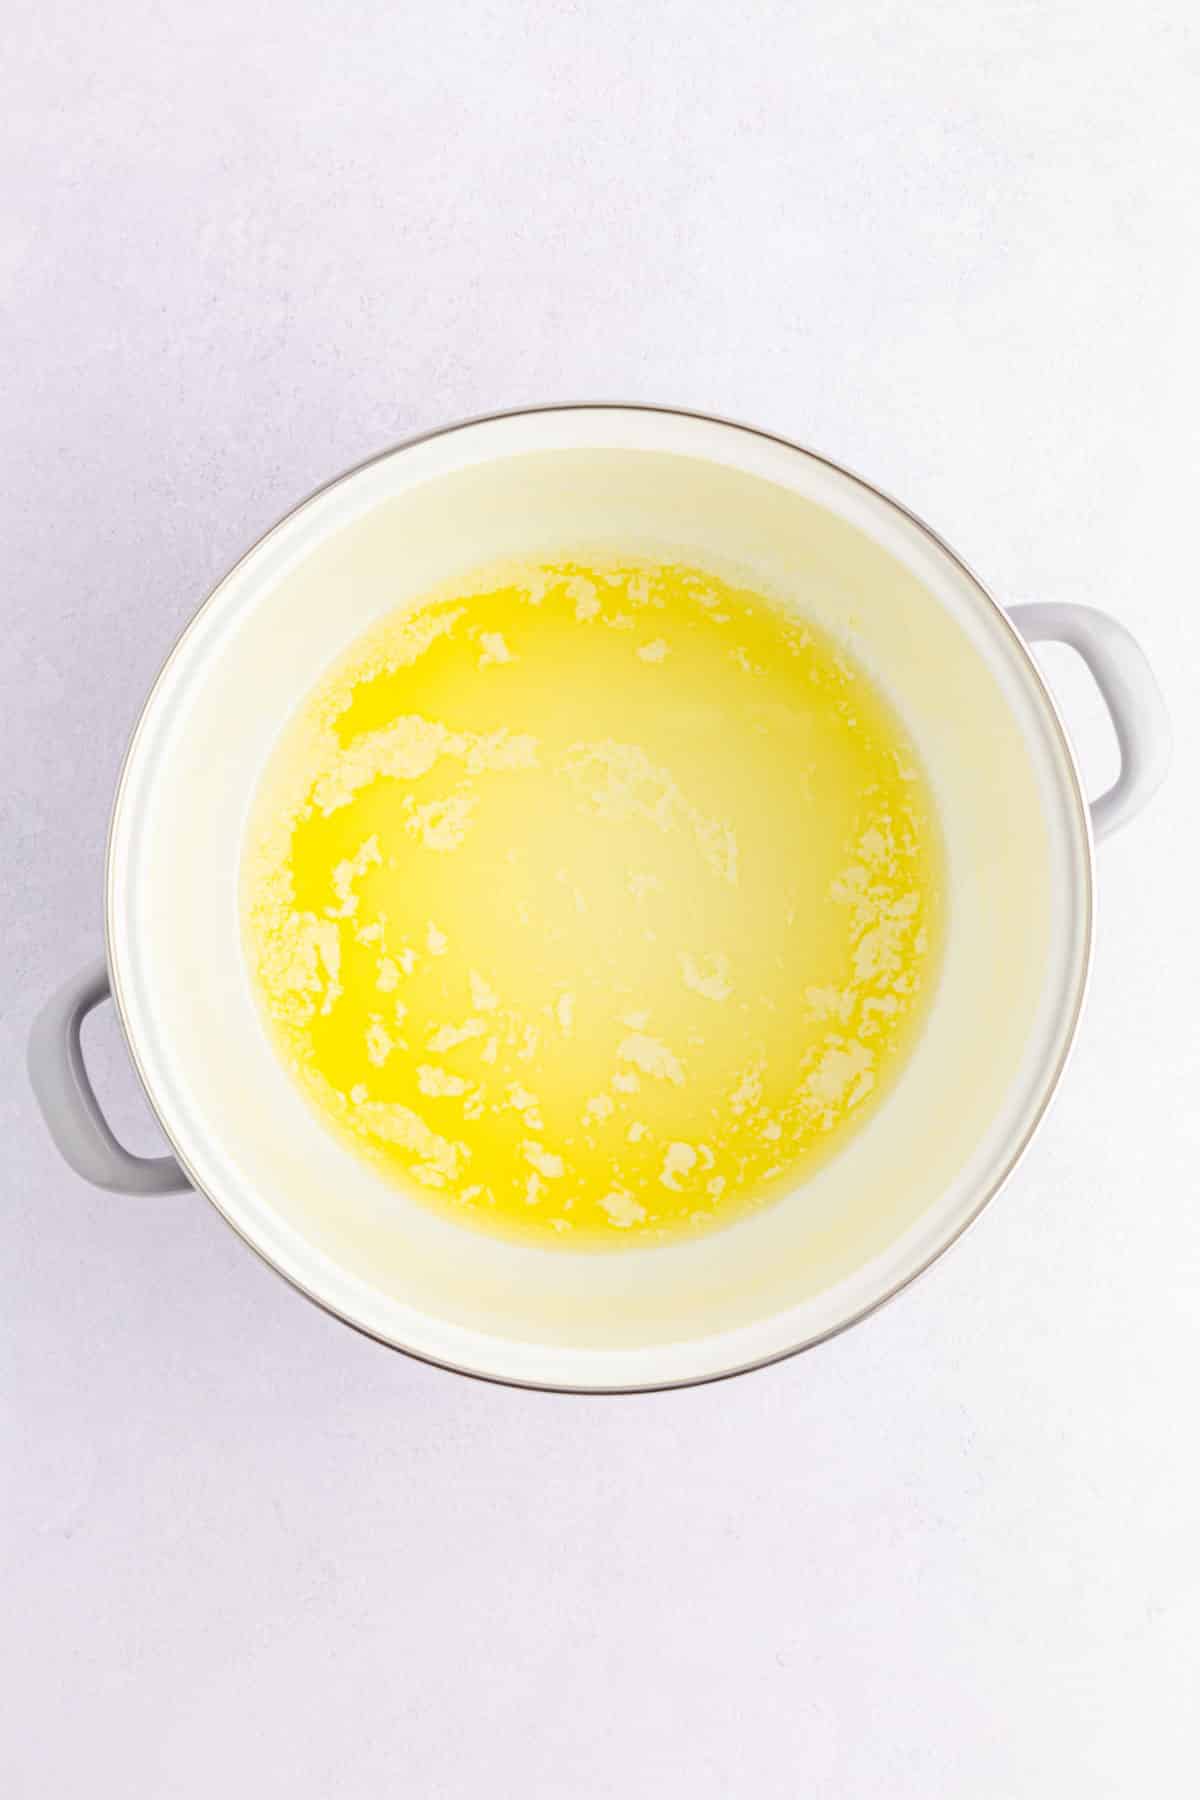
- Melt butter in a large pot or dutch oven over medium-low heat.
Add Some of the Marshmallows
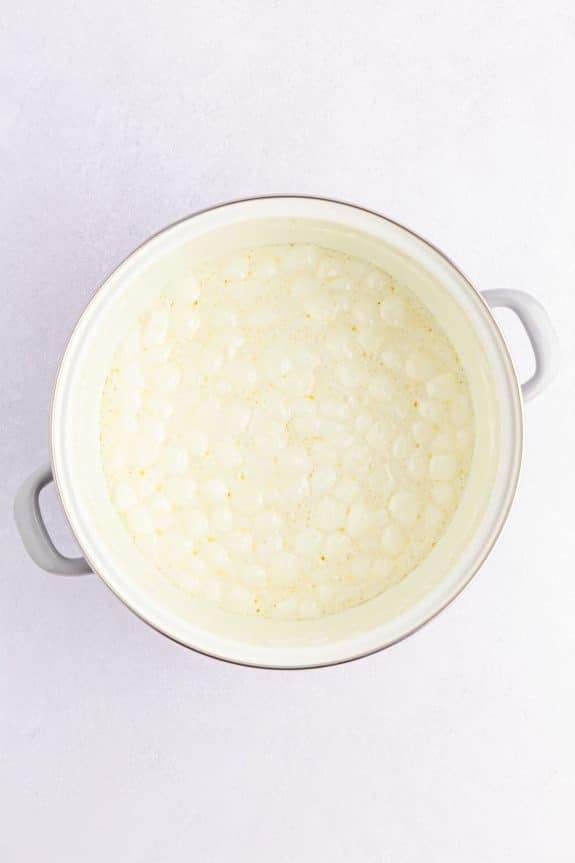
- Set aside 2 cups of miniature marshmallows to mix in later. Then add the remaining marshmallows into the pot and melt with the butter over low heat, stirring slowly until just melted. Do not overheat.
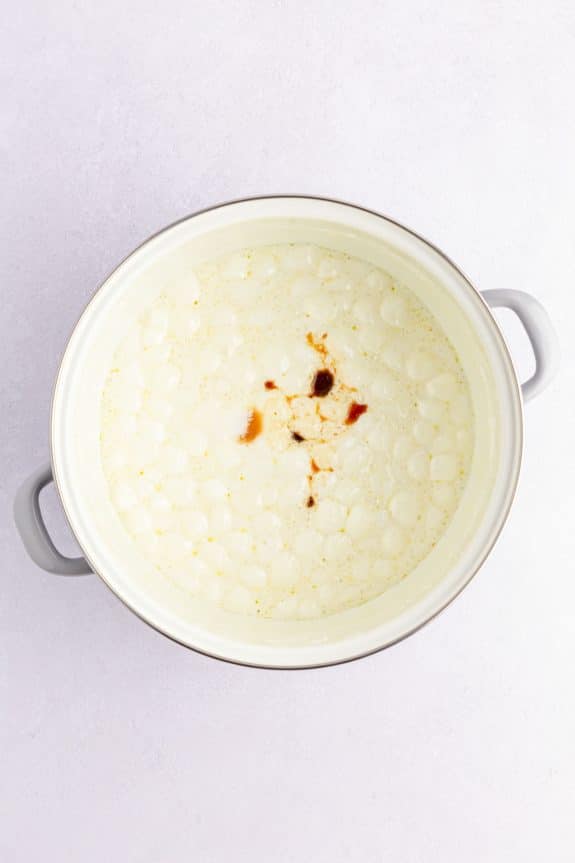
- As soon as the marshmallow mixture has melted, immediately remove the pot from the heat and stir in the vanilla extract and salt.
Add Remaining Marshmallows and Cereal
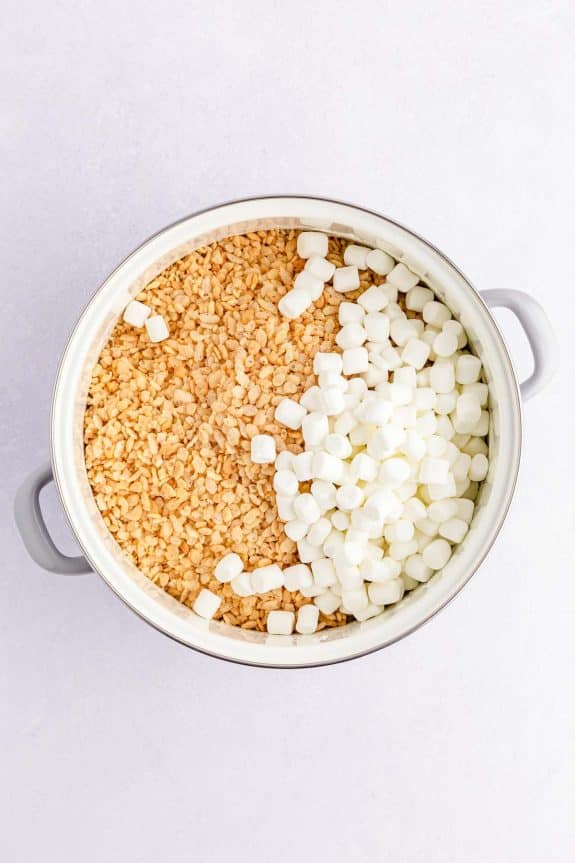

- Fold the Rice Krispies cereal and the 2 cups of set-aside marshmallows together until evenly distributed and coated.
Spread into Pan and Allow to Cool
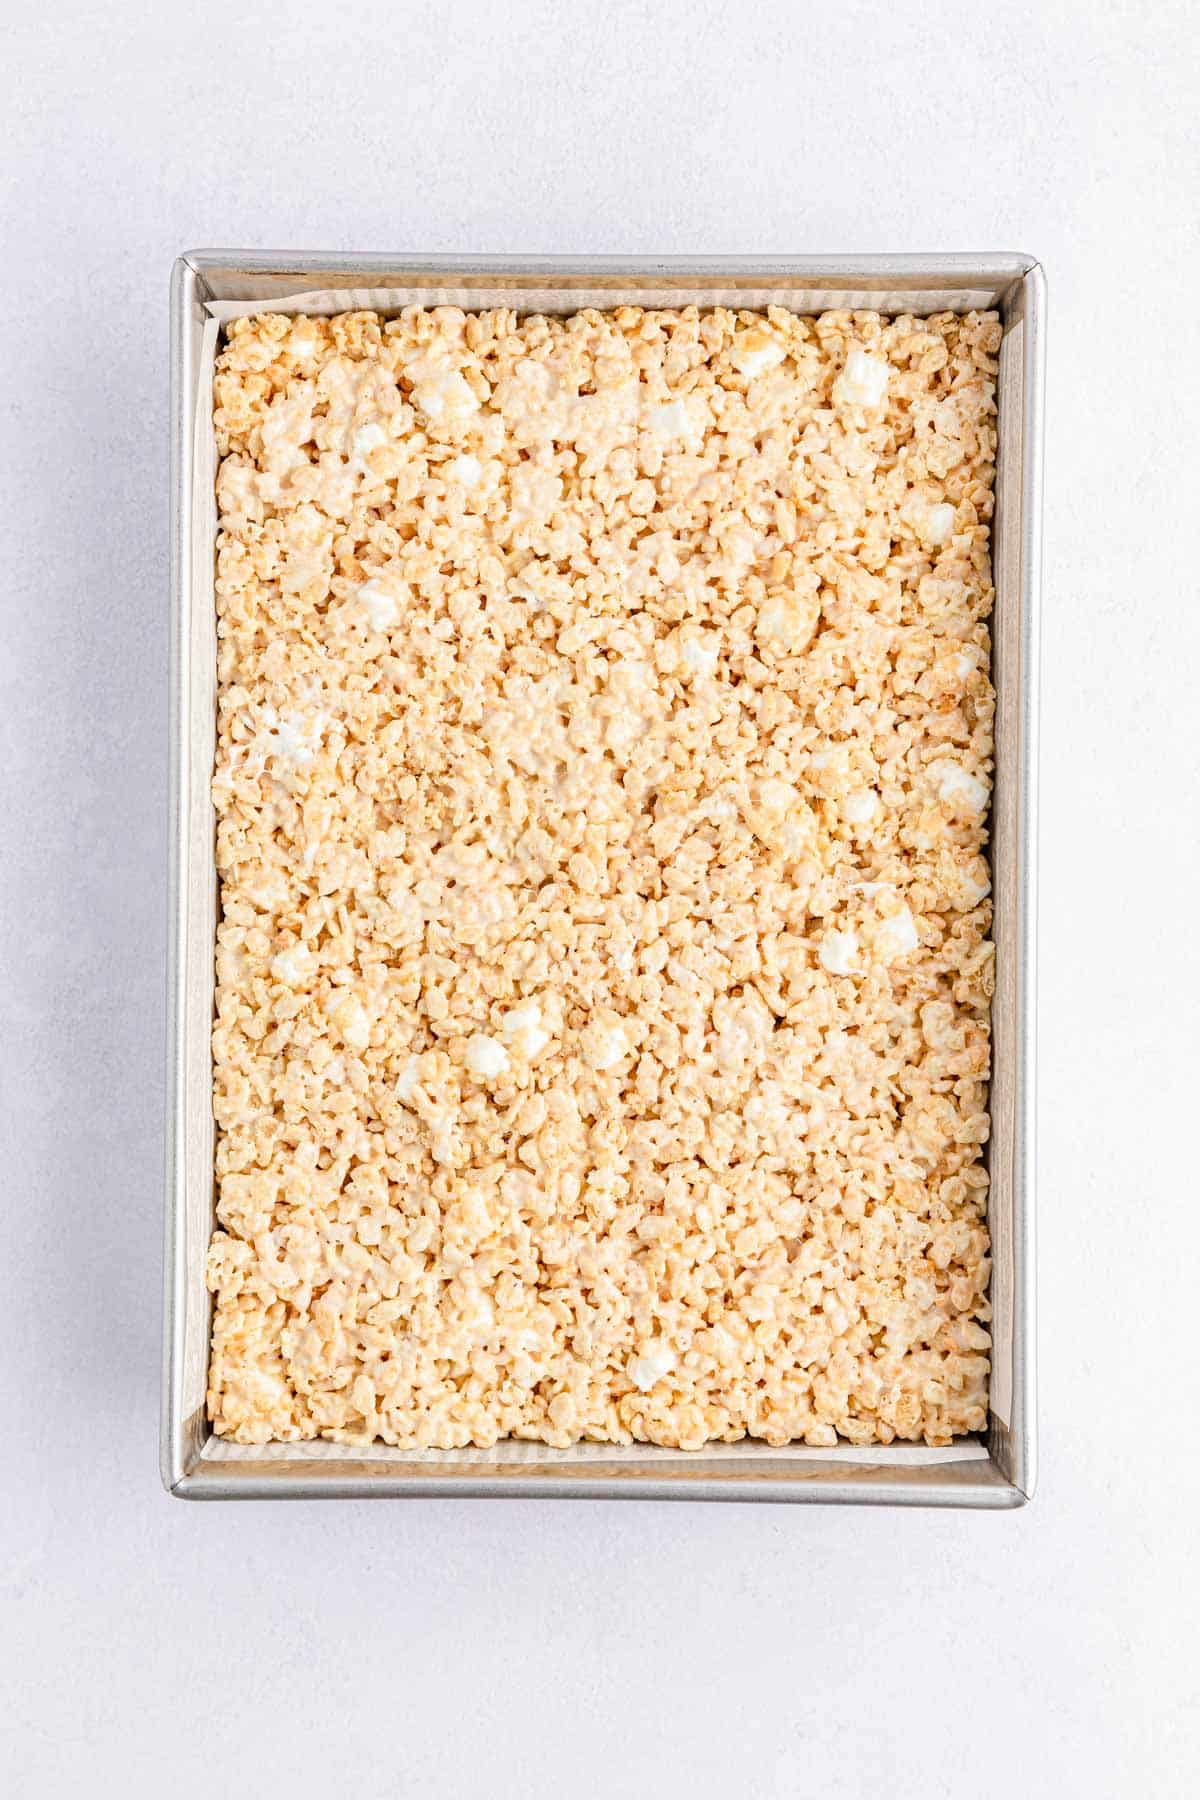
- Spread the prepared Rice Krispies mix into an even layer in the baking pan and lightly press it in. You can use a rubber spatula to help prevent it from sticking.
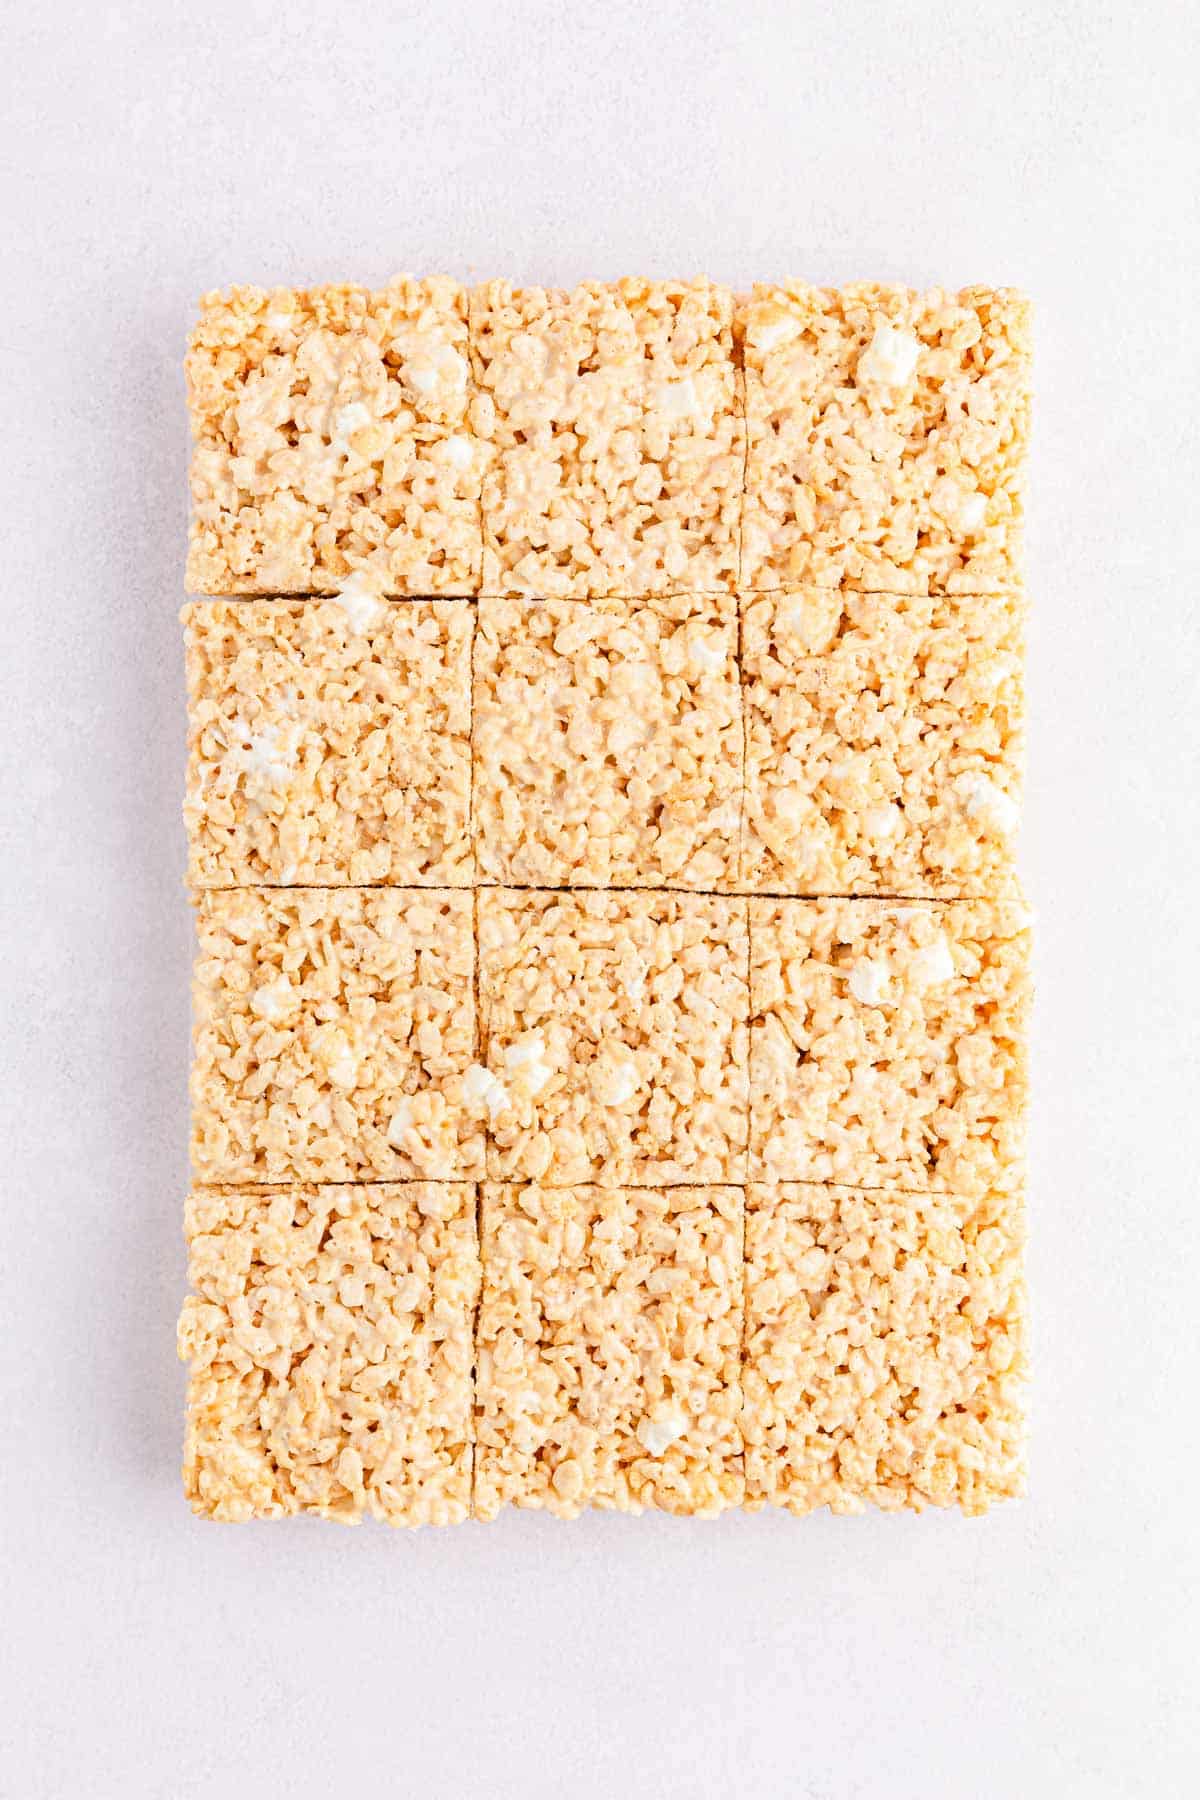
- Allow marshmallow treats time to cool on the counter for about 30 minutes to 1 hour before cutting into squares.
- Fresh marshmallows – Always soft and fresh marshmallows. Air can cause them to become stale and hardened which will affect the texture of the marshmallow mixture.
- Heat slowly – When melting the marshmallows, use low or medium heat to prevent them from scorching. Make sure you stir the mixture constantly until they are fully melted and smooth.
- Mix gently – When adding the cereal to the melted marshmallows, mix it gently to avoid crushing the cereal too much. This can cause your treats to be dense and harden.
- Even thickness – Press the mixture firmly and evenly into the pan. This helps make them all the same size when you slice them.
- Butter hands – Coat your hands with butter, nonstick cooking spray, or vegetable oil before pressing the mixture into the pan. This will prevent a sticky mess and will make it easier to spread.
Can I make Rice Krispie Treats in the Microwave?
Yes, you can. Just melt the marshmallows and butter in a microwave-safe bowl using the microwave. Heat the mixture in 15-30 second intervals on medium heat. Stir between each interval until the mixture is melted and smooth. Be careful not to overheat and burn the marshmallows.
Storage Instructions
- Room Temperature – These Rice Krispie treats are best eaten within a day or two, but you can store leftovers in an airtight container at room temperature.
- Refrigerate – For best results do not refrigerate them because it will cause them to harden.
- Freeze – While it’s possible to freeze them, they are best when freshly made. However, if you have leftovers that you need to freeze, wrap them tightly in plastic wrap or place them in an air-tight container before freezing.
Variations and Add-ins of Rice Krispy Treats
- Brown butter Rice Krispie treats – Add a grown-up twist to the basic recipe by allowing the butter to brown slightly in the large saucepan before adding the marshmallows. This gives the butter a delicious nutty flavor.
- Fruity Pebbles treats – For a fruity and colorful spin, you can use the same amount of Fruity Pebbles cereal as you do the rice crispy cereal.
- Cocoa Krispies – If you have chocolate lovers in your life you can swap out the regular cereal with Cocoa Pebbles cereal.
- Chocolate dipped – Add a fancy finishing touch by dipping the treats, or one end of the treats in melted chocolate or candy melts.
- Sprinkles – Kids love desserts with colorful sprinkles. Just mix their favorite colored sprinkles into the gooey treats before transferring them to the baking pan.
More Easy No Bake Desserts
- Peanut Butter Bars
- Cherry Cheesecake
- Peanut Butter Pie
- Banana Split Cake
- Reese’s Peanut Butter Dessert

Easy Rice Krispie Treats
Equipment
- 9 x 13 baking pan
- Parchment paper
Ingredients
- 1 stick unsalted butter melted
- 16 ounces mini marshmallows divided
- 1 teaspoon pure vanilla extract
- ¼ teaspoon salt
- 8 ½ cups Rice Krispies cereal
Instructions
- Line a baking pan with parchment paper and set it aside.
- In a large pot over low heat, melt the butter.1 stick unsalted butter
- Set aside 2 cups of mini marshmallows to mix in later. Then add the remaining marshmallows into the pot and melt with the butter over low heat, stirring slowly until just melted. Do not overheat.16 ounces mini marshmallows
- As soon as it has melted, immediately remove the pot from the heat and stir in the vanilla extract and salt.1 teaspoon pure vanilla extract, ¼ teaspoon salt
- Fold the rice krispies cereal and the 2 cups of set aside marshmallows together until evenly distributed and coated.8 ½ cups Rice Krispies cereal
- Spread the prepared rice krispies mix into an even layer in the baking pan and lightly press it in. You can use a rubber spatula to help prevent it from sticking.
- Allow it to cool on the counter for 30 minutes to 1 hour before cutting into squares.
Notes
Nutrition
Did You Make This Recipe?
Don’t forget to share it with me on @thebalancingmom and follow on Tiktok @balancingmotherhood and Pinterest @thebalancingmom for more!