How to Stabilize Whipped Cream
This post may contain affiliate links, read our disclosure policy.

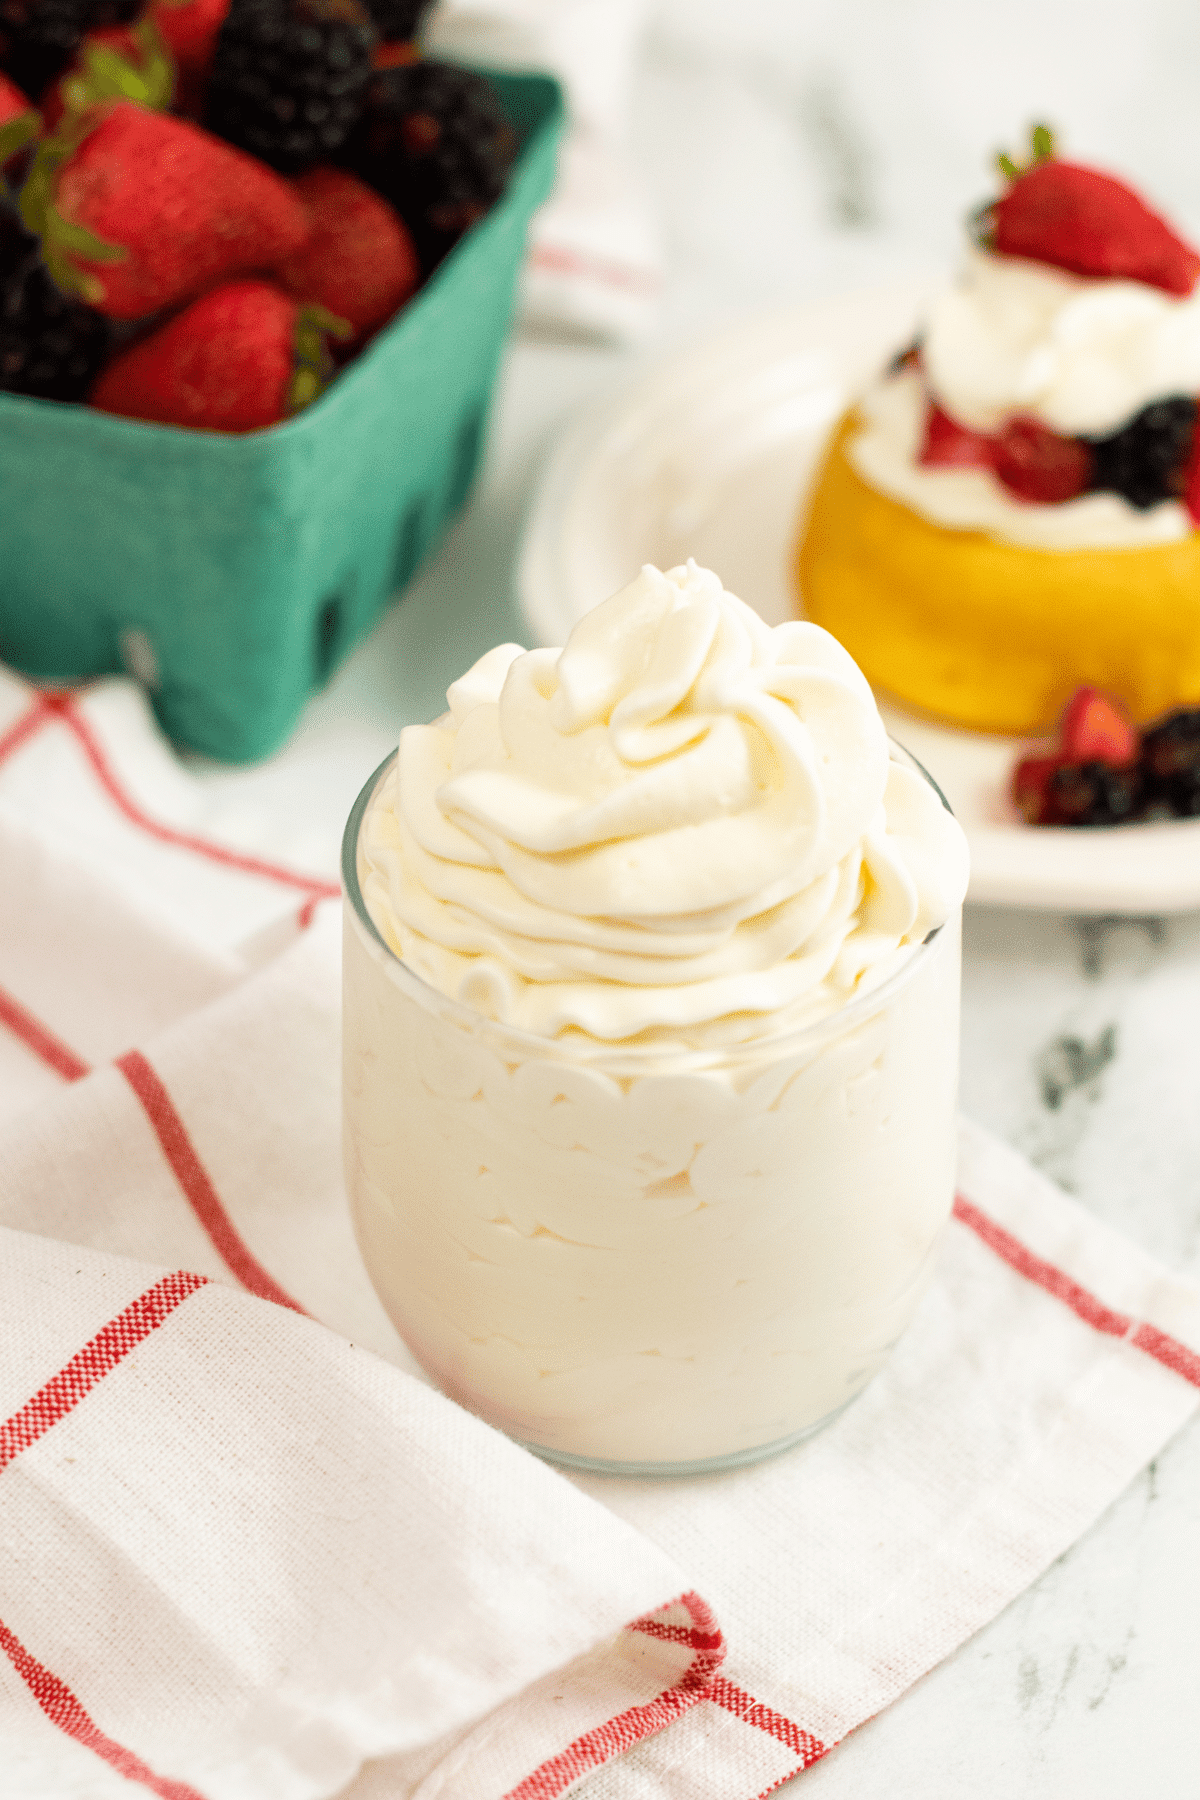
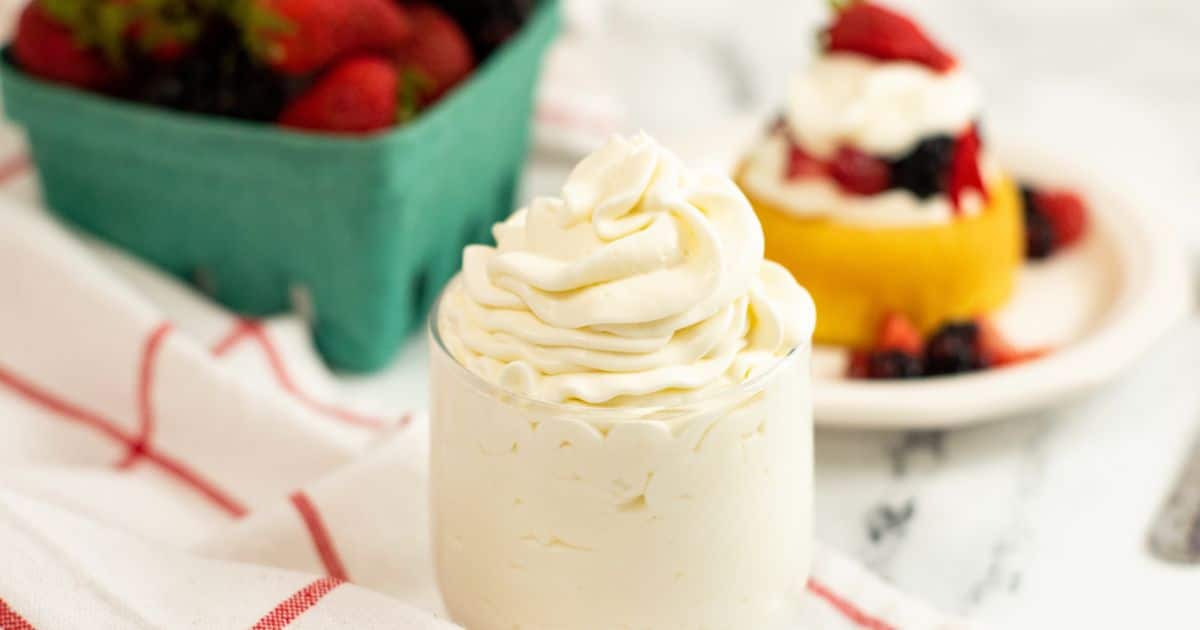
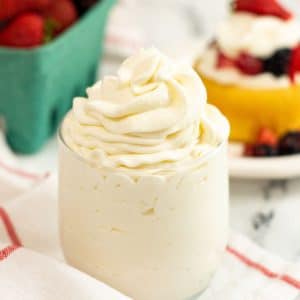
Skip the tub of artificial whipped topping and make your own homemade Stabilized Whipped Cream! With just four simple ingredients you can make a sweet and creamy topping that holds up perfectly for piping or decorating any of your favorite desserts or as a substitute in recipes that call for Cool Whip.
What is Stabilized Whipped Cream?
If you have ever made homemade whipped cream, then you know the process. You take a really cold bowl, add some cold cream with some added vanilla extract and sweetener and you whip it until it forms firm peaks. As the mixer beats the cream, the whipping process creates tons of little air bubbles to give it volume. In just a few minutes, the cream goes from liquid to solid form. Unfortunately, even the best homemade whipped topping will lose its stability fairly quickly, especially when it’s not kept out of the fridge for long periods of time.
That’s where stabilizing it comes to rescue. By adding a stabilizing agent, you end up with firm and stabilized whipped topping that’s holds up well making it a great way to top desserts. It even acts as a great frosting that is light and fluffy and super creamy.
So, what is this secret ingredient? Cream cheese, and in this case, full-fat cream cheese. While there are other recipes for stabilized cream that use unflavored gelatin, instant pudding mix or powdered milk, the cream cheese in this recipe gives it the closest texture to homemade Cool Whip but with a really pleasant and subtle bit of tang.
This stabilized whipped cream makes one of the best dessert toppings for pies and cakes like this Pumpkin Pie, this Creamy Lemon Pie and this Pecan Dump Cake.
But also, its sweet enough to make a wonderful and sturdy whipped cream frosting for delicious cupcakes. Just add some to a piping bag with any of your favorite decorating tips and you can have beautiful, bakery-quality cupcakes or pies that will have everyone thinking you’re a professional cake decorator.
💓 Why We Love This Recipe
- With just a few basic ingredients you can make the perfect whipped cream recipe in a matter of minutes.
- Easy recipe that tastes so much better than a tub of whipped cream from grocery stores.
- Versatile enough to use as a Cool Whip topping substitute or as a light and airy cream frosting.
🥄 Recommended Tools
- Mixing Bowl
- Electric Mixer with Whisk Attachment
- Measuring Cups
- Measuring Spoon
🛒 What’s Need to Make this Easy Stabilized Whipped Cream Recipe
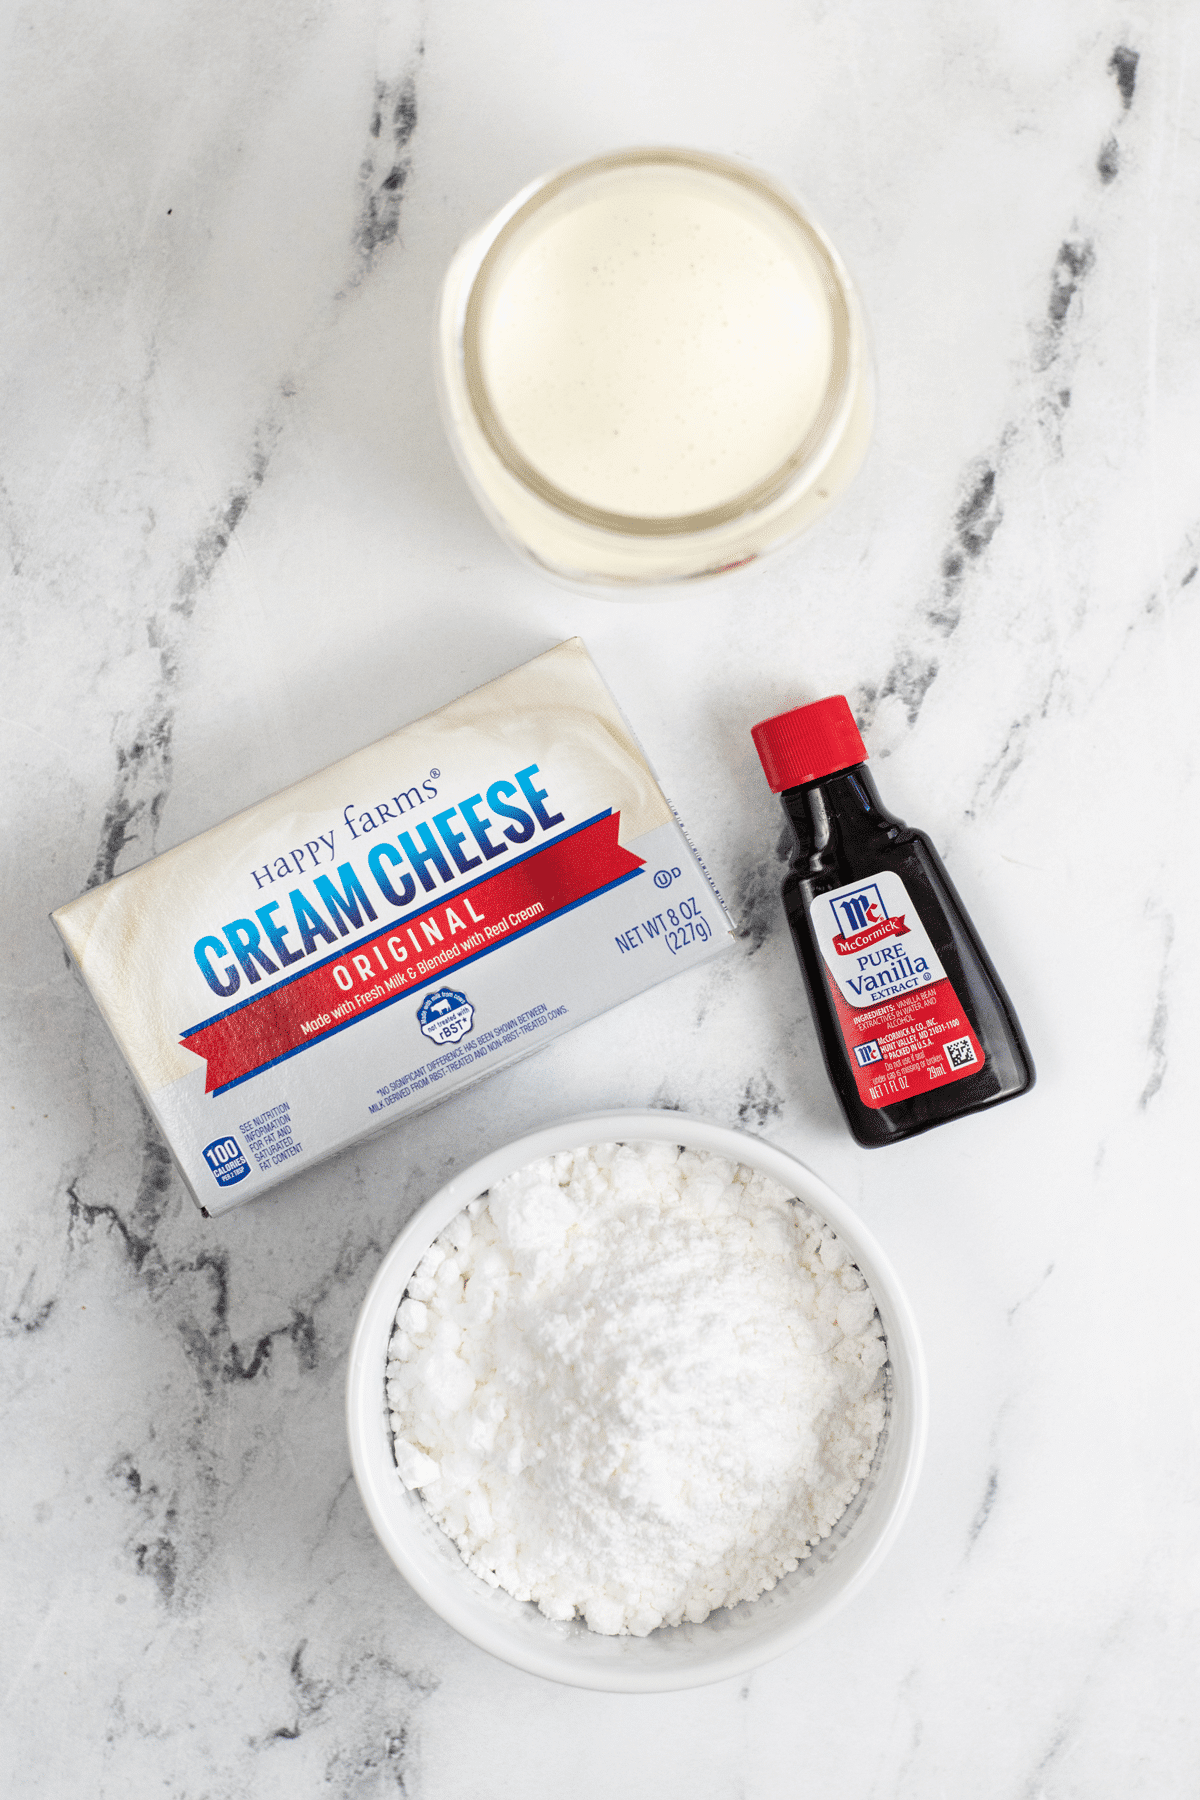
- Cream cheese – softened
- Powdered sugar
- Vanilla extract
- Heavy whipping cream – cold
How to Make Homemade Whipped Cream
Step One: Chill the Bowl
Before starting place a mixing bowl in the freezer for about 15 min, this helps the whipped cream whip up more easily.
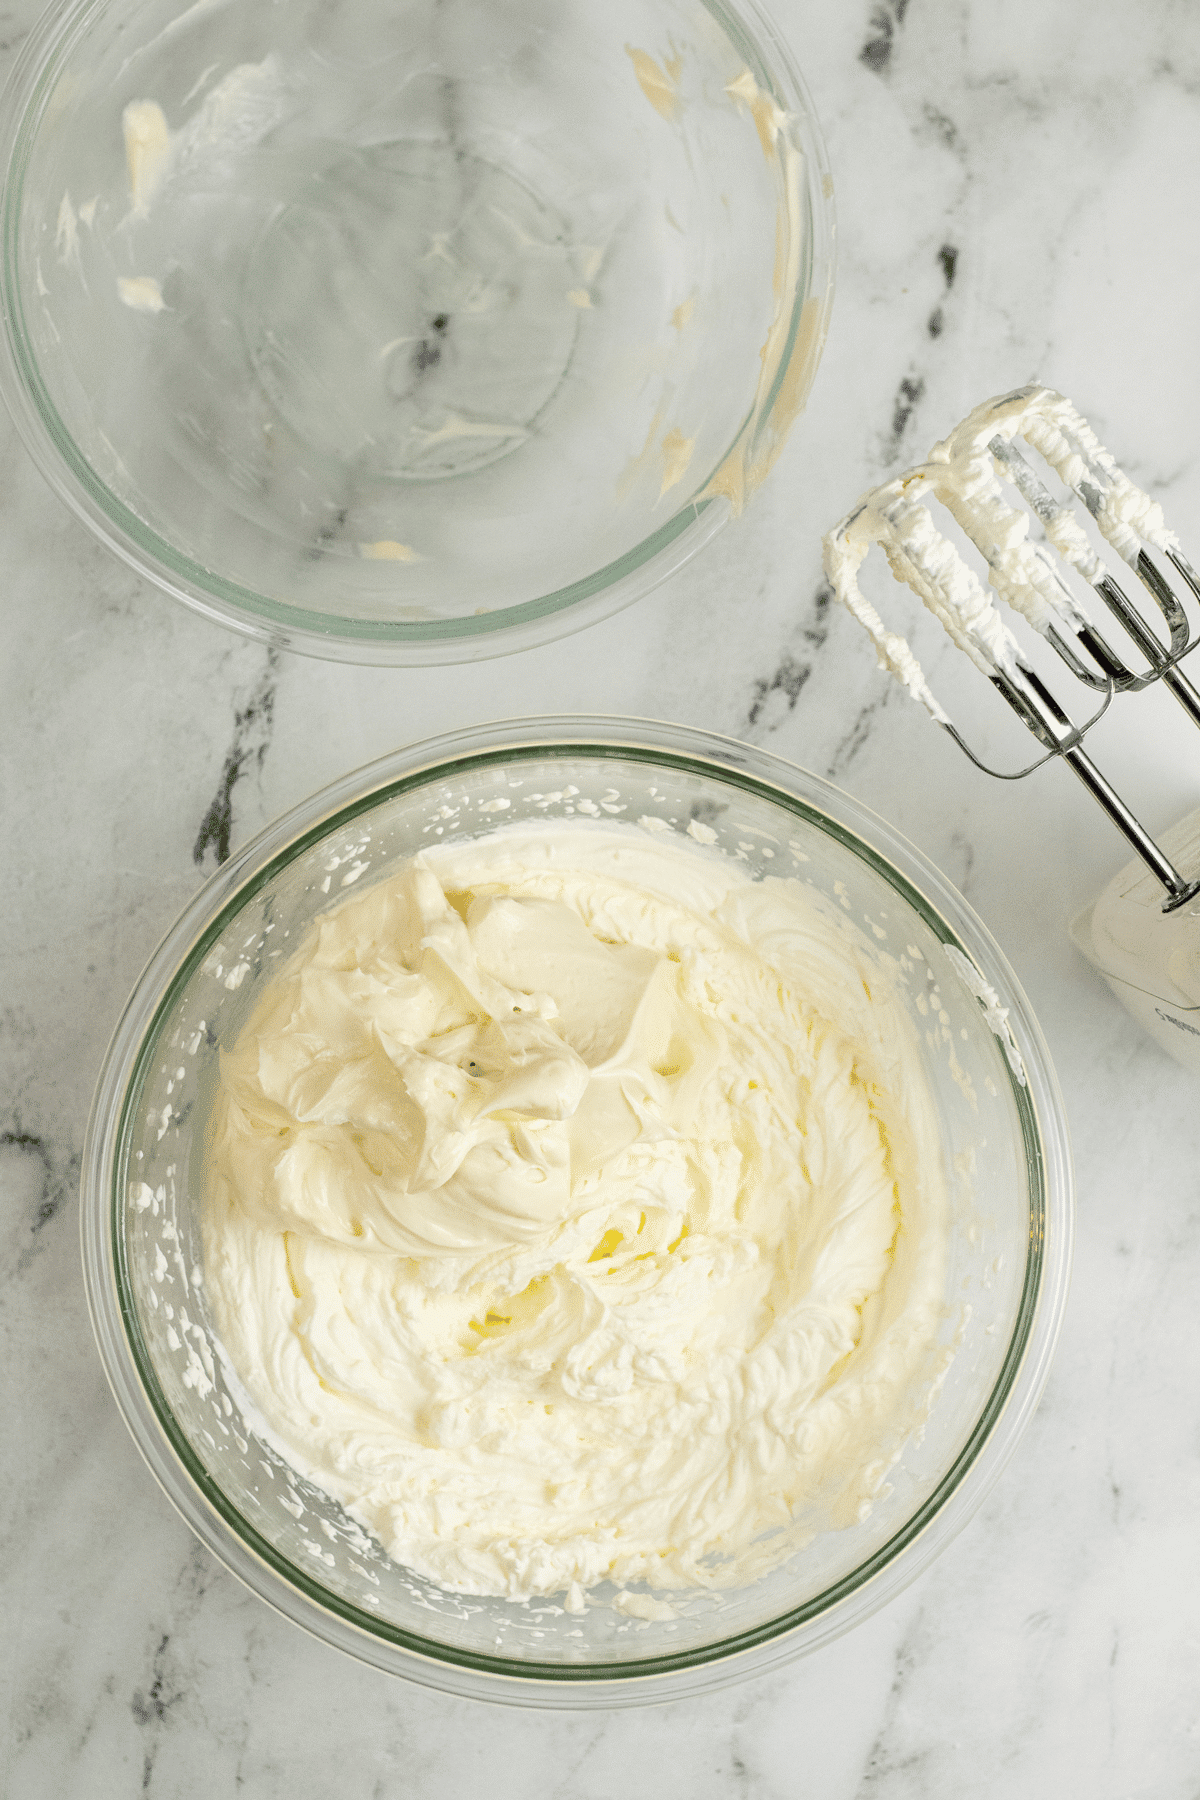
Step Two: Make the Cream Cheese Mixture
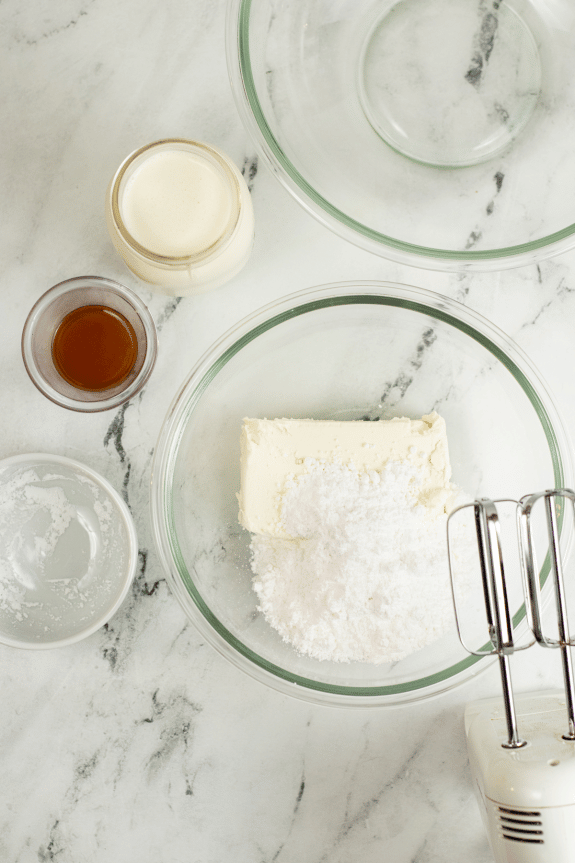
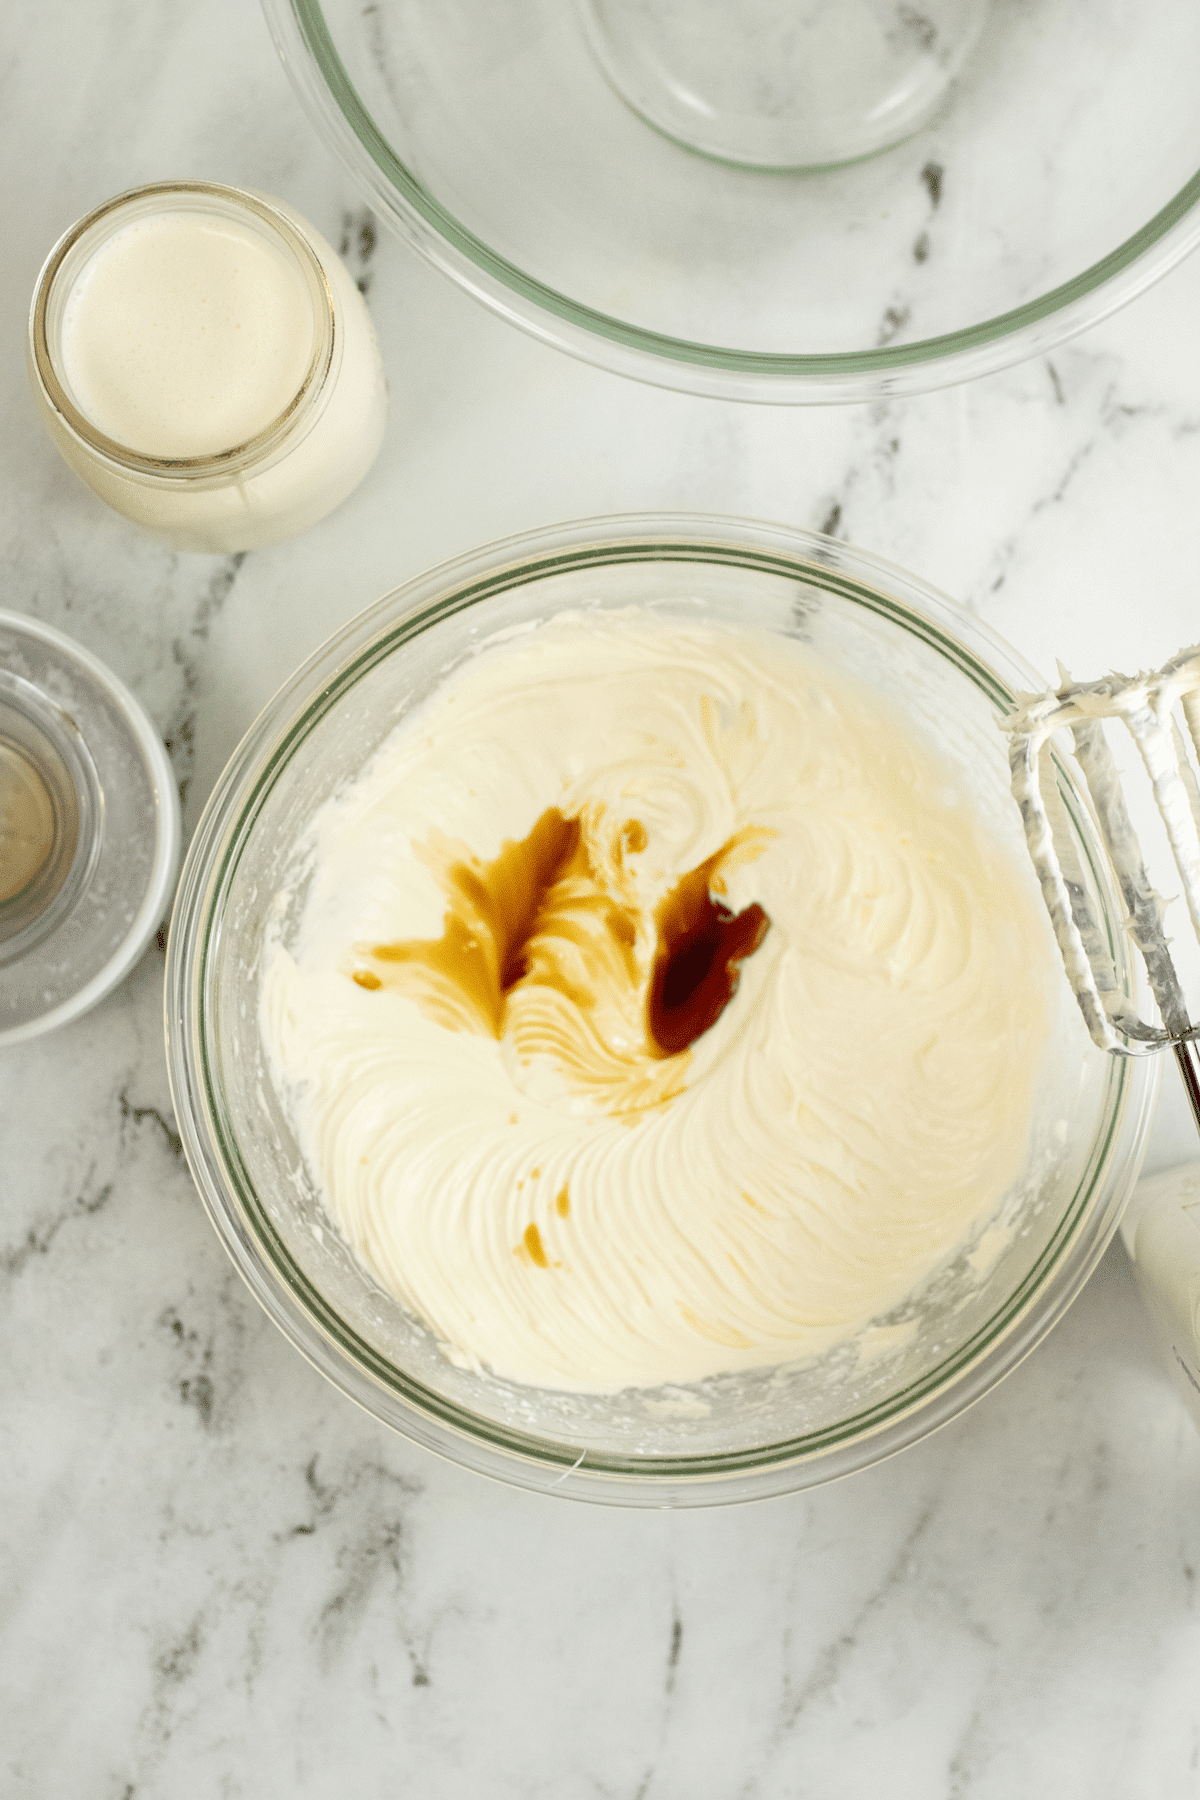
In a separate mixing bowl, on low speed, cream together the confectioners’ sugar, cream cheese and vanilla with an electric hand mixer (or stand mixer). Increase to medium speed until creamy and well mixed and any small lumps are smooth.
Step Three: Whip the Cream
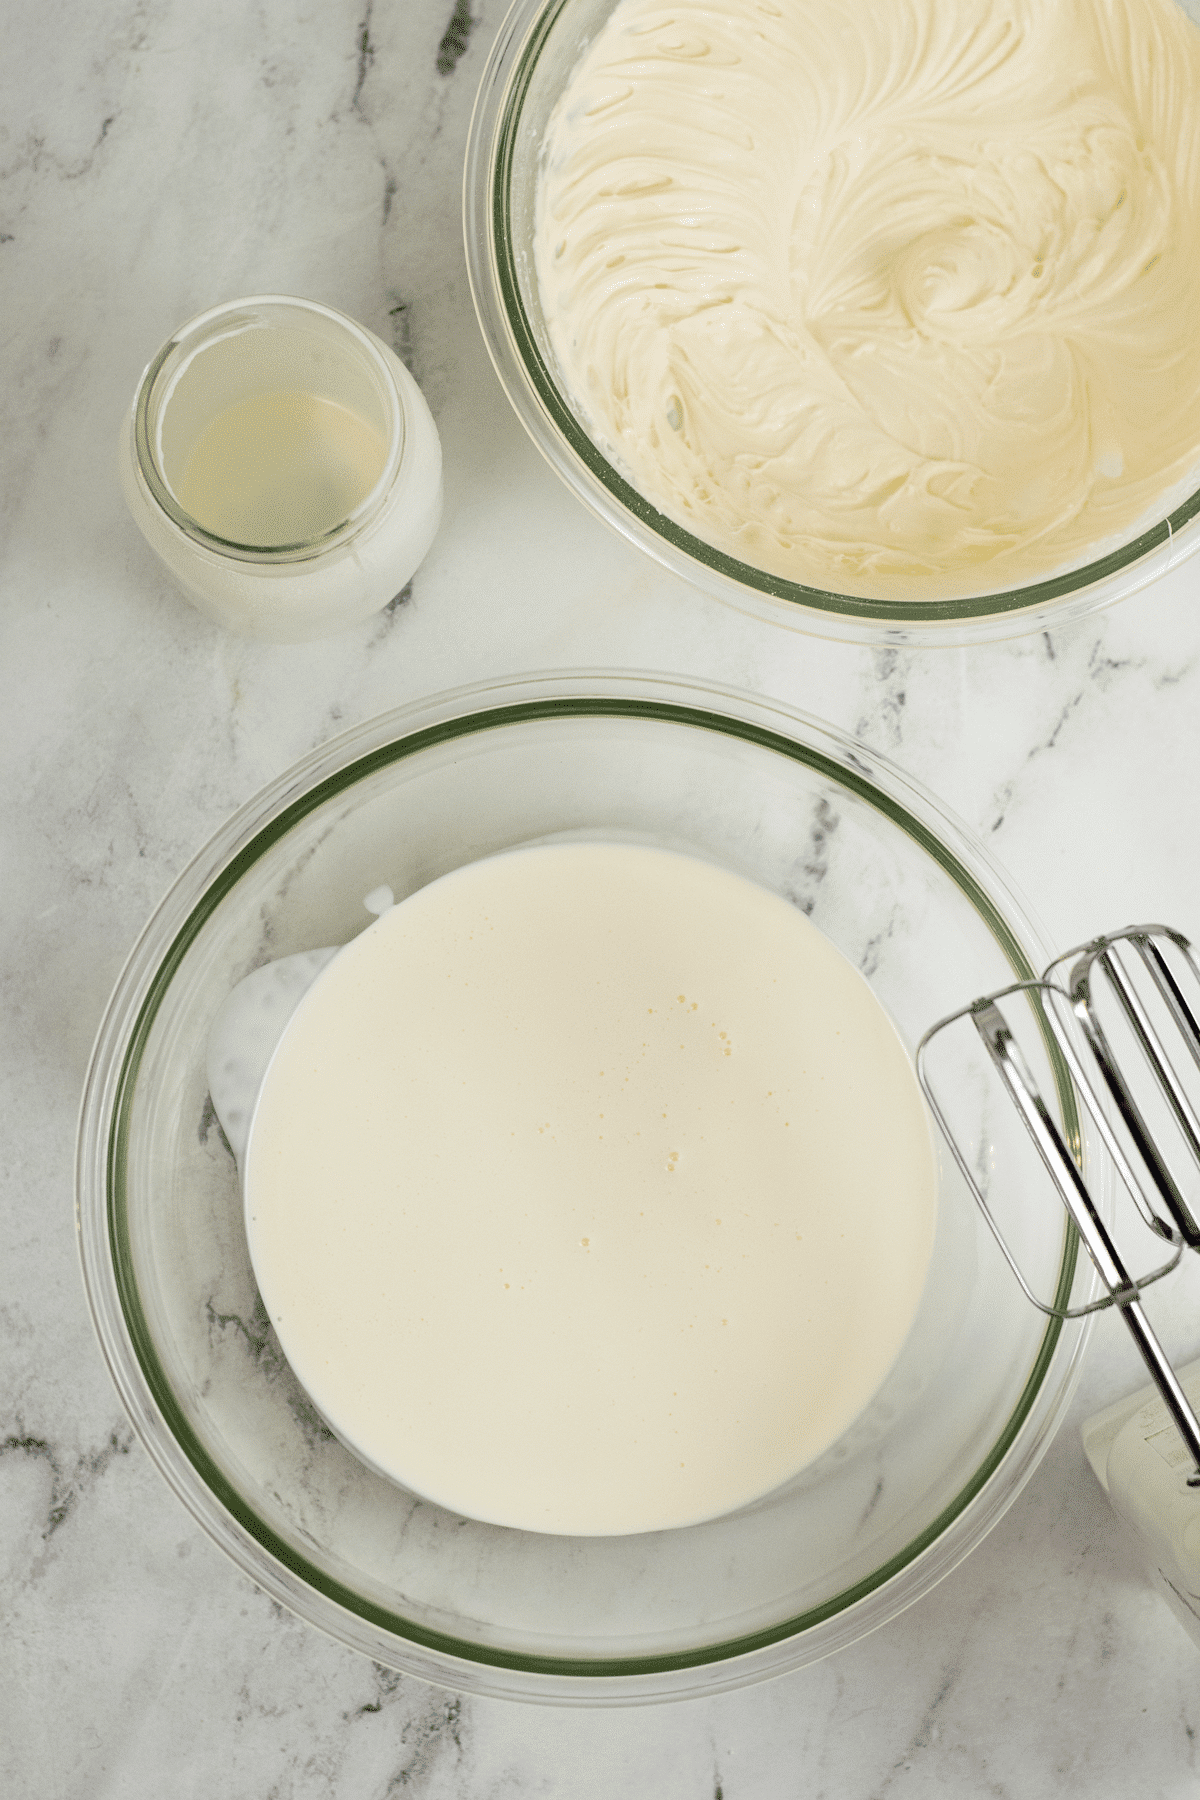
Remove your chilled bowl from the freezer add in the cold heavy cream and mix on medium speed for 1-2 minutes, increase to high speed and continue mixing until stiff peaks form.
Step Four: Combine Ingredients and Chill
Add the cream cheese and sugar mixture into the cold whipping cream and beat on medium speed for 1-2 minutes or until well mixed. Place in an airtight container in the fridge until you’re ready to serve it.
What’s the Best Way to Store Stabilized Whipped Cream?
Store this cream mixture in the refrigerator in an airtight container, it will keep for 2-3 days. For best results, when you transfer it to your container, place a piece of plastic wrap gently over the top surface of the whipped cream. This helps prevent it from picking up any unwanted flavors from other things you’re storing in the fridge.
Whipped Cream Variations and Add-in’s
There are so many awesome ways to add different flavors to this recipe simply by adding a pinch of that or a drop of this! Here are some ideas to give you some inspiration:
Cocoa: What goes better with chocolate cake or chocolate pie than chocolate whipped cream. Just add a couple of teaspoons to whipped cream and mix well. Be careful though, cocoa powder can be overpowering, so it will only take a little bit.
Peanut Butter: To give whipped cream nutty flavor you can add some peanut butter. The time to add it is when you are creaming the cream cheese and vanilla. Trying to fold in thick nut butters into the cream after its whipped doesn’t work and could cause the cream to deflate.
Cinnamon: Really dress up those fall cakes and pies with a dollop of cinnamon flavored whipped toppings. It only takes a pinch to give it amazing flavor.
Coffee: Instant espresso powder is a great way to give your whipped cream the perfect hint of coffee flavor. Add it to the top of milkshakes for an extra special treat.
Maple: You’ll never want to eat pancakes any other way after you try maple whipped cream. Fold in a teaspoon or two of you favorite thick maple syrup and stir just until combined.
Lemon: Adding some lemon zest to whipped cream really brightens up the flavors. Lemon is always a hit with fresh fruit bowl or even as a light and refreshing topping to angel food cake.
Mint: A little fresh, finely chopped mint pairs so well with chocolate desserts.
Bourbon: Add a little boozy fun to your bowl of ice cream with some bourbon flavored whipped topping. Don’t get carried away though because the more liquid you add the looser the cream becomes.
Tips for Making the Best Whipped Cream
- Always chill your bowl and the beaters before you start making the recipe. This is key to helping your whipped cream thicken up quickly and will give it much more volume.
- Allow the cream cheese to soften on the countertop. Don’t try to soften it in the microwave because there may be warm pockets of cream cheese that could affect temp of the cream.
- Know the difference in soft peaks and stiff peaks. At the soft peak stage, the peaks will collapse over on themselves when you lift the beaters out of the bowl. Stiff peaks are when you can lift the beaters out of the bowl and the peaks will hold their shape.
- When making homemade stabilized cream, remember that once it’s whipped, it will double in size. That’s a great way to gauge how much heavy cream to start with. One cup of cream will equal two cups of whipped cream.
- Even though stabilized whipped cream holds up longer and better than regular whipped cream, you’ll still want to keep it in the fridge when not serving it because just like any dairy products, it will stay fresher longer when kept cool.
Recipes You Can Use with This Stabilized Whipped Cream
You can use this recipe as a simple and yummy topping to a bowl of cut fruits or as a frosting to more decadent dessert recipes. Here are some of our favorite recipes to enjoy it as a topping or creamy frosting:
- Crockpot Hot Chocolate
- No Bake Banana Split Cake
- Peach Dump Cake
- Homemade Carrot Cupcakes
- Chocolate Cream Pie
- Cool Whip Pumpkin Pie
- Strawberry Poke Cake

Stabilized Whipped Cream
Ingredients
- 8 ounces cream cheese softened
- 1 cup confectioner’s sugar
- 1 Tbsp vanilla extract
- 2 cups heavy cream cold
Instructions
- Before starting place a mixing bowl in the freezer for about 15 min, this helps the whipped cream whip up more easily.
- In a separate mixing bowl cream together the powdered sugar, cream cheese and vanilla until creamy and well mixed.
- Remove your chilled bowl from the freezer add in the cream and mix on medium speed for 1-2 minutes, increase the speed to high and continue mixing until stiff peaks form.
- Add the cream cheese mixture into the whipped cream and beat on medium speed for 1-2 minutes or until well mixed.
- Store in the refrigerator, it will keep for 2-3 days.
Nutrition
Did You Make This Recipe?
Don’t forget to share it with me on @thebalancingmom and follow on Tiktok @balancingmotherhood and Pinterest @thebalancingmom for more!