
Winnie the Pooh Cake Pops
This post may contain affiliate links, read our disclosure policy.
Winnie the Pooh is such a classic. He’s been in books (if you haven’t read the original, it’s wonderful!), cartoons, movies, and now a feature film Christopher Robin.

Winnie the Pooh Cake Pops
These Winnie the Pooh cake pops are the cutest. They aren’t actually cake pops – even easier to make using chocolate sandwich cookies! This would be a great addition to a Winnie the Pooh party – especially with the new Winnie the Pooh full feature film.
Ingredients for Winnie the Pooh Cake Pops
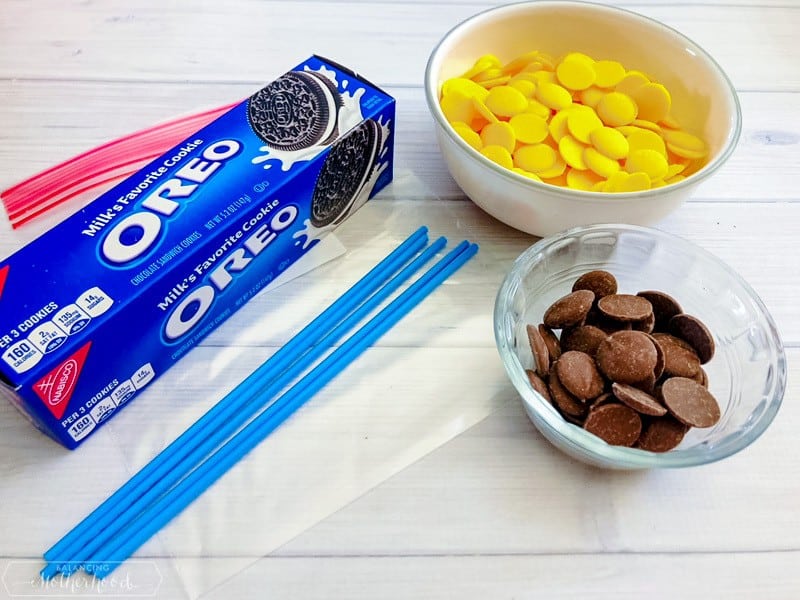
- Chocolate sandwich cookies (I used Oreos)
- Yellow candy melts
- Chocolate candy melts
- Ziptop bag
Lollipop sticks
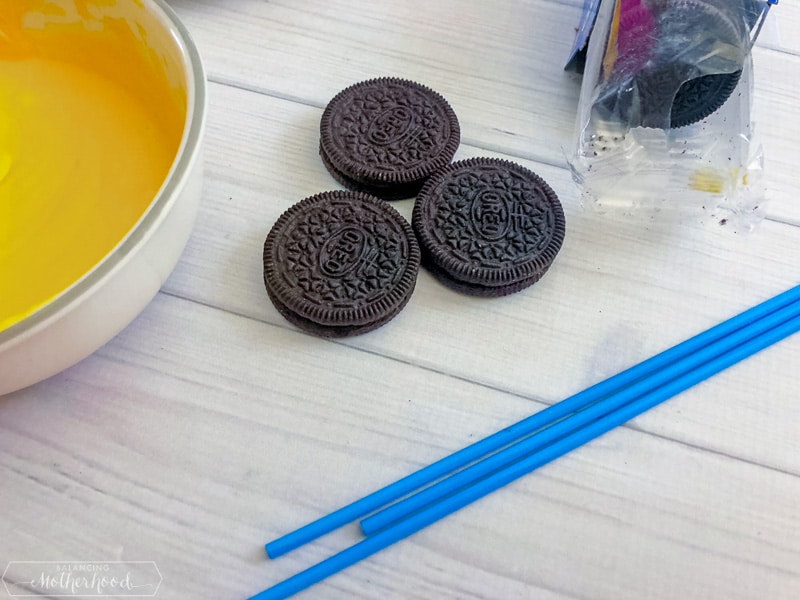
Separate the Oreo and place some melted chocolate inside to help the popsicle stick stay in place.
Cover with the second chocolate sandwich cookie.

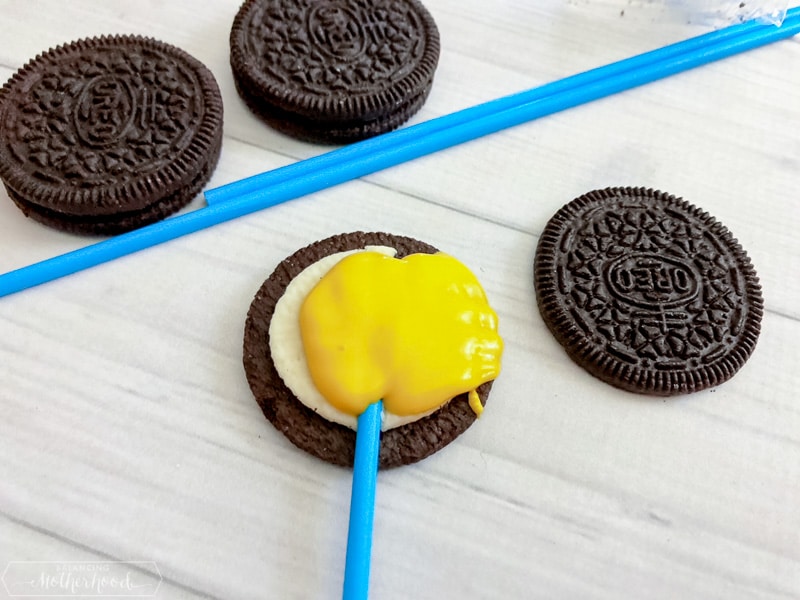
Melt the rest of the yellow candy melts and dip the sandwich cookie in … tapping the excess chocolate off on the side of the bowl.
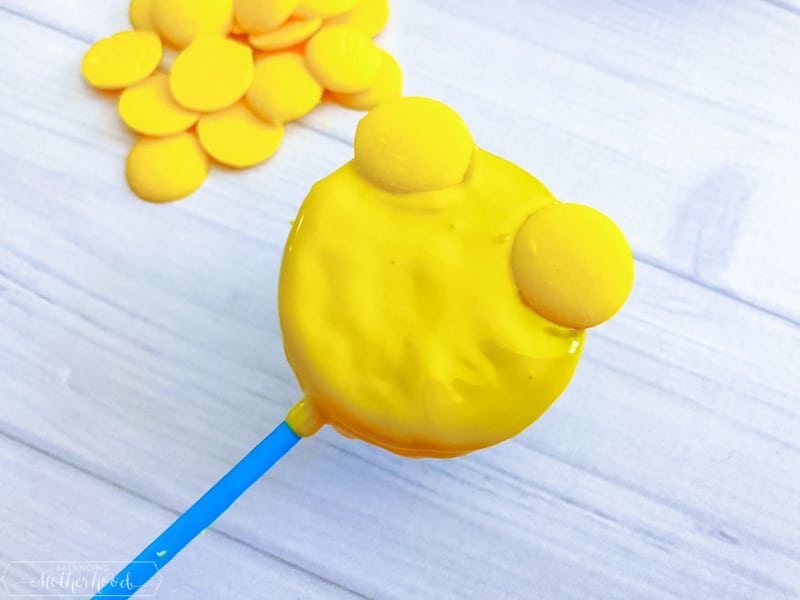
Add two whole yellow candy melts for Winnie the Pooh’s ears. Lay them flat until they are firm.
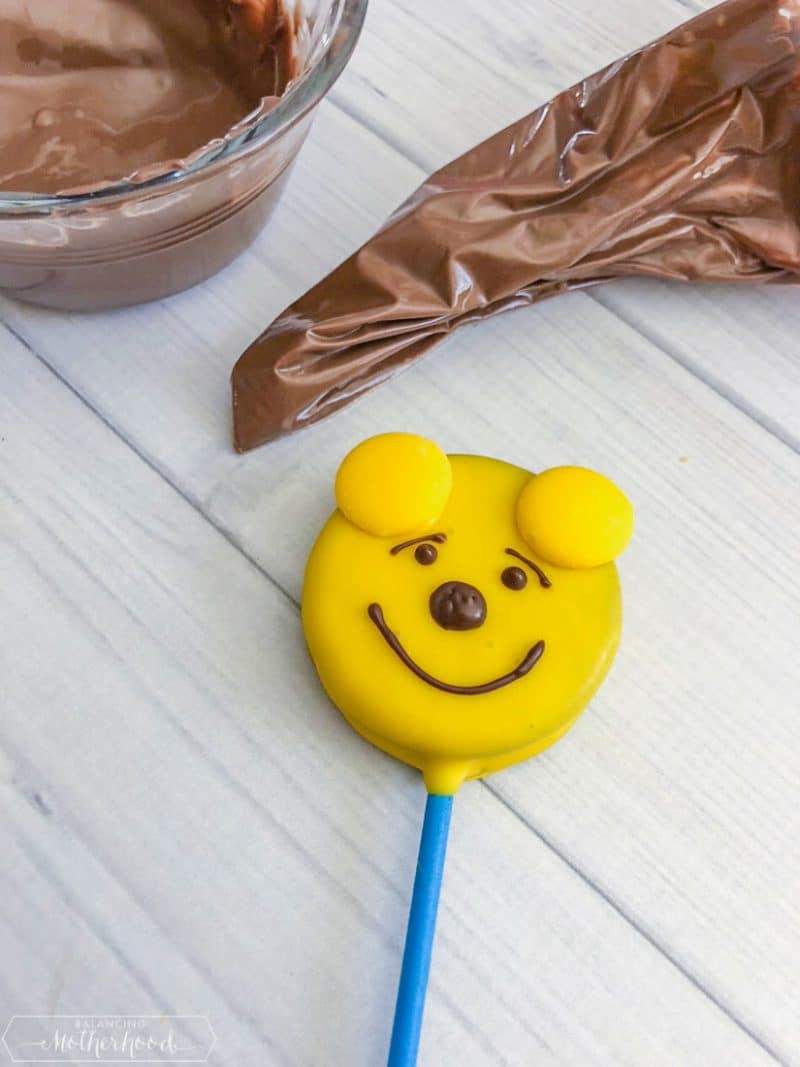
Melt your milk chocolate and place in a pastry bag or zip top bag. Cut a tiny hole and draw Pooh’s face on the “cake pop.”
Look how cute they are! These Winnie the Pooh cake pops are so easy to make and only take about 20 or 30 minutes start to finish. They’d make a great bake sale item or party favor.


Winnie the Pooh Cake Pops
Ingredients
- Oreo cookies
- Wilton yellow candy melts (new bags the wafers are smaller)
- Wilton light cocoa candy melts
- Blue lollipop sticks
- Parchment paper
- Decorating bag
Instructions
- In a small microwave safe bowl, heat 2 cups of the yellow candy melts on 50% power for 3-4 minutes, stirring every 30 seconds until melted.Wilton yellow candy melts (new bags the wafers are smaller)
- Carefully open an Oreo, dip a lollipop stick into the melted yellow chocolate and press gently onto the frosting side of the Oreo.Oreo cookies
- Add a little more melted yellow chocolate onto the lollipop stick and carefully place the Oreos back together.
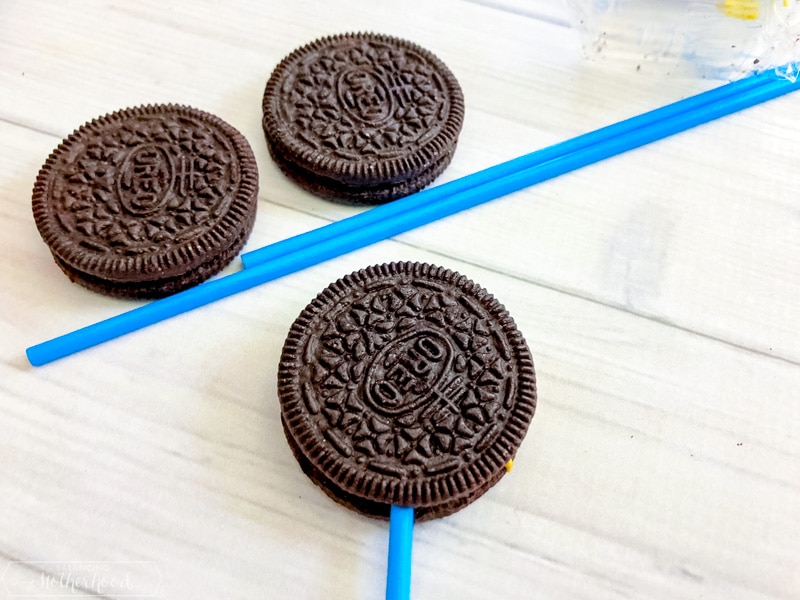
- Transfer to the freezer for 5 minutes.
- Hold onto the lollipop stick and dip the Oreo into the melted yellow chocolate, place onto a piece of parchment paper and transfer to the freezer for 15 minutes.
- In a small microwave safe bowl, heat 1 cup of your light cocoa candy melts on 50% power for 2-3 minutes, stirring every 30 seconds until melted, pour into a decorating bag and cut a tiny tip off the end of the bag.Wilton light cocoa candy melts
- Dip the back of 2 candy melts into the melted yellow chocolate and stick onto the top of each yellow Oreo for ears.
- Use your decorating bag of light cocoa candy melts to draw on eyes, nose, smile and eyebrows.
- Let harden and enjoy!
Did You Make This Recipe?
Don’t forget to share it with me on @thebalancingmom and follow on Tiktok @balancingmotherhood and Pinterest @thebalancingmom for more!


