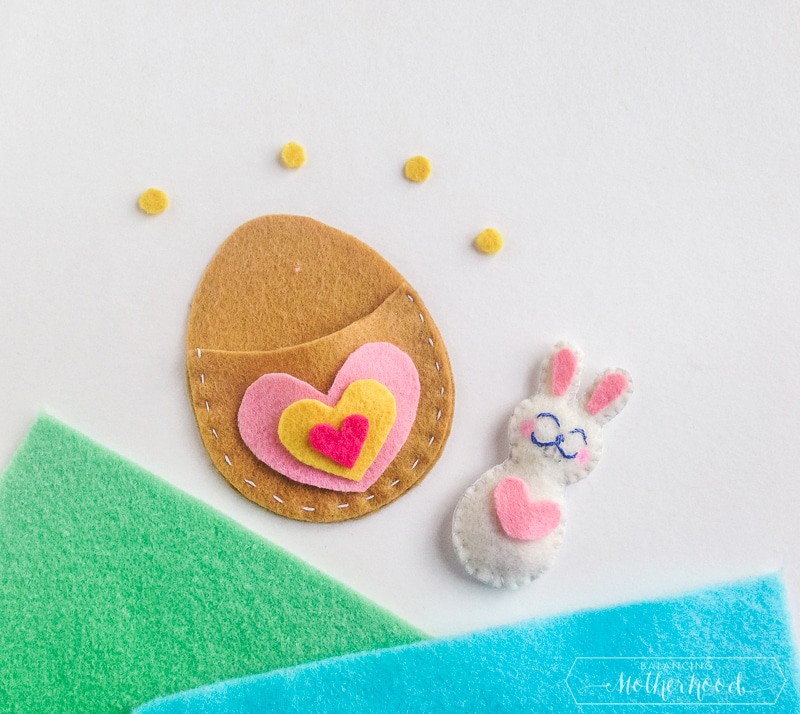
Look at this cute bunny! 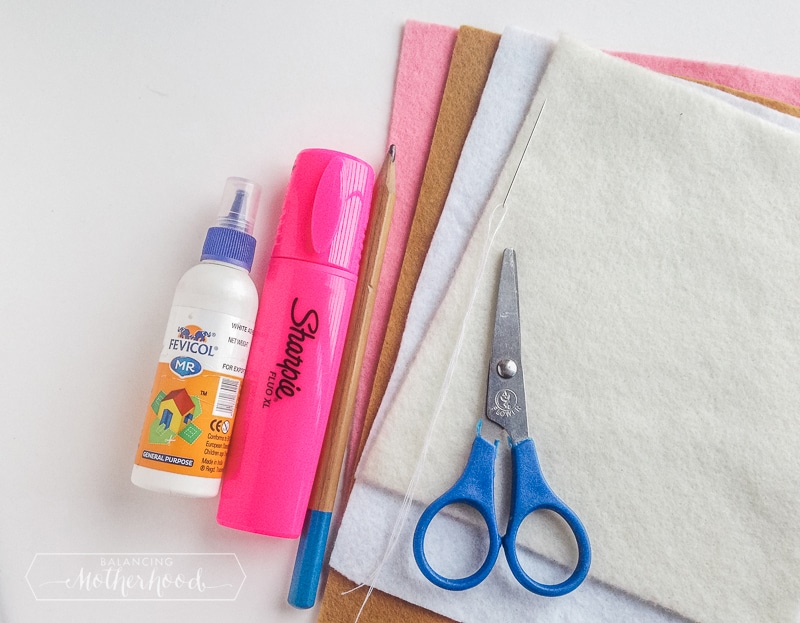
You’ll need a few supplies. Get several pieces of colored felt. You can alter the design based on your color preferences. 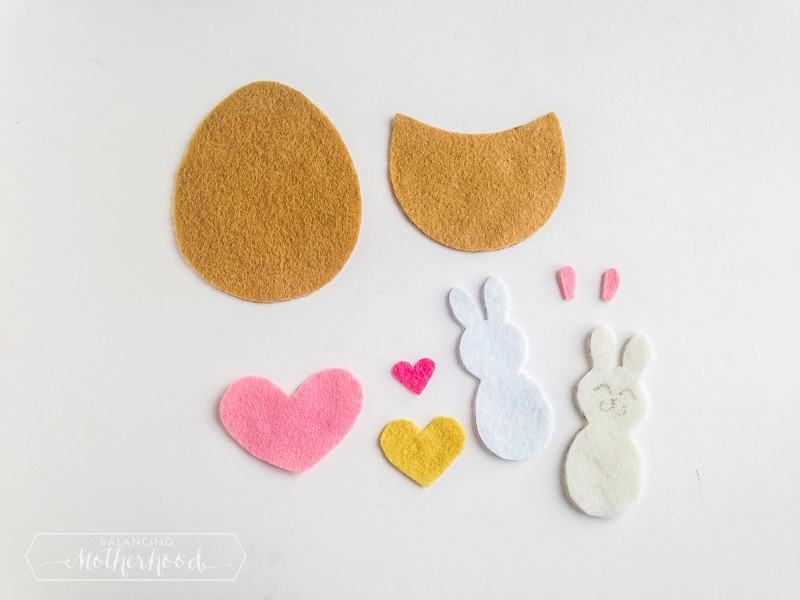
Cut out the shapes and lay them out so you can keep track of the project.
Download the free template here.
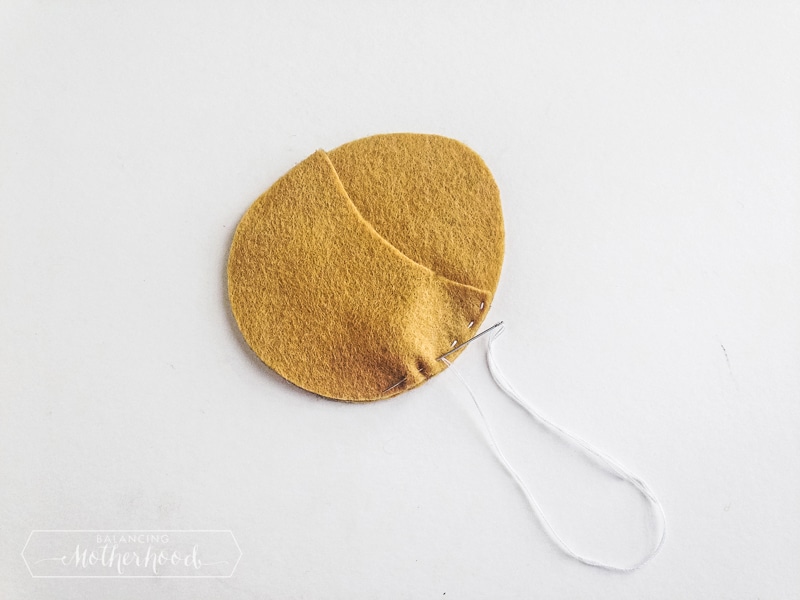
Do a quick stitch around the pouch of the “egg” that the little bunny will fit into. This just takes a simple up and down stitch. See, I’m not even using big sewing terms here: just up and down, and all the way around the bottom. When you get to the end, just tie a little not on the backside and cut the extra thread
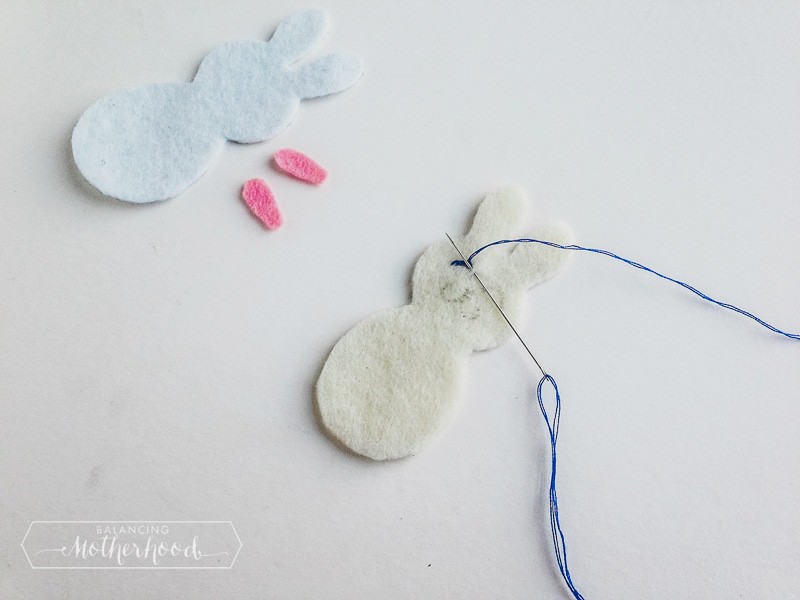
Now the bunny. I have more specific instructions below, but you’re going to use colored thread to make the face. If you don’t feel comfortable doing this, you could use a thin sharpie and color it on. 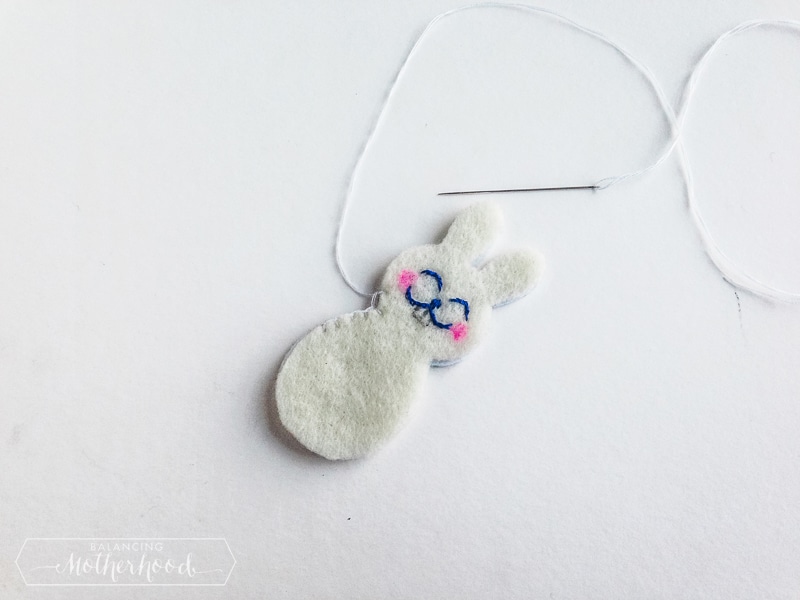
Look how cute he is! We used gray thread to make the teeth, and then colored on his blush cheeks with a highlighter. 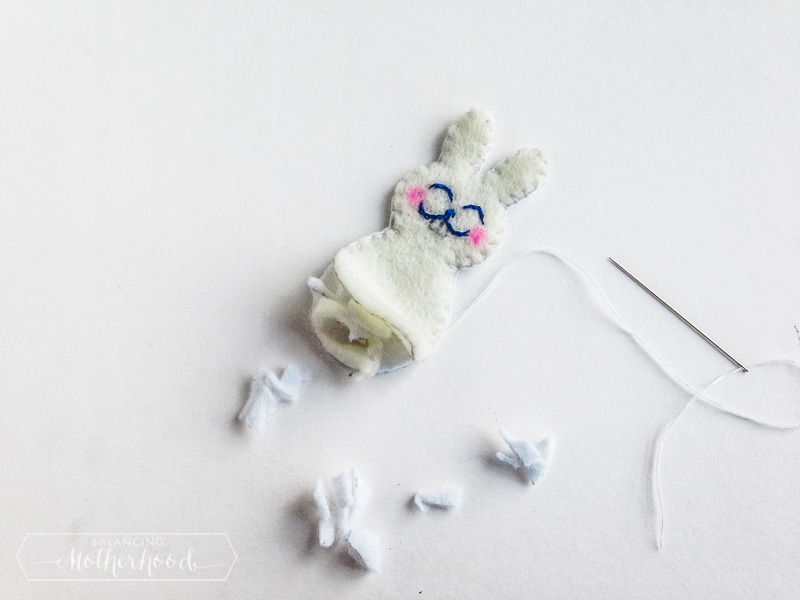
Start to sew the backside of the bunny, but leave the bottom open a little. Then stuff the inside a bit so the bunny will puff up a tiny bit. Don’t overstuff or you’ll have a hard time getting the bunny in the pouch. Close the hole up with a few stitches on the bottom. 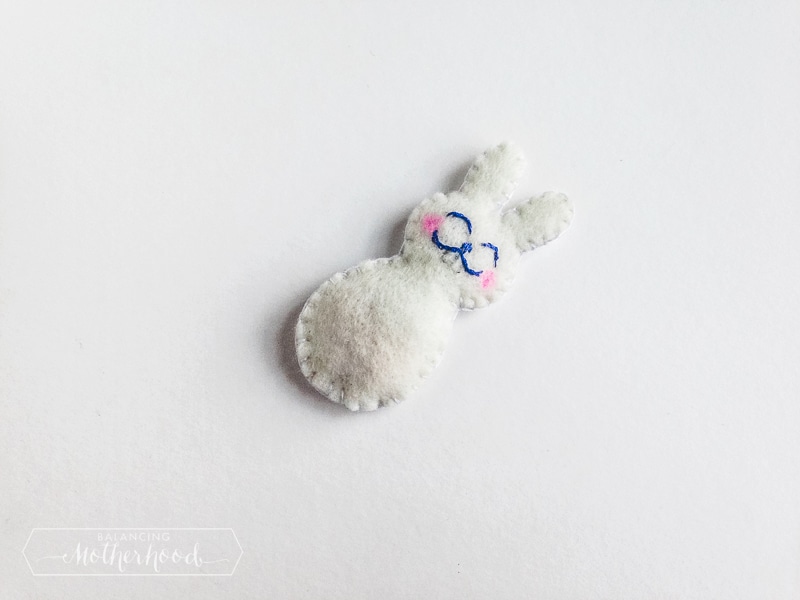
I love how the stitches show through around the edges. 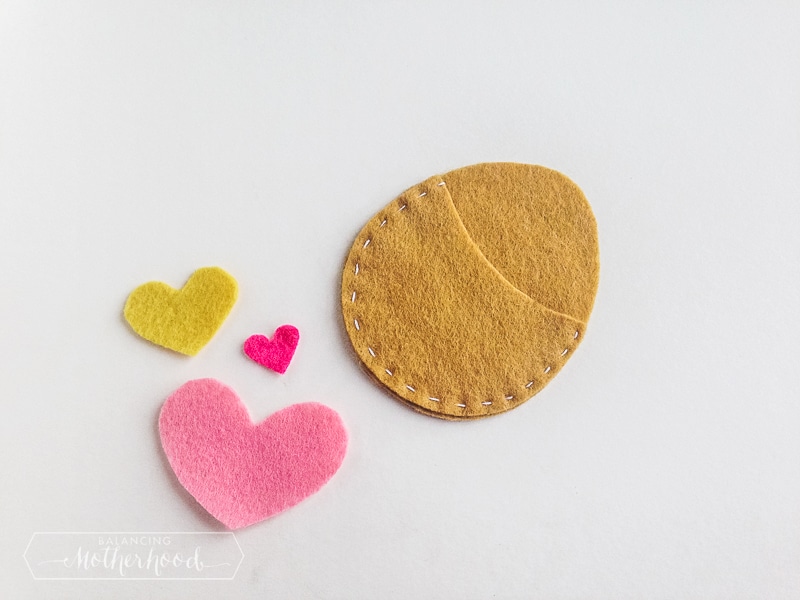
Next you’ll work on placing the hearts. Here where you can get into different color combinations. 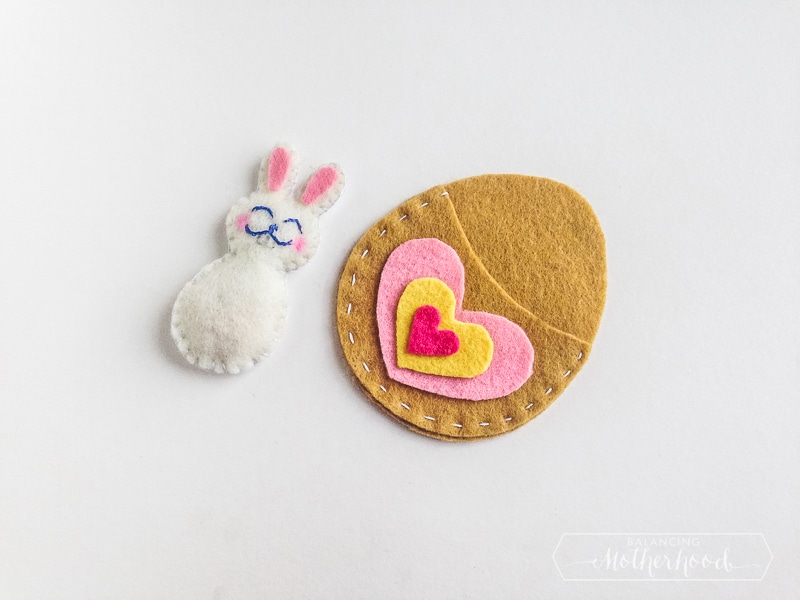
It’s coming together so easy. 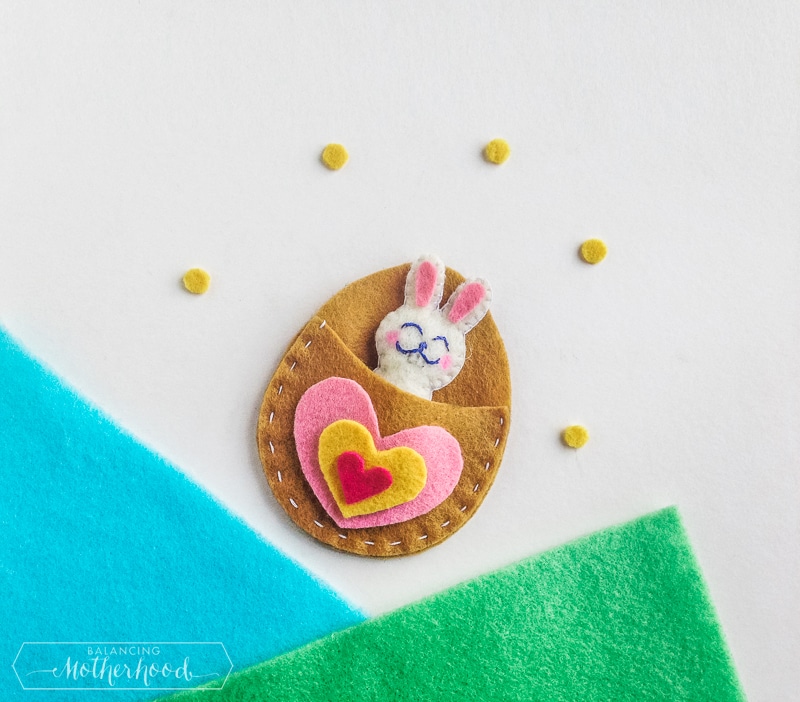
I think this felt craft is so easy and really cute. Your kids are going to love it. It will brighten up any Easter basket.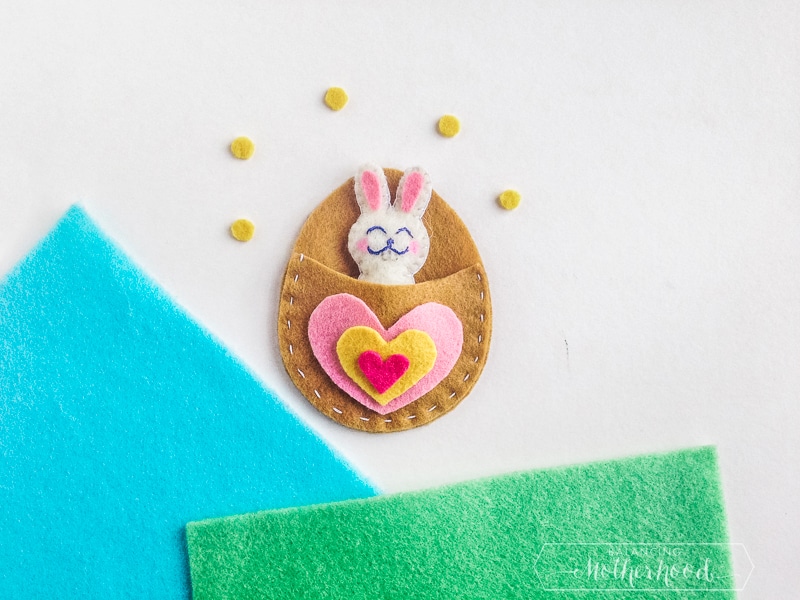
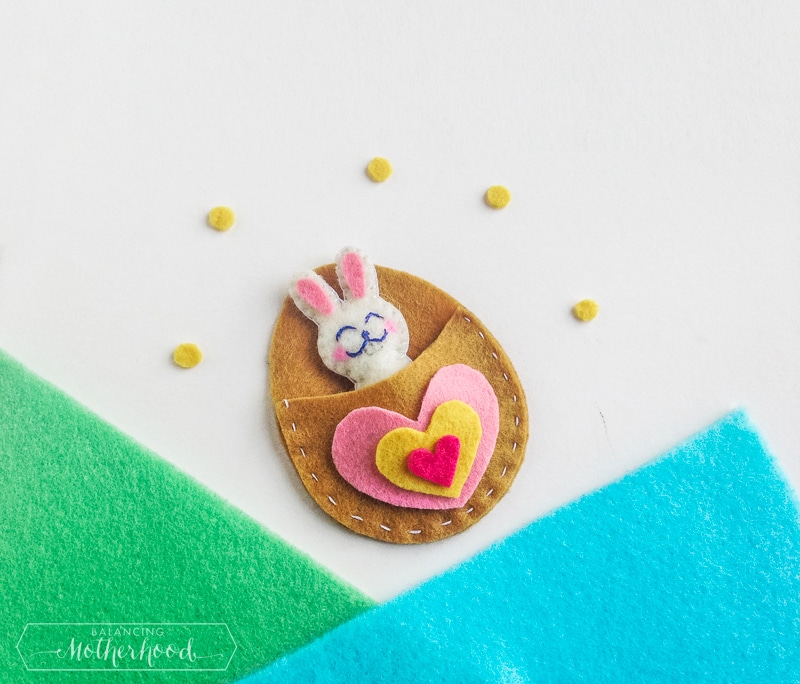
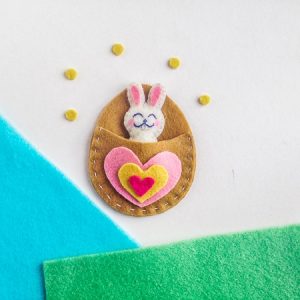

Table of Contents
Easter Bunny Felt Craft: Tutorial and Free Pattern
Ingredients
- 1. Felt fabric – 4-5 different colors
- 2. Scissors
- 3. Craft glue or fabric glue
- 4. Needle and thread
- 5. Pink highlighter
- 6. Pencil – for tracing template
- 7. Template cut outs
Instructions
- Prepare your template by printing and cutting out the patterns. Use a pencil to trace the patterns on the selected felt fabrics and cut them out of the felt carefully.
- The bunny plushie has 2 parts, 1 front and 1 back. Take the front part and use a dark thread to stitch the face details of the bunny.
- Done stitching the face details? Use a pink highlighter to create blush shades on both cheeks of the bunny. Also prepare needle and thread to join the front part of the bunny with the back part. You can start your stitching from anywhere but keep in mind to keep a small opening for stuffing.
- Using the left over felt pieces for the stuffing is the best. Cut the left over felt pieces into smaller pieces and push them inside the bunny through its open end. Use the pencil to push the stuffing towards the head part of the bunny.
- When you’re satisfied with the stuffing you can simply close the open end and tie 2 tight knots; cut off extra thread.
Did You Make This Recipe?
Don't forget to share it with me on @thebalancingmom and follow on Tiktok @balancingmotherhood and Pinterest @thebalancingmom for more!
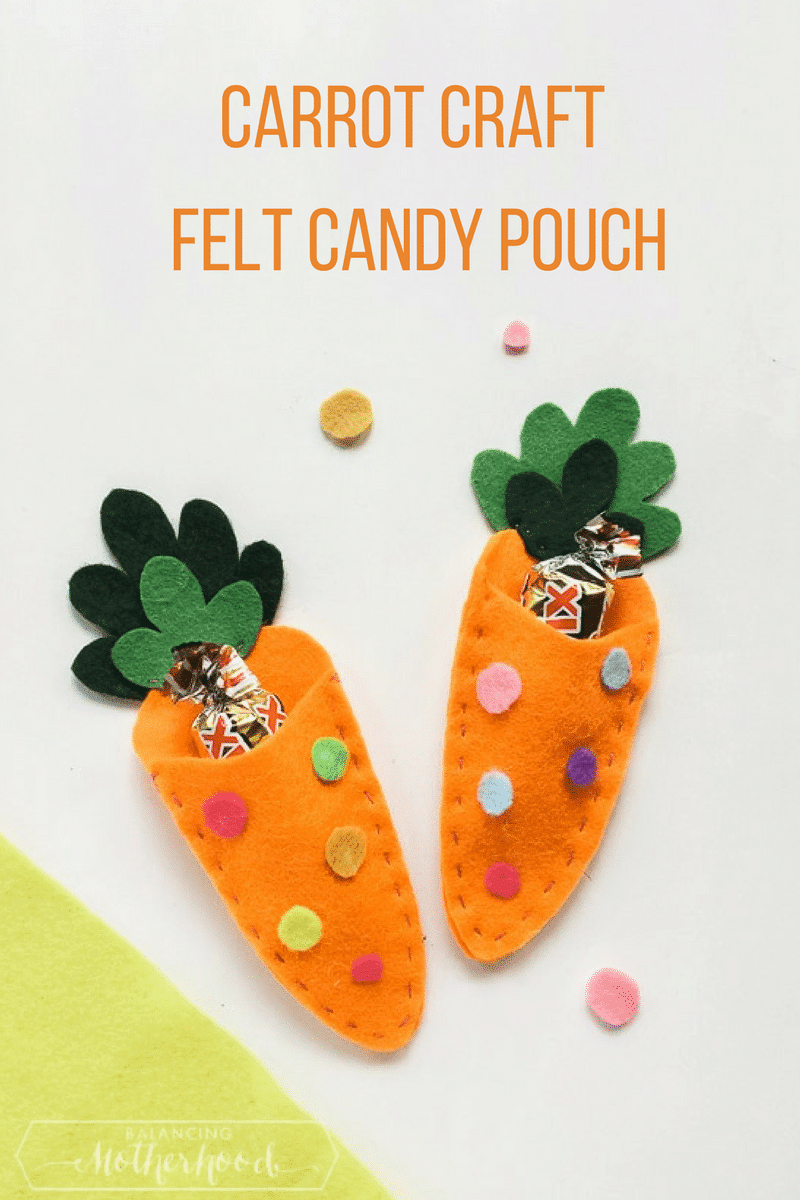
If you like this Easter felt craft, you may like the felt carrot candy pouch too!


Comments & Reviews
tarodon says
Thanks good read.
Suzette says
Here bunny bunny bunny bunny bunny custom writings
nykole says
I can’t find the bunny and egg templete, to download
Shirley says
I cant find the bunny and egg template to download either HELP! :}
Monica Christman says
https://www.bluebearwood.co.uk/wp-content/uploads/2018/02/Felt-Rabbit-Craft-Pattern-Template.pdf
Monica Christman says
https://www.bluebearwood.co.uk/wp-content/uploads/2018/02/Felt-Rabbit-Craft-Pattern-Template.pdf