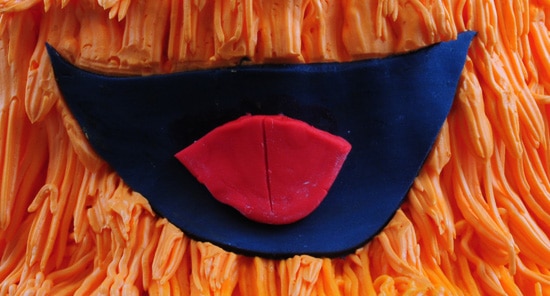
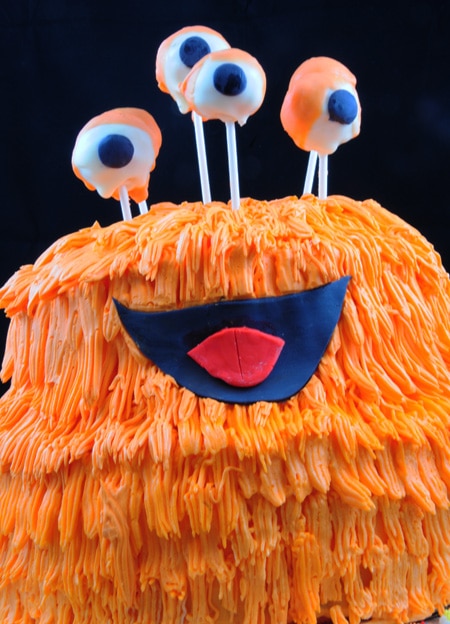
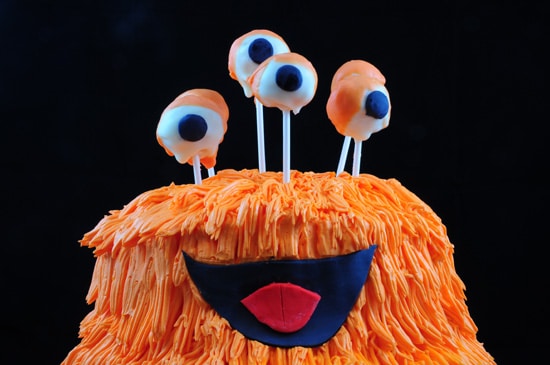
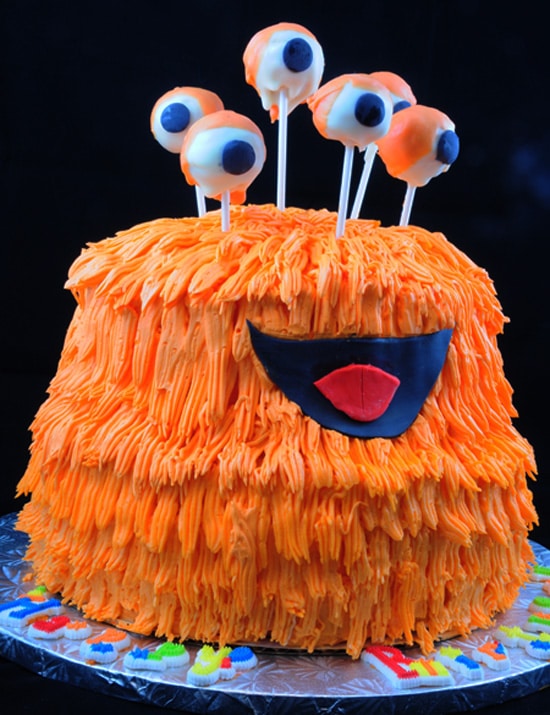
[pinit]Here he is: My son’s sixth birthday cake. Isn’t he cute? I just love him. He’s a space alien, cake pop birthday cake. What a mouth full!
Months ago my son said that he wanted a two story orange and pink cake for his birthday. That was the criteria: orange and pink, two tiers. HMMM. What on earth am I going to make, I thought.
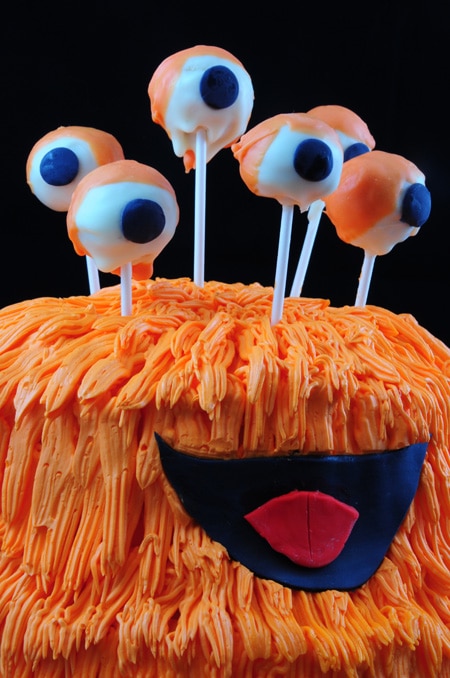
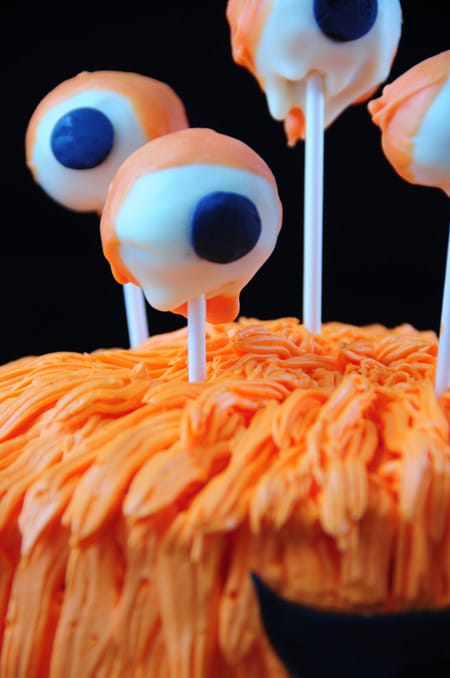
Six. One for each year.
He’s just so cute. I can’t even stand it.
I took some liberties with the original inspiration in order to accommodate the “two tier” request from my son. This cake has four layers of cake — two on the bottom and two on top. It also has about four batches of Italian meringue buttercream frosting. That’s a lot of butter folks.
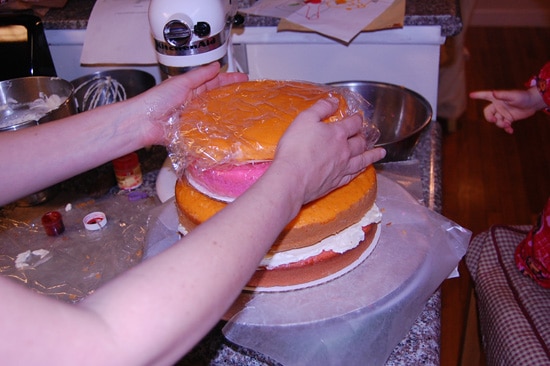
Here’s how I put it together. I made four cake rounds … two 10 inch and two 8 inch. I put the two 10-inch ones on the bottom with buttercream in between the layers. Then, I put the two top layers on. This is what I call somewhat of a dry stack — where I place the layers to see how high the cake is going to be. This tells me how much frosting to use in between the layers. More frosting if I need more height, just a little if I need it to be smaller.
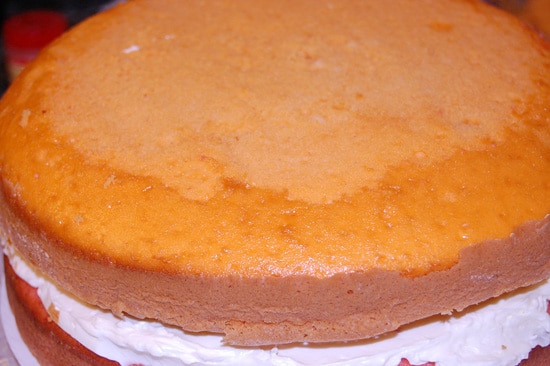
I leveled the top of the bottom tier by holding a serrated bread knife horizontally and just trimming away. There are fancy leveling tools out there, but I just eyeball it and slice away. I left the corners rounded to give the alien a softer feeling around the edge.
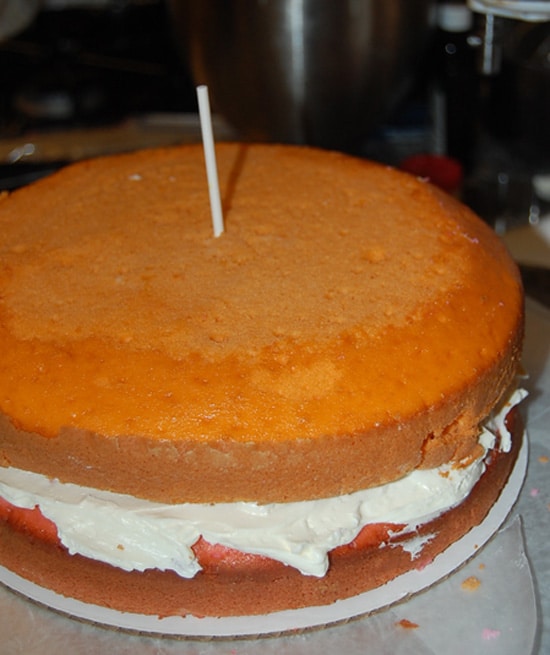
I removed the top layers from the dry stack and placed the supports into the bottom layers. I used cake pop sticks. Brilliant, I know. I put one in, marked it with a pen, then snipped the extra off. I used this as the guide for the other 5 that I used. Then I just put them in the cake, spread apart enough so that they will support the top layers.
Here’s the bottom tier before I frosted the sides. I put frosting in the middle of the layer, there are big gaps on the side. Not to worry. Just shove a lot of butter cream in there. Shove it in. Be generous. Then, frost the sides and top of the cake.
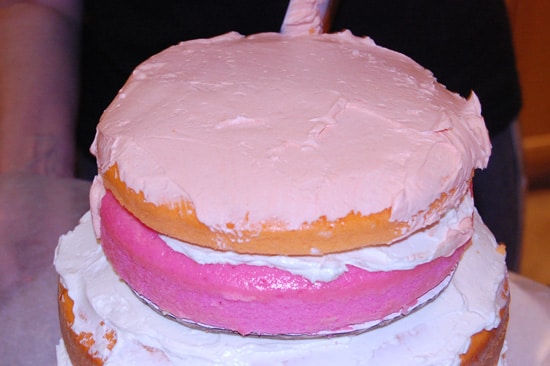
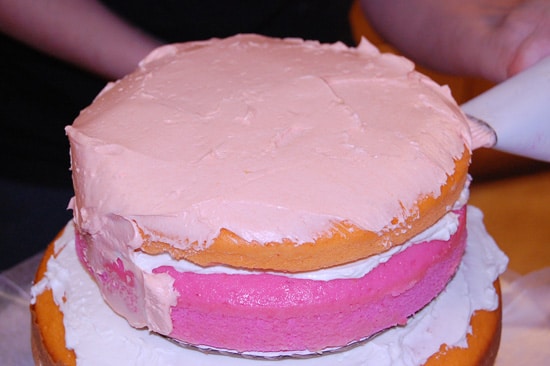
On the outside I put a layer of light orange frosting to be the base of the cake. This is the crumb coat.
Just layer, frost, smooth out.
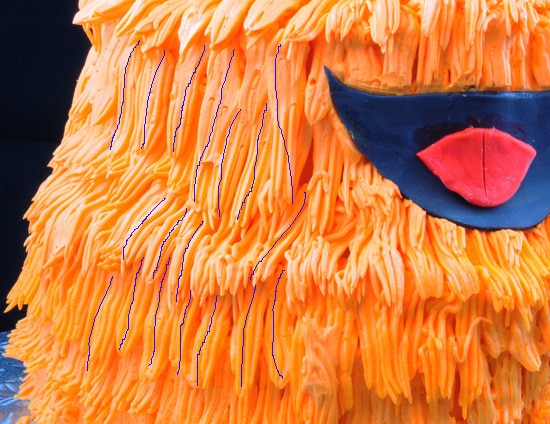
I have added lines in blue to show some of the fur and how I put it on the cake layers. The blue lines represent one layer of piping from the pastry bag. Each layer overlaps the layer below. I used a grass tip on my pastry bag. Here’s what I did:
About an 1-1/2 inches from the bottom of the cake, press the tip of the pastry bag and drag downward until you reach the bottom of the cake. Return to the 1-1/2 inch mark, right next to where you just did the first patch of fur. Press against the cake and drag downward until you reach the bottom of the cake. Do this all the way around the cake.
Then, go about the same distance above the current layer of fur and do the same motions. Start 1-1/2 inches above the current orange patch of fur, drag down — this time overlapping the top of the first layer. Go all the way around the cake again. I have an awesome turntable cake stand that I used for this project. I would have been miserable without it.
Repeat this pattern until you reach the top of the cake. And, let me tell you, it’s a long way to the top of this cake!
Once at the top, just work in circles until you reach the center of the top of the cake.
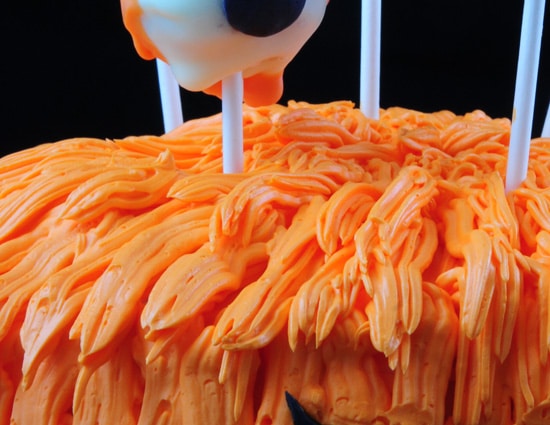
And, as I said before, this cake takes a LOT of frosting.

Make your cake pop from your favorite recipe. I used Bakerella’s recipe.
- Dip a pop stick into melted chocolate and insert into complete cake pop. Freeze them. This step is important. If you don’t freeze, the pops will probably fall off the stick and you won’t be able to get chocolate on them.
- Dip cake pop into white chocolate and completely cover.
- Once they are dry repeat with melted orange candy melts (or use orange food coloring in white chocolate). Dip half of the cake pop into the orange and then let stand to dry.
- I used a small black fondant circle for the pupil. I tried to use a food coloring marker, but it wasn’t dramatic enough. Just cut small circles out of the fondant that you have to use for the mouth, dab some water or chocolate on the back and put on the cake pop.
You almost hate to do it, but eventually you have to cut into the cake. It’s a sad state of affairs, but it’s got to be done. The kids loved the pop of color on the inside. And, I was able to get pink into the cake after all.
If you make this cake I recommend making extra cake pop eyeballs. All the kids wanted one. Luckily, I had made triple the number I needed on the cake just in case some broke in transport. Non did, so I had plenty to hand out to the kids.
Be sure to follow BalancingMotherhood on Facebook to get inside scoop on what’s coming next. And, you can follow me on Pinterest too.
Related:
- Mickey Mouse Clubhouse cake (with photos)
- Elmo cake with rainbow surprise inside (photos … so cute!)
- Butterfly birthday cake … this is a looker with beautiful turquoise butterflies on a white cake. Simple and elegant. I made it for my daughter’s first birthday.
- Race car cake (with photos)
- Rocket ship cake (with photos)
- The original duck cake for my son’s first birthday. The first birthday cake I made.
- All my cake links





Comments & Reviews
Michelle says
Absolutely incredible! I want to make one for my daughter’s birthday! Maybe I’ll make the fur purple rather than orange. So creative =]
Alicia at BalancingMotherhood.com says
Send a photo if you make it. Would love to see a purple version!
lourdes canela says
awesome cake thank you
linette says
So cool!!