Pumpkin Hand Pies
This post may contain affiliate links, read our disclosure policy.
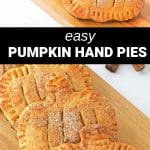
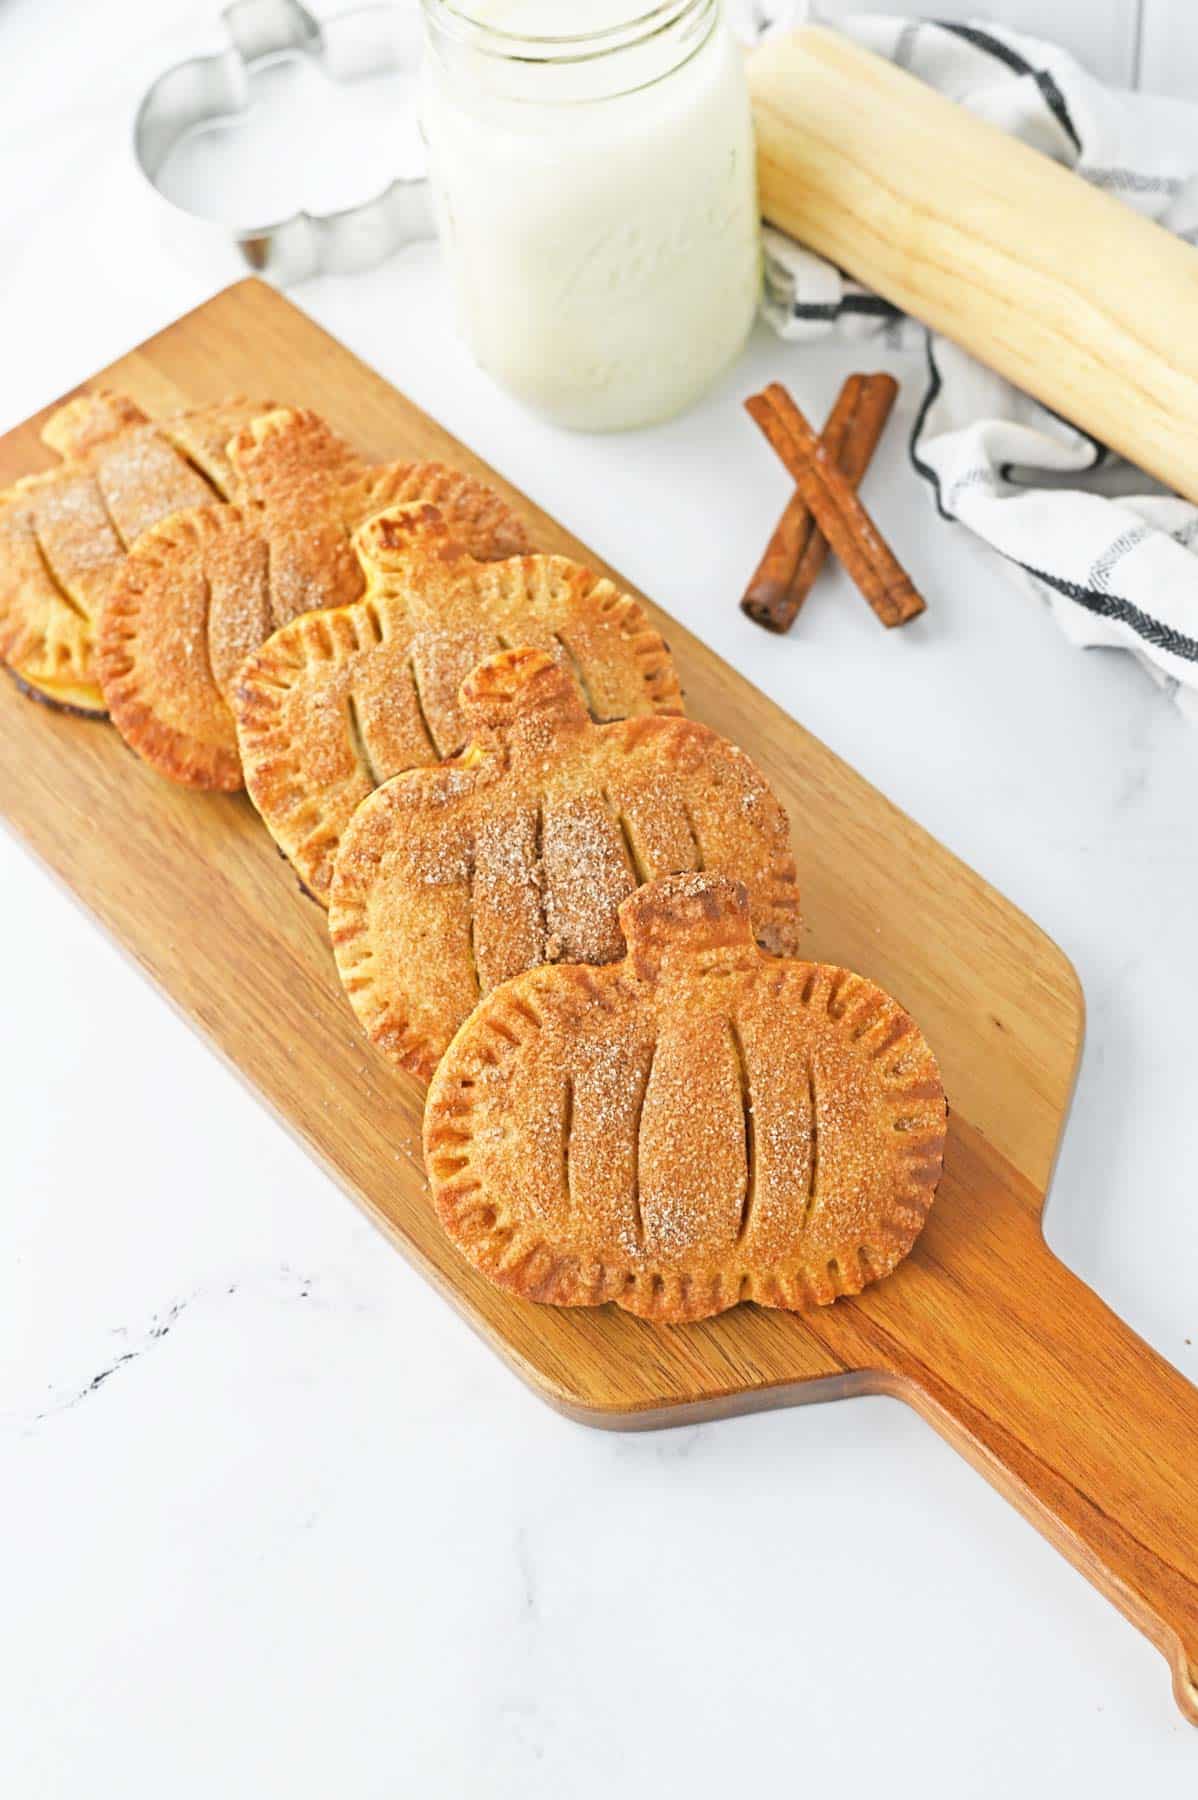
These adorable pumpkin hand pies are the perfect way to celebrate fall. They’re a cute and portable sweet treat with a flaky crust and a filling that’s packed with delicious pumpkin spice flavor.
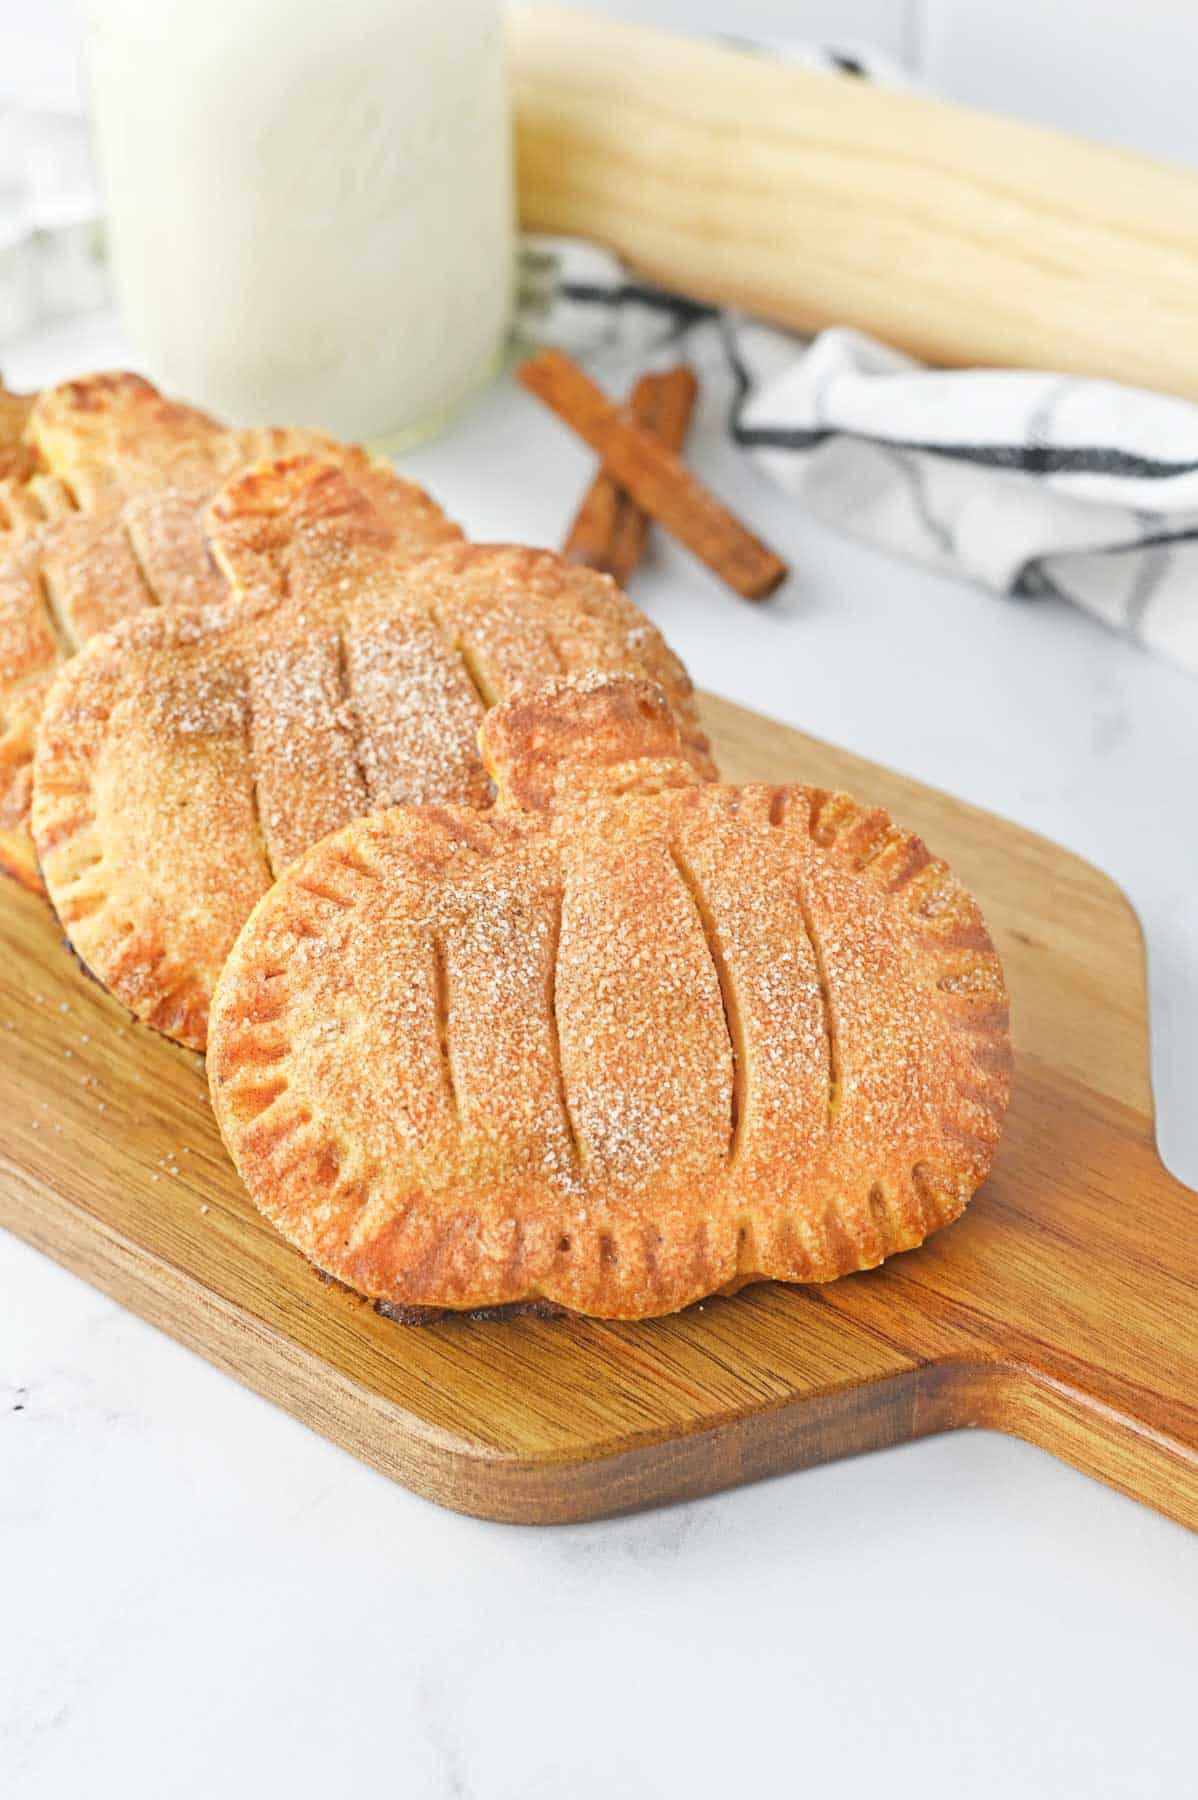
It’s almost the season for all things pumpkin, and these convenient mini pumpkin hand pies are a great way to get all the flavor of a traditional pumpkin pie without all of the work. Refrigerated pie crust makes these treats super quick and easy – it’s cut into cute pumpkin shapes for a festive fall look then filled with a sweet and creamy pumpkin filling flavored with warm fall spices.
This easy recipe would be a perfect fall treat for any holiday party. These mini pies would also make a great weeknight dessert for the family (with a scoop of vanilla ice cream), a fun after-school snack for the kids, or even a special weekend breakfast. They’re not only delicious, but also fun and easy to eat. Try this easy treat whenever you need to satisfy a pumpkin pie craving – it’s sure to become one of your new favorite pumpkin desserts.
Why We Love This Recipe
- These mini pumpkin pies are so cute! Kids will go nuts for these treats.
- This is a festive and delicious pumpkin recipe that’s full of fall flavor.
- These convenient hand-held individual pies are portable and easy to eat.
- These mini pies are a versatile treat that makes a great snack, a dessert, or even a special breakfast.
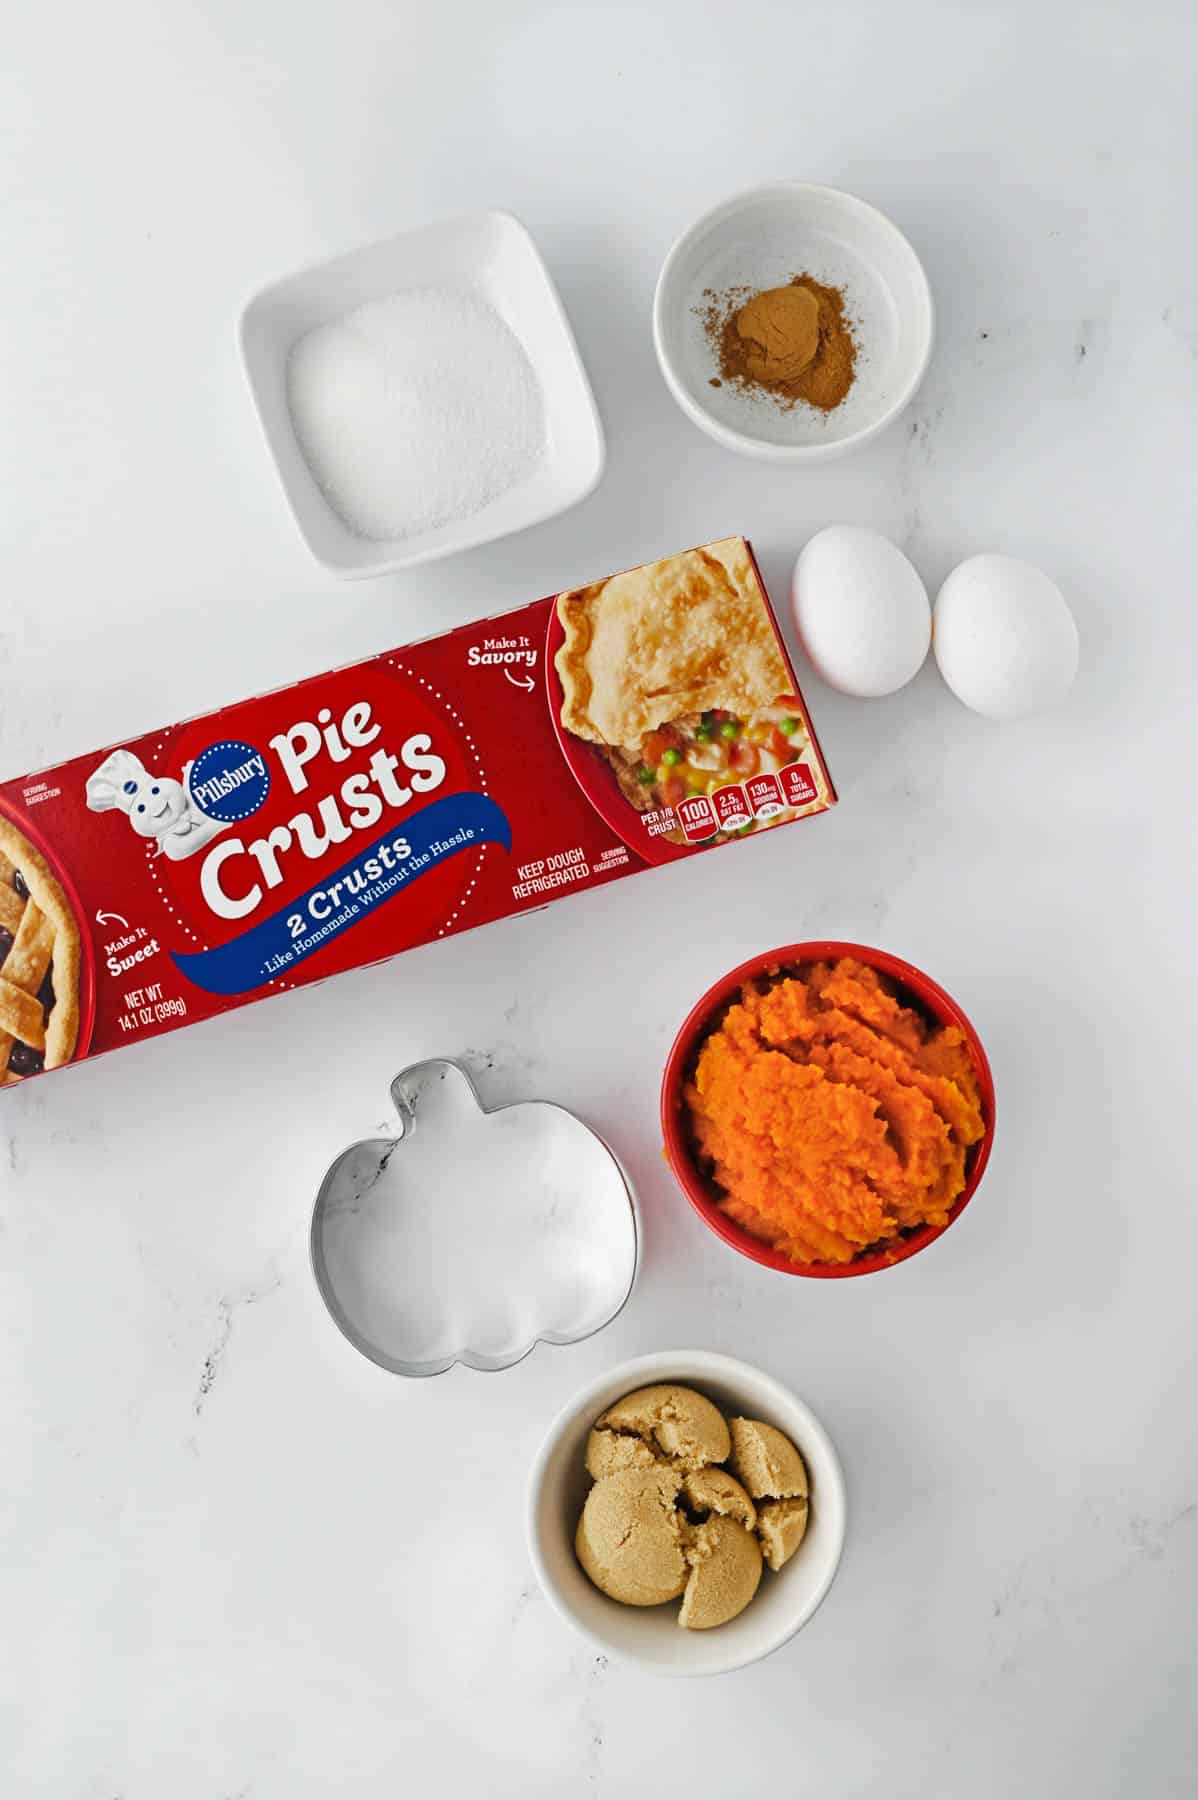
Ingredients
- These mini pumpkin pies are so cute! Kids will go nuts for these treats.
- This is a festive and delicious pumpkin recipe that’s full of fall flavor.
- These convenient hand-held individual pies are portable and easy to eat.
- These mini pies are a versatile treat that makes a great snack, a dessert, or even a special breakfast.
How to Make Pumpkin Hand Pies
Step One: Prepare the Crust
- Preheat your oven to 450 degrees and line a baking sheet with parchment paper.
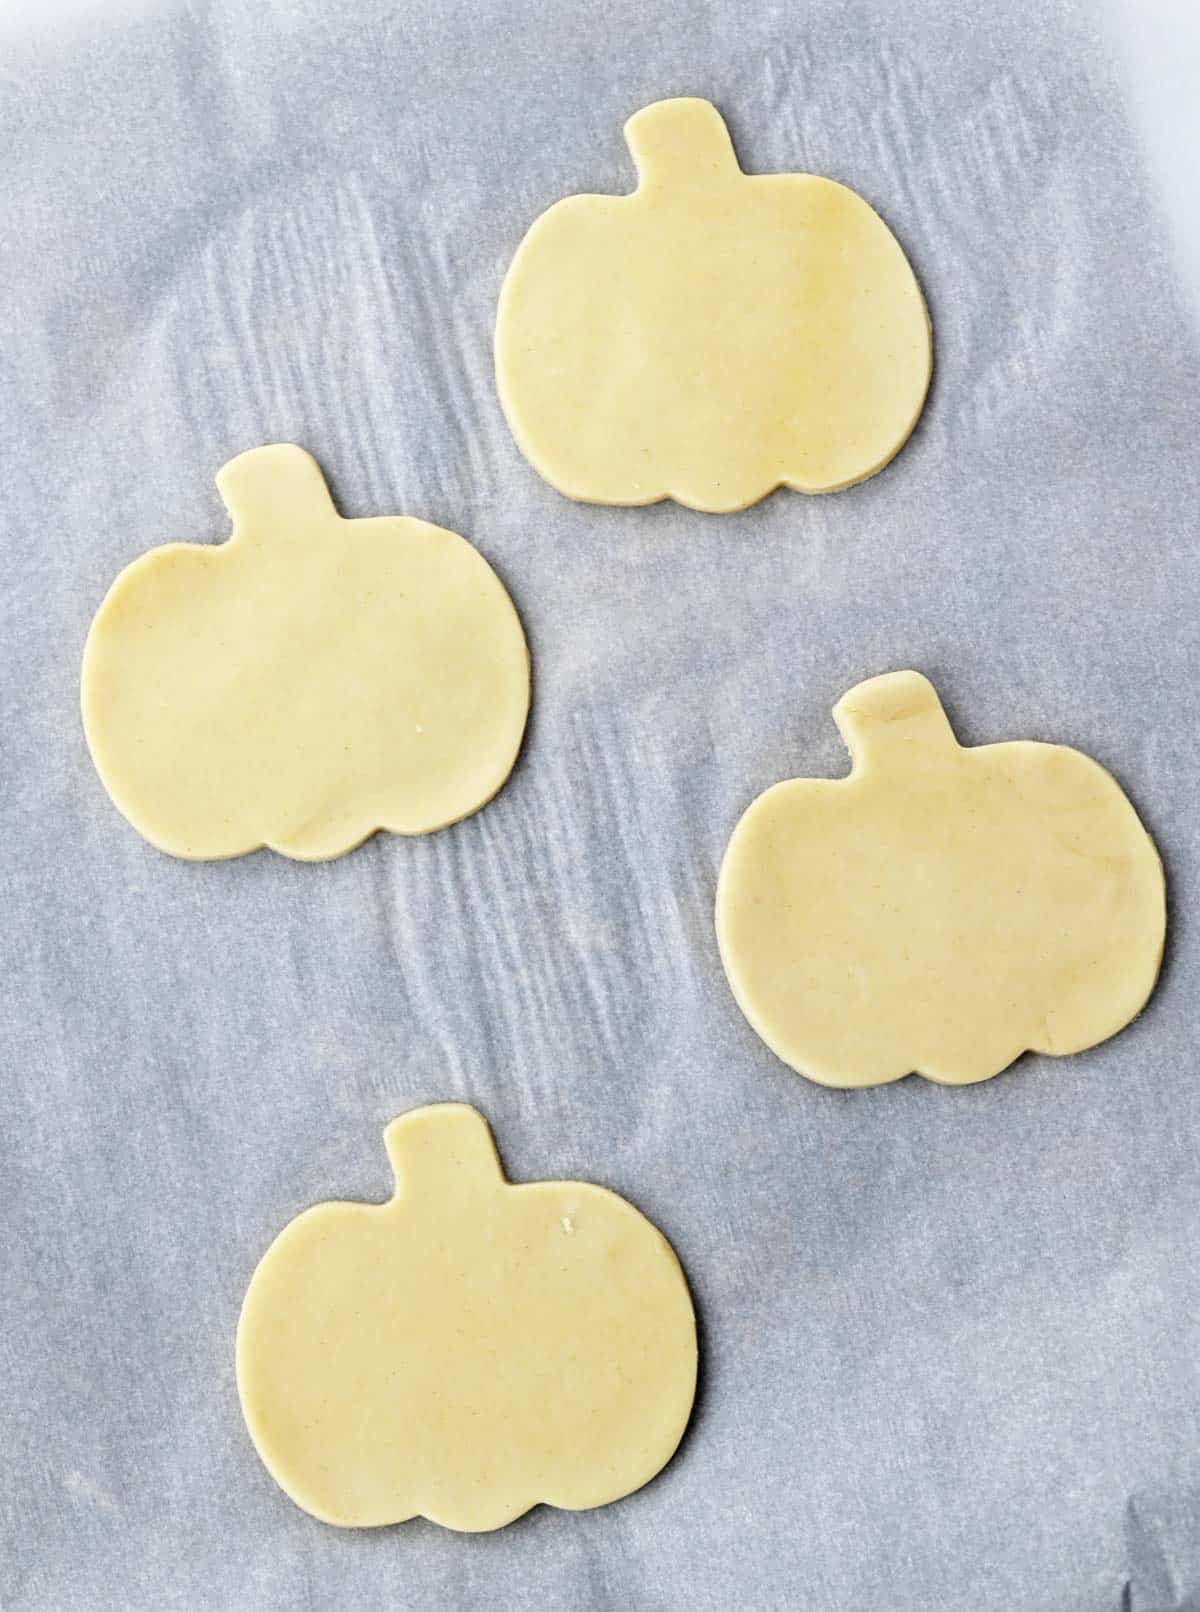
- Use a rolling pin to roll out the pie dough on a lightly floured surface to about ¼ inch thick.
- Using a 3-4 inch pumpkin cookie cutter, cut out an even number of pumpkin shapes. Re-roll any unused dough until you’ve cut as many shapes as you can. (Note: the cookie cutter size will determine the number of pies you can make – a 4-inch cutter makes about 5 pies.)
Step Two: Add the Filling
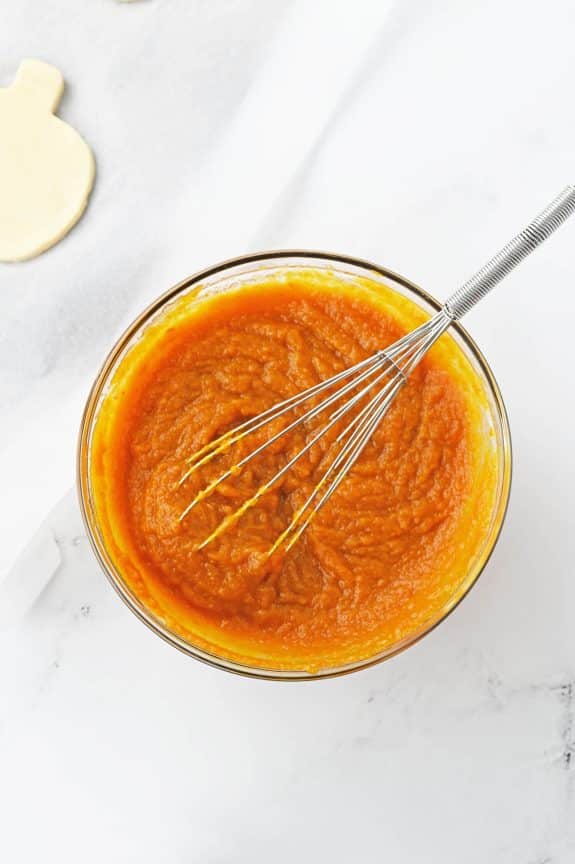
- Whisk together 1 large egg, brown sugar, pumpkin puree, and ½ teaspoon of pumpkin pie spice.
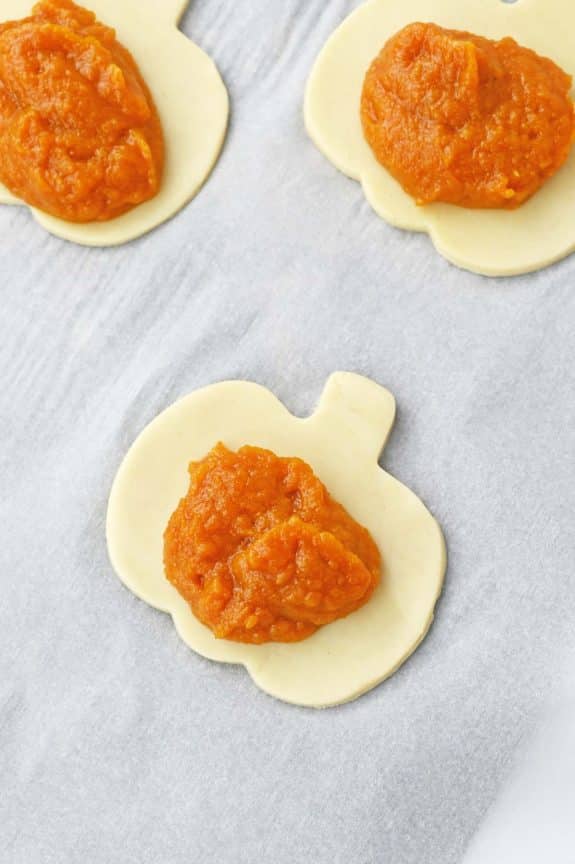
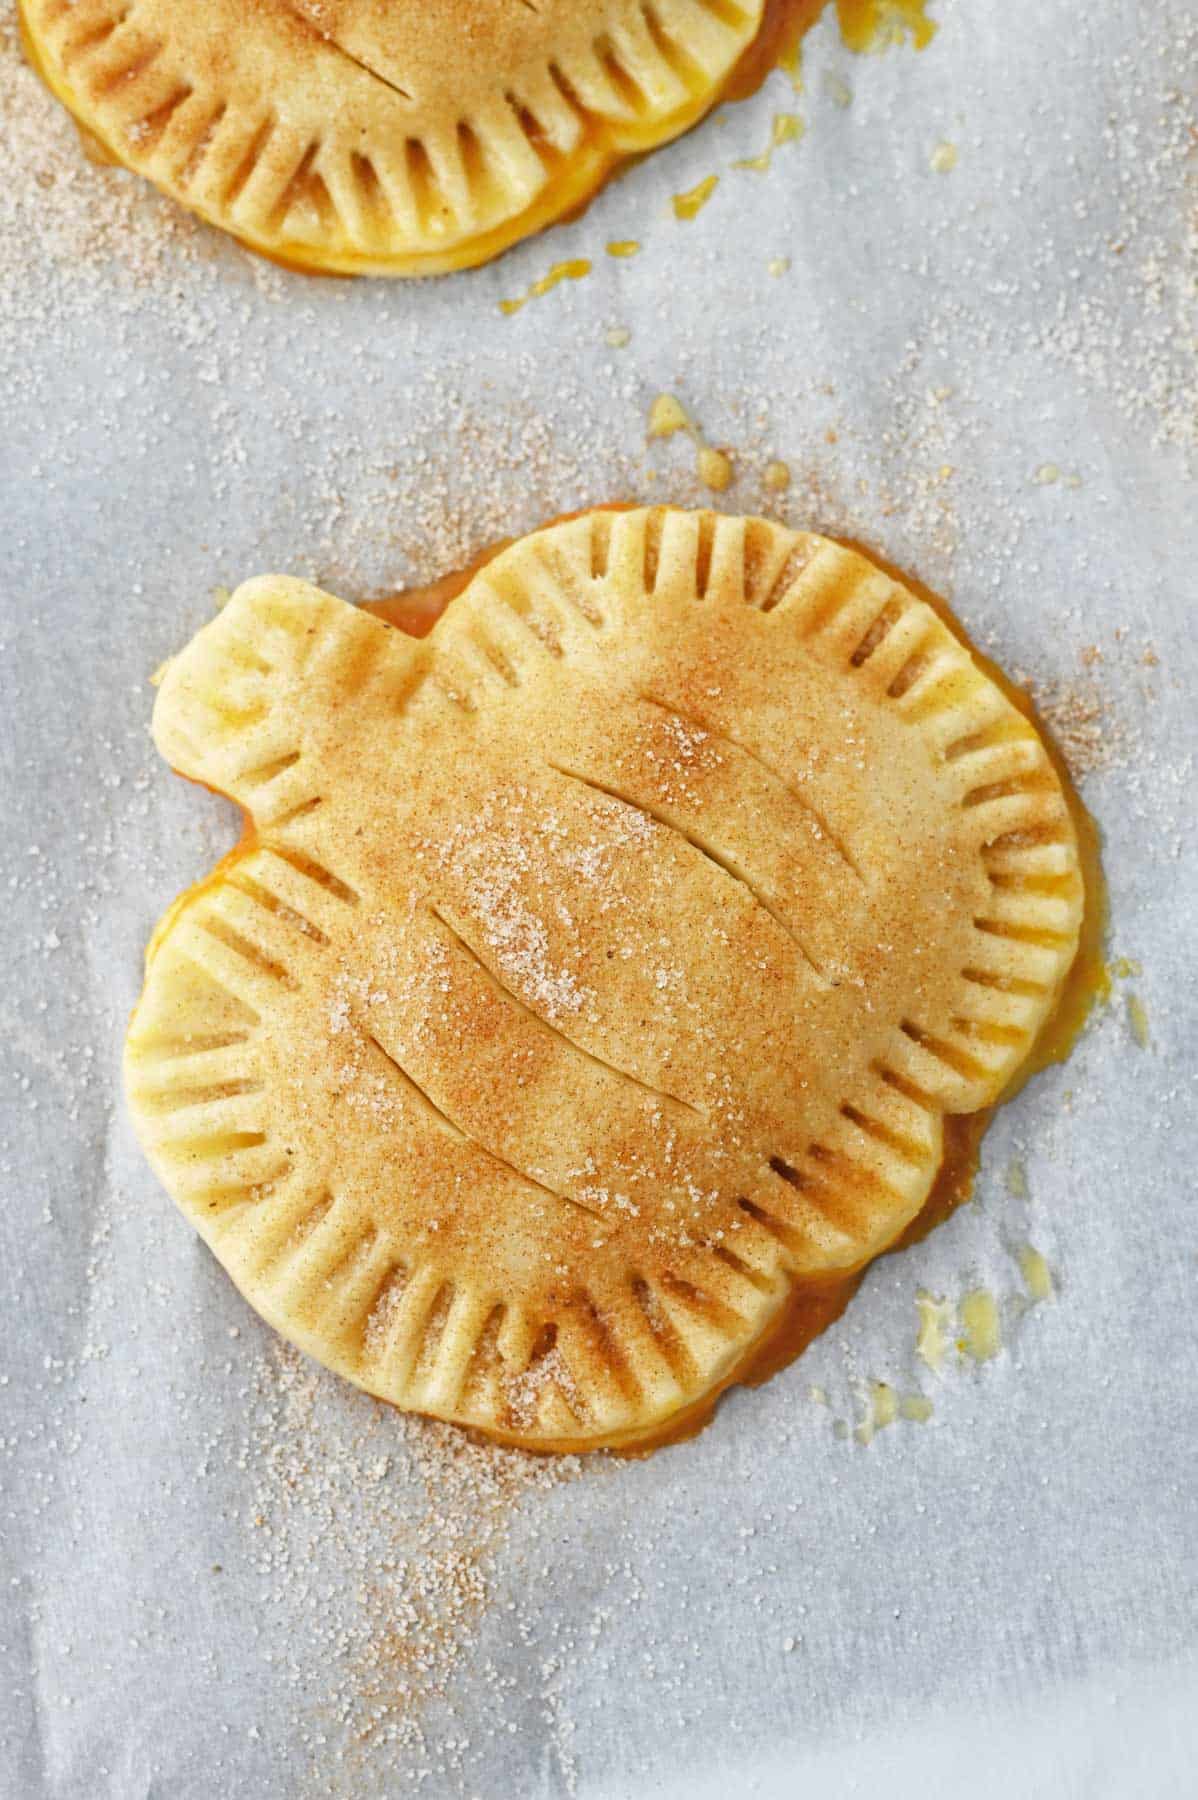
- Place about 2-3 tbsp of filling on top of half of the pumpkin cut outs. You may need to use more or less, depending on the size of your pumpkins.
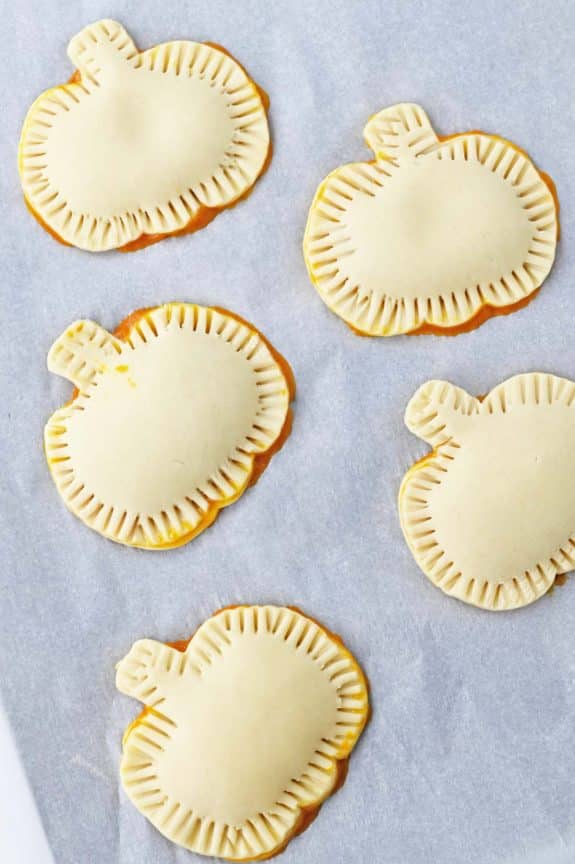
- Place a second pumpkin cut out on top of each of the pumpkins with filling.
- Use the tines of a fork to press around the edges and seal the pies.
Step Three: Add Topping and Bake
- In a small bowl, mix 2 tablespoons of sugar with ½ teaspoon of the pumpkin pie spice.
- Lightly beat an egg, then use a pastry brush to brush the tops of the pies with the egg wash.
- Sprinkle the sugar and spice mixture over the top crusts.
- Using a small sharp knife, cut the pumpkin curves into the pies.
- Bake the pies for 15-20 minutes, until golden brown.
Tips and Suggestions
- If making these for a party or for kids, I like to make a smaller version. You can use a pizza cutter to cut the dough into rectangles and easily make these in any size that you like.
- When adding the pumpkin filling to the dough, be sure to leave a perimeter of at least ⅓ inch and don’t add too much filling, so that you have room to close the pies.
- If the edges of your top and bottom dough layers aren’t sticking together, you can brush the edges with egg first.
Variations
- If you don’t have pumpkin cookie cutters, you can use round cutters or any other shape you like.
- Drizzle the finished pies with melted chocolate or caramel sauce in place of the sugar mixture.
- Substitute apple pie filling for the pumpkin mixture and make apple hand pies.
- If you’re feeling ambitious or you have a favorite flaky pie crust recipe, you can make homemade pie crust rather than using refrigerated pie crust.
How Do I Store Pumpkin Hand Pies?
For best results, you’ll want to serve these right away. However, you can store leftovers in an airtight container or wrap them in plastic wrap and keep them in the refrigerator for 3-4 days.
Can I Freeze Pumpkin Hand Pies?
Yes. You’ll need to first place the pies on a baking sheet and put them in the freezer until they are mostly frozen. Then place them in a Ziploc bag or freezer-safe container and return them to the freezer for up to 2 months.
More Pumpkin Recipes
- Pumpkin Snickerdoodles
- Pumpkin Whoopie Pies
- Pumpkin Chocolate Chip Cookies
- Pumpkin Pancakes
- Pumpkin Cranberry Bread
- Pumpkin Dump Cake

Pumpkin Hand Pies
Ingredients
- 2 large eggs divided
- 1 cup pumpkin puree
- ⅓ cup brown sugar
- 1 teaspoon Pumpkin pie spice divided
- 1 2 count refrigerated pie crusts
- 2 tablespoons Granulated sugar
Instructions
- Preheat your oven to 450 degrees fahrenheit and line a baking sheet with parchment paper.
- Roll out pie crusts, to about ¼ inch thick.1 2 count refrigerated pie crusts
- Use a 3-4 inch pumpkin cookie cutter to cut out an even number of pumpkin shapes.
- Re-roll any unused dough until you’ve cut as many shapes as you can, the cookie cutter size will determine how many pies you can make, a 4 inch cutter makes about 5 pies.
- Next, make the filling. Whisk together 1 large egg, pumpkin puree, brown sugar, and ½ tsp pumpkin pie spice.2 large eggs, 1 cup pumpkin puree, ⅓ cup brown sugar, 1 teaspoon Pumpkin pie spice
- Add about 2-3 Tablespoons filling to half of the pumpkin cut outs. More, or less, depending on the size of your pumpkins.
- Place another pumpkin cut out on top of each of the pumpkins with filling.
- Use a fork to press the edges and seal the pies.
- Combine 2 Tablespoons Sugar and ½ teaspoon pumpkin pie spice, stir.2 tablespoons Granulated sugar
- Lightly beat an egg, and brush the tops of the pumpkins with egg.
- Sprinkle the sugar mixture over the pies.
- Use a sharp knife to cut the pumpkin curves into the pies.
- Bake the pies for 15-20 minutes, until golden brown.
Nutrition
Did You Make This Recipe?
Don’t forget to share it with me on @thebalancingmom and follow on Tiktok @balancingmotherhood and Pinterest @thebalancingmom for more!