Black and White Cookies
This post may contain affiliate links, read our disclosure policy.
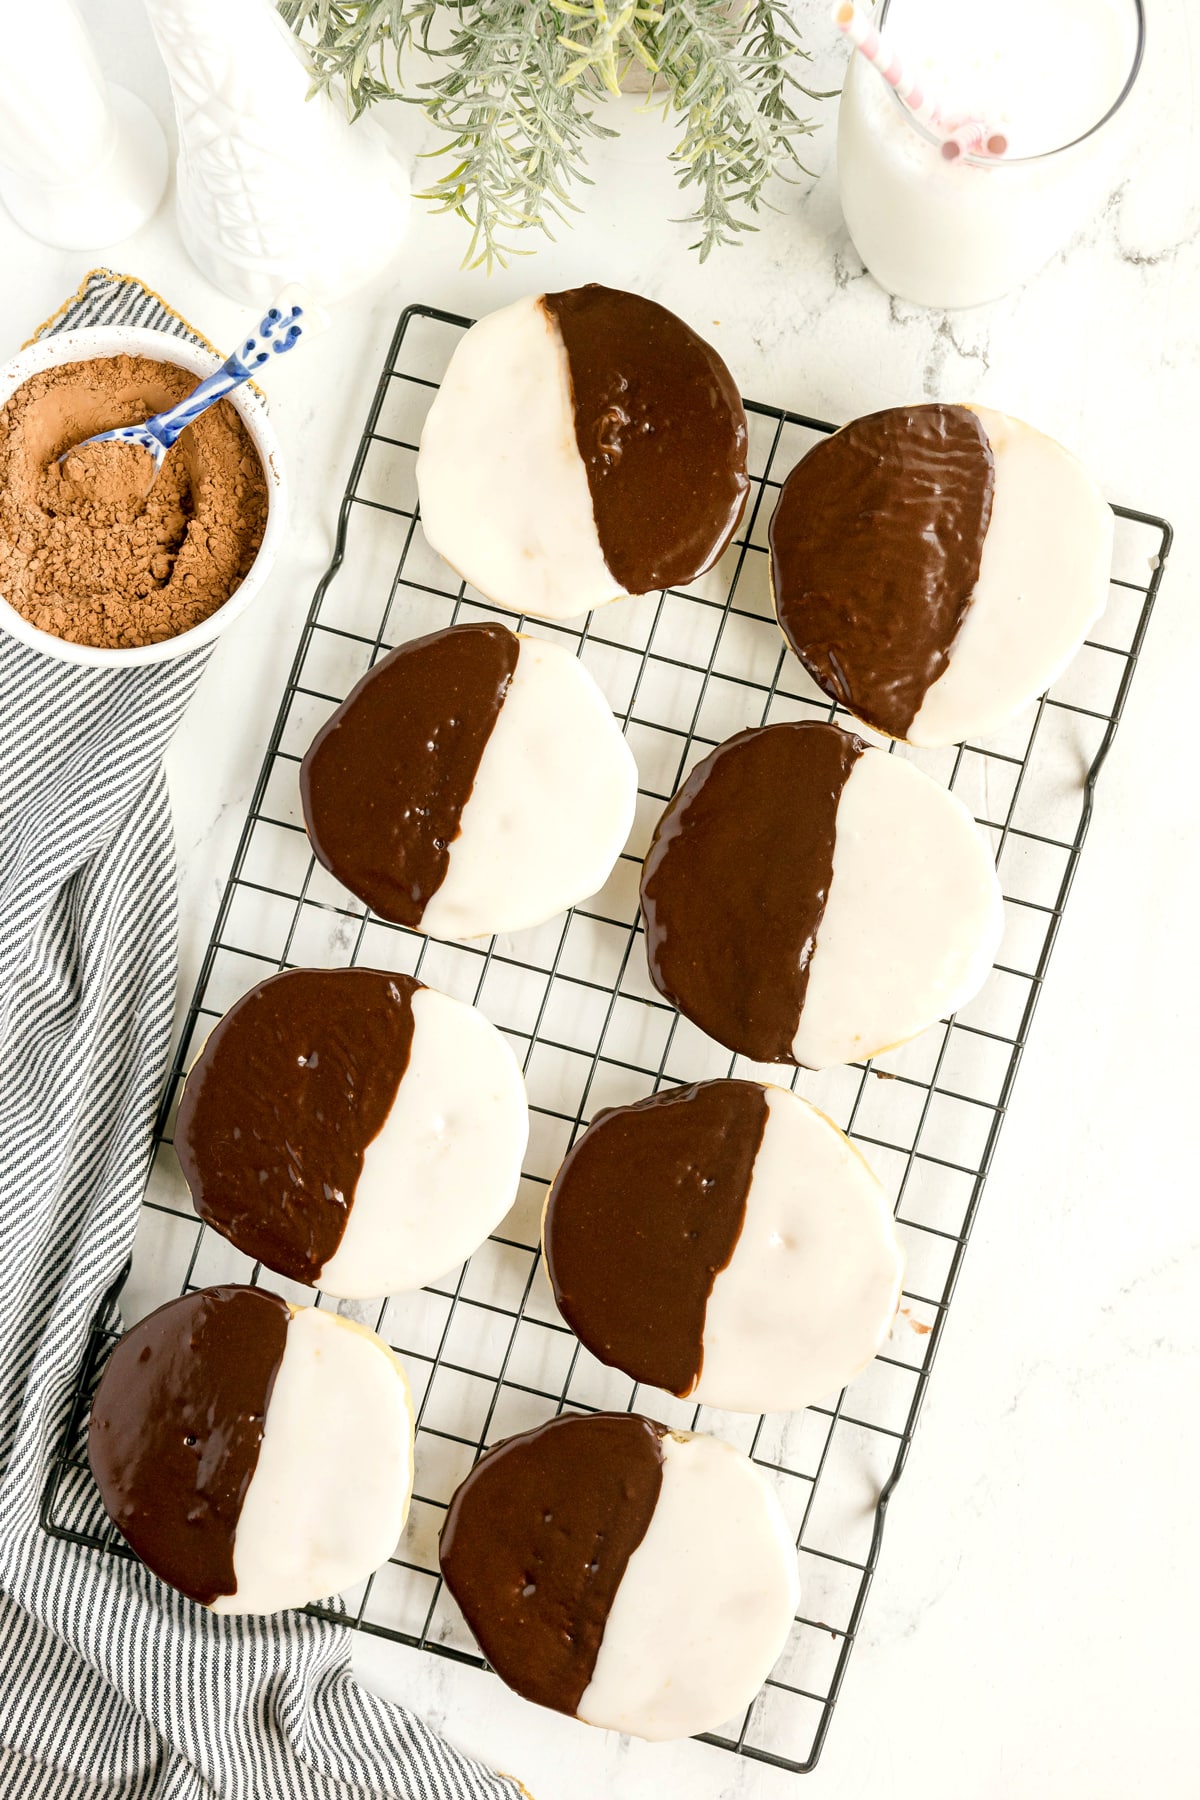
My Black and White Cookies are just as soft and cakey as the ones from a New York City bakery, and my daughter asks me to make them on repeat. I tested this recipe until I got that signature pillowy texture right, and the glossy vanilla and chocolate icing sets up perfectly every time. These are so much cheaper to make at home than buying them at the store, and honestly, they taste even better.
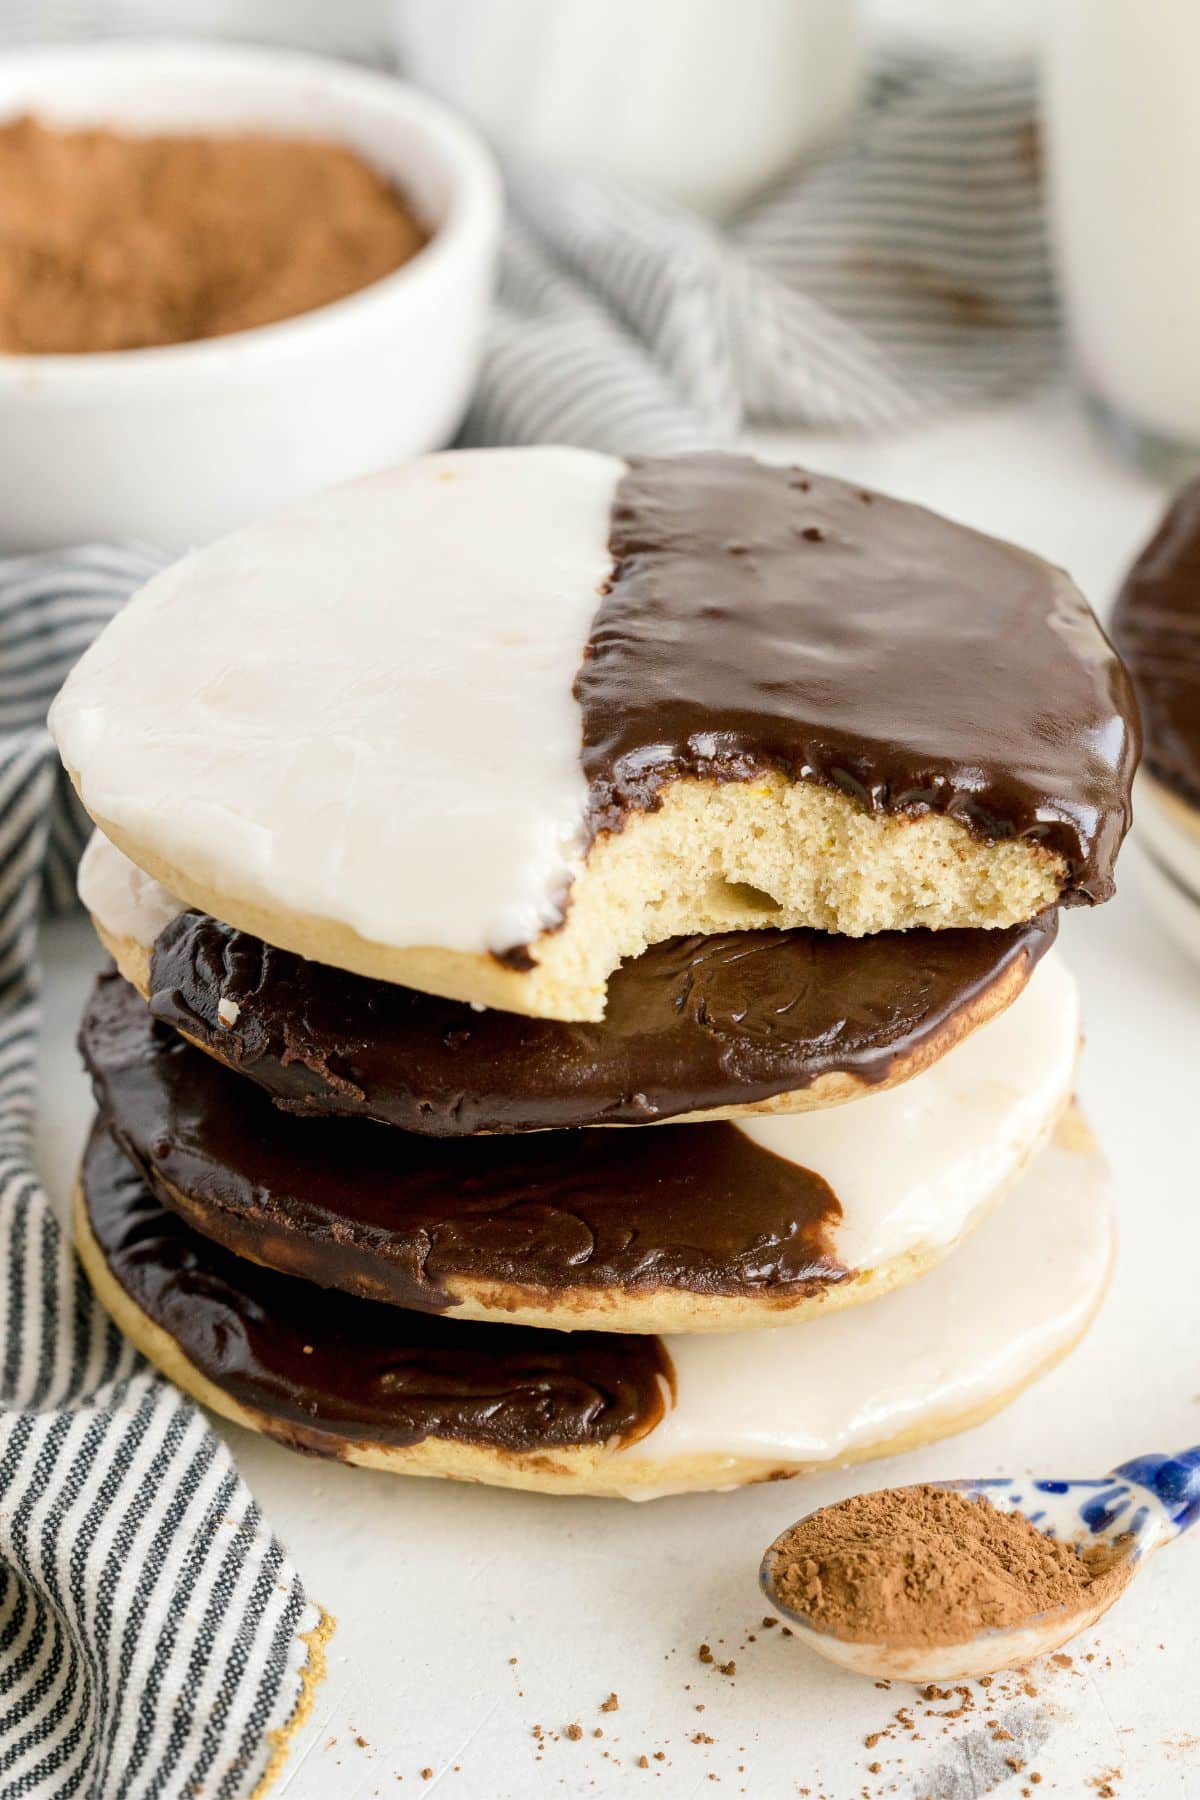
My Classic New York Black and White Cookies
If you grew up seeing black and white cookies at the grocery store or a local bakery, you know they feel like a little treat. That’s exactly how I thought of them. I’d pick one up whenever I spotted them, usually paying way too much for a single cookie. When my daughter fell in love with them too, I knew I had to figure out how to make them at home.
These cookies have deep roots in New York City. They’ve been a staple in NYC bakeries and Jewish delis since the early 1900s, and they’re so iconic that Jerry Seinfeld dedicated an entire Seinfeld episode to them. Part of what makes them so beloved is that they’re not really a traditional cookie — they’re closer to a soft, cakey drop cookie with a smooth fondant-style icing on top. That soft, almost-muffin-top texture is exactly what makes them so hard to find anywhere outside of a New York bakery counter. Recreating it at home took quite a bit of testing, but I got it right.
The secret is in the batter. The buttermilk keeps everything tender, and a touch of lemon zest adds that subtle brightness you get in the classic version. My daughter says these taste exactly like the “real ones,” which is the highest compliment I could get. Now instead of paying $4–5 for a single cookie at the store, I make a batch of 8 for the whole family.
For more fun baking projects the kids will love, check out my Cosmic Brownies recipe or my Brown Butter Cookies recipe.
What Makes My Black and White Cookies So Good
- Buttermilk batter — buttermilk is the key to that signature soft, cakey texture that makes black and white cookies different from any other cookie. Don’t skip it (or use the easy sub in the notes).
- Lemon zest in the dough — just a teaspoon adds the subtle brightness that’s classic to the New York bakery version and makes the vanilla icing pop.
- Two-tone icing from scratch — the icing comes together in one bowl and splits into chocolate and vanilla halves, so you get that perfect classic look without any complicated technique.
Ingredients for Black and White Cookies
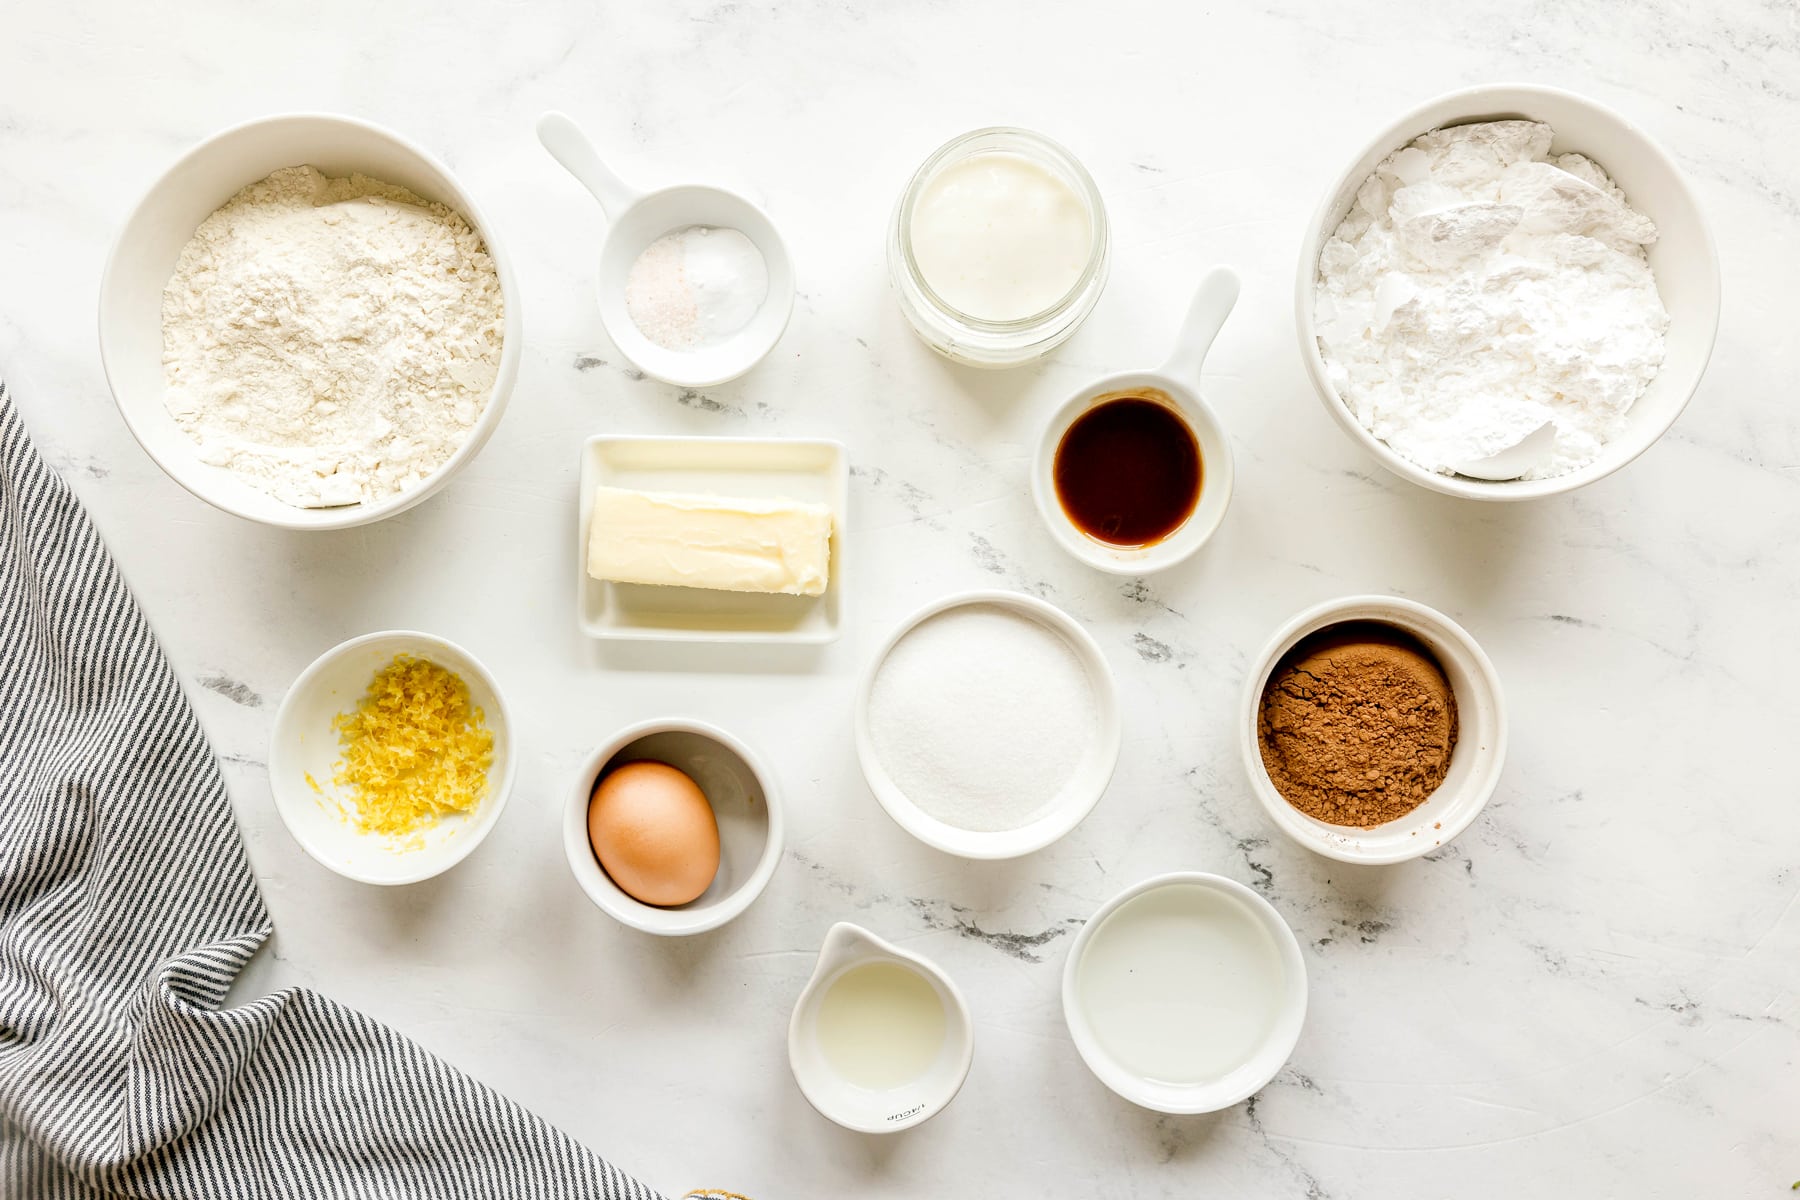
Below is a list of the ingredients you’ll need to make this recipe. Scroll down to the full recipe card for the specific amounts.
For the Cookies:
- All-Purpose Flour — standard all-purpose flour works perfectly here. No need to sift.
- Baking soda — just a small amount to give the cookies a gentle lift without making them cakey on top.
- Salt — balances the sweetness throughout the cookie.
- Buttermilk — this is the ingredient that gives black and white cookies their signature soft texture. See the notes below for an easy swap if you don’t have any.
- Vanilla — use pure vanilla extract for the best flavor.
- Butter — room temperature butter is important here so it creams properly with the sugar. Pull it out about an hour before baking.
- Sugar — regular granulated sugar.
- Egg — room temperature, same as the butter. It incorporates much more smoothly.
- Lemon zest — just one teaspoon makes a real difference. It’s classic to the New York version.
For the Icing:
- Confectioners’ sugar — the base of both icings.
- Corn syrup — this is what gives the icing that glossy, smooth finish. Don’t leave it out.
- Vanilla — goes into the white icing for flavor.
- Lemon juice — a little brightness that plays off the lemon zest in the cookie.
- Salt — just a pinch to balance the sweetness.
- Cocoa powder — stirred into half the icing for the chocolate side.
Substitutions or Variations
- No buttermilk? If you don’t have buttermilk, mix ⅓ cup of regular milk with 1 teaspoon of lemon juice or white vinegar. Let it sit for 5 minutes before using and it works just as well.
- Only have salted butter? Unsalted butter works great here. If you only have salted, just leave out the salt in the cookie dough.
- Don’t have lemon zest? You can skip it if you don’t have a lemon on hand, but it does add a brightness to the cookie that makes it taste more like the classic bakery version.
How to Make Black and White Cookies at Home
Here are my step-by-step instructions so you can make this recipe with ease. For the full, printable recipe with amounts and temperatures, scroll down to the recipe card below.
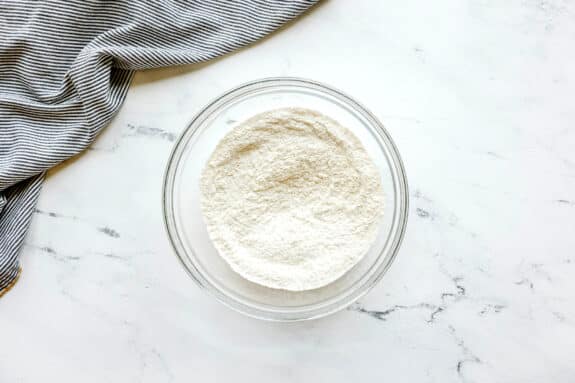

- Preheat the oven to 350° F and line two baking sheets with parchment paper.
- In a small bowl, whisk together the flour, baking soda, and salt. Set aside.
- In a measuring cup, combine the buttermilk and vanilla. Set aside.

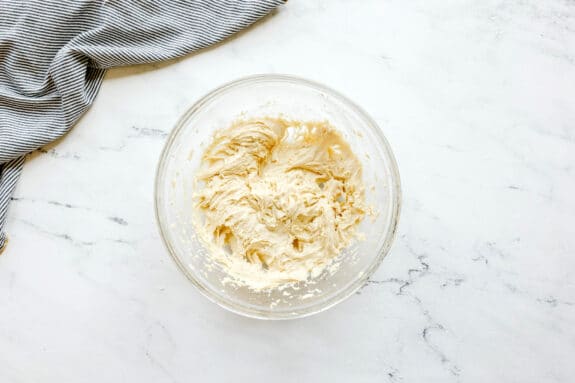
- In a large bowl, beat the butter and sugar until light and fluffy. Add the egg and mix until fully incorporated. Stir in the lemon zest.
- With the mixer on low, alternate adding the flour mixture and buttermilk mixture in thirds, mixing just until combined. Scrape down the sides of the bowl as needed.
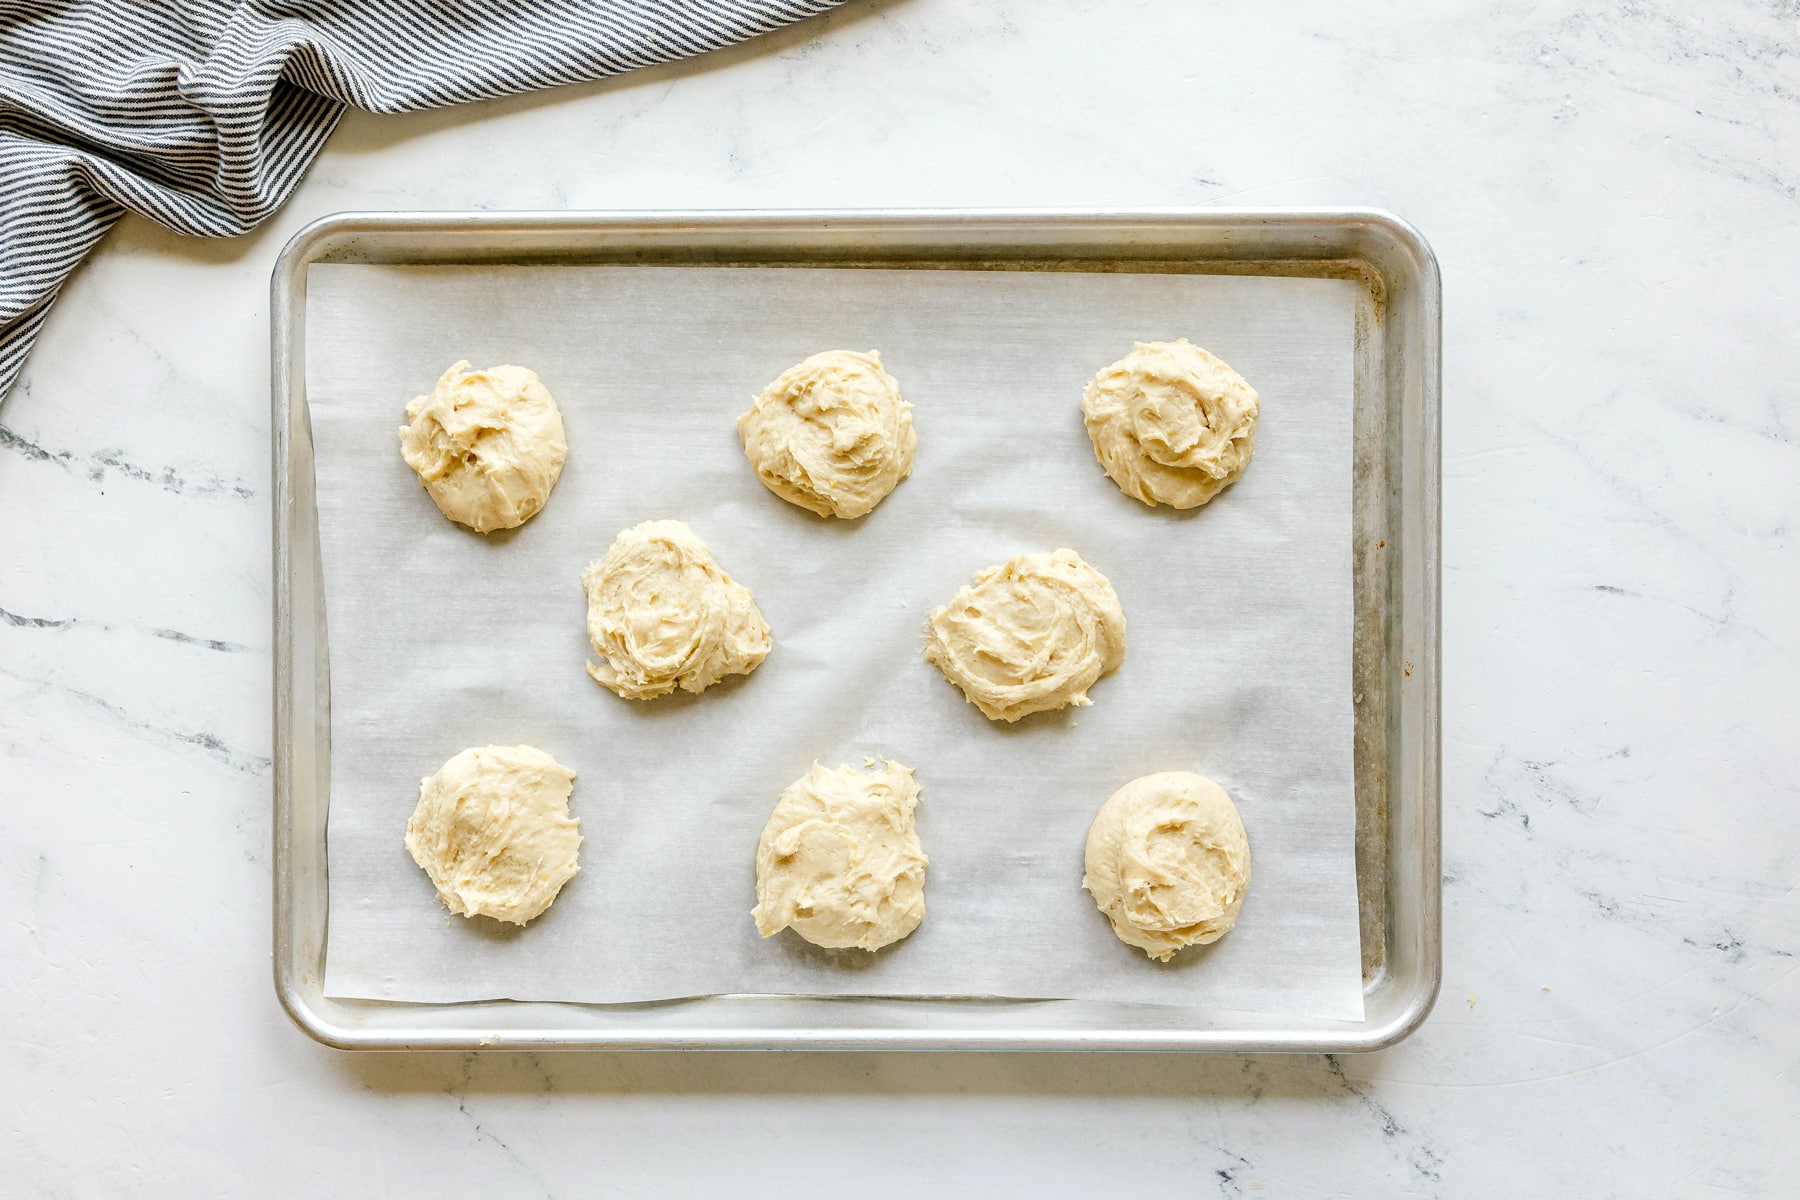
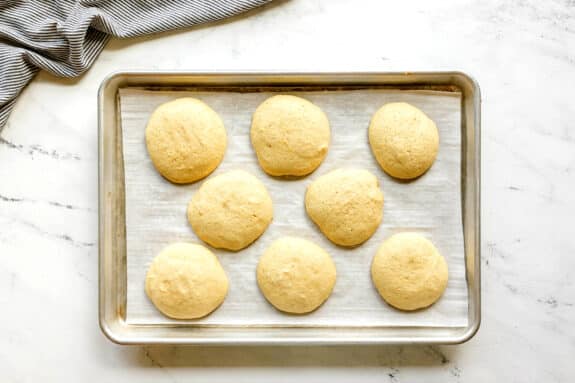
- Scoop about ¼ cup of batter for each cookie onto the prepared baking sheets, spacing them about 2 inches apart.
- Bake for 6 minutes, rotate the pans, then continue baking for another 9–10 minutes, until the cookies spring back when lightly pressed.
- Transfer to a wire rack and cool completely before icing.
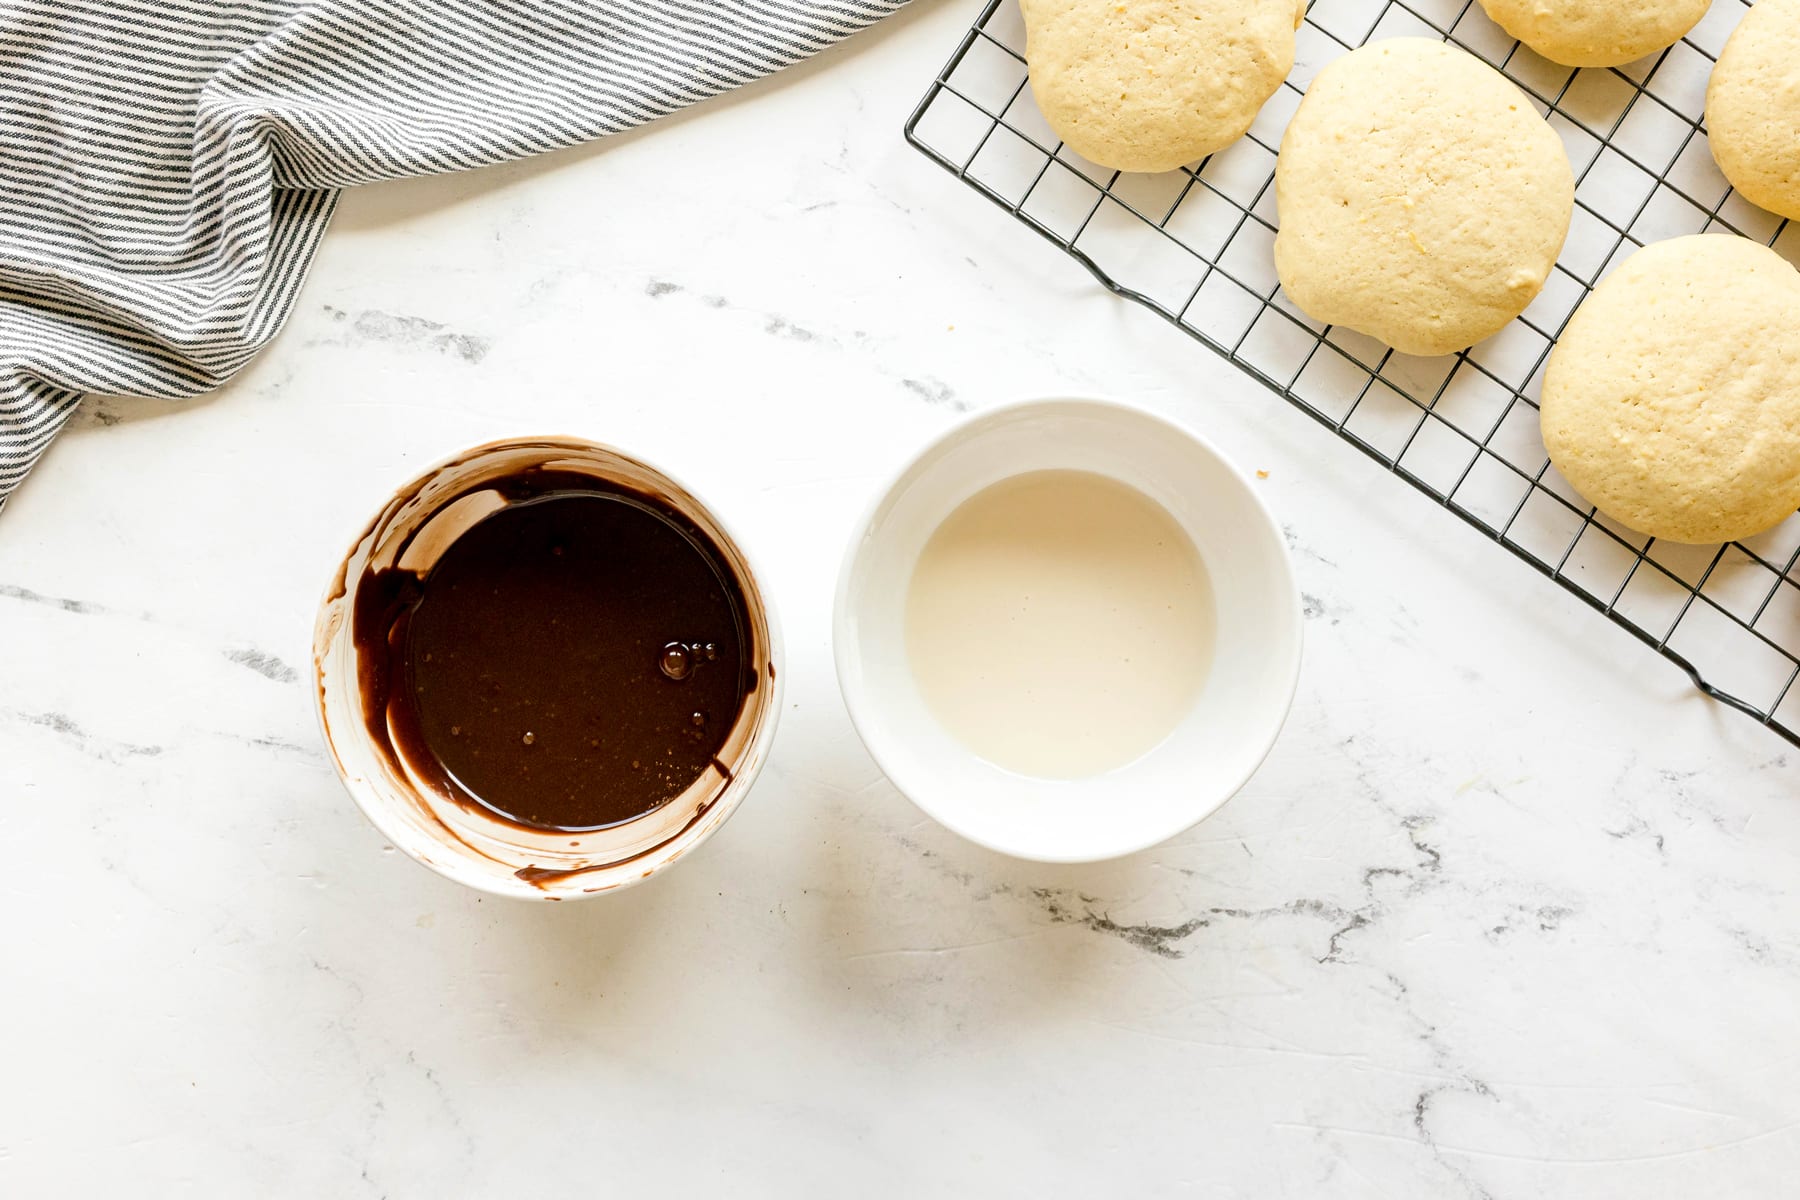
- To make the icing, whisk together the confectioners’ sugar, corn syrup, vanilla, lemon juice, salt, and 2 tablespoons warm water until smooth and spreadable.
- Divide the icing in half. Add the cocoa powder to one half and whisk until smooth, adding a little more water if needed to match the consistency of the white icing.
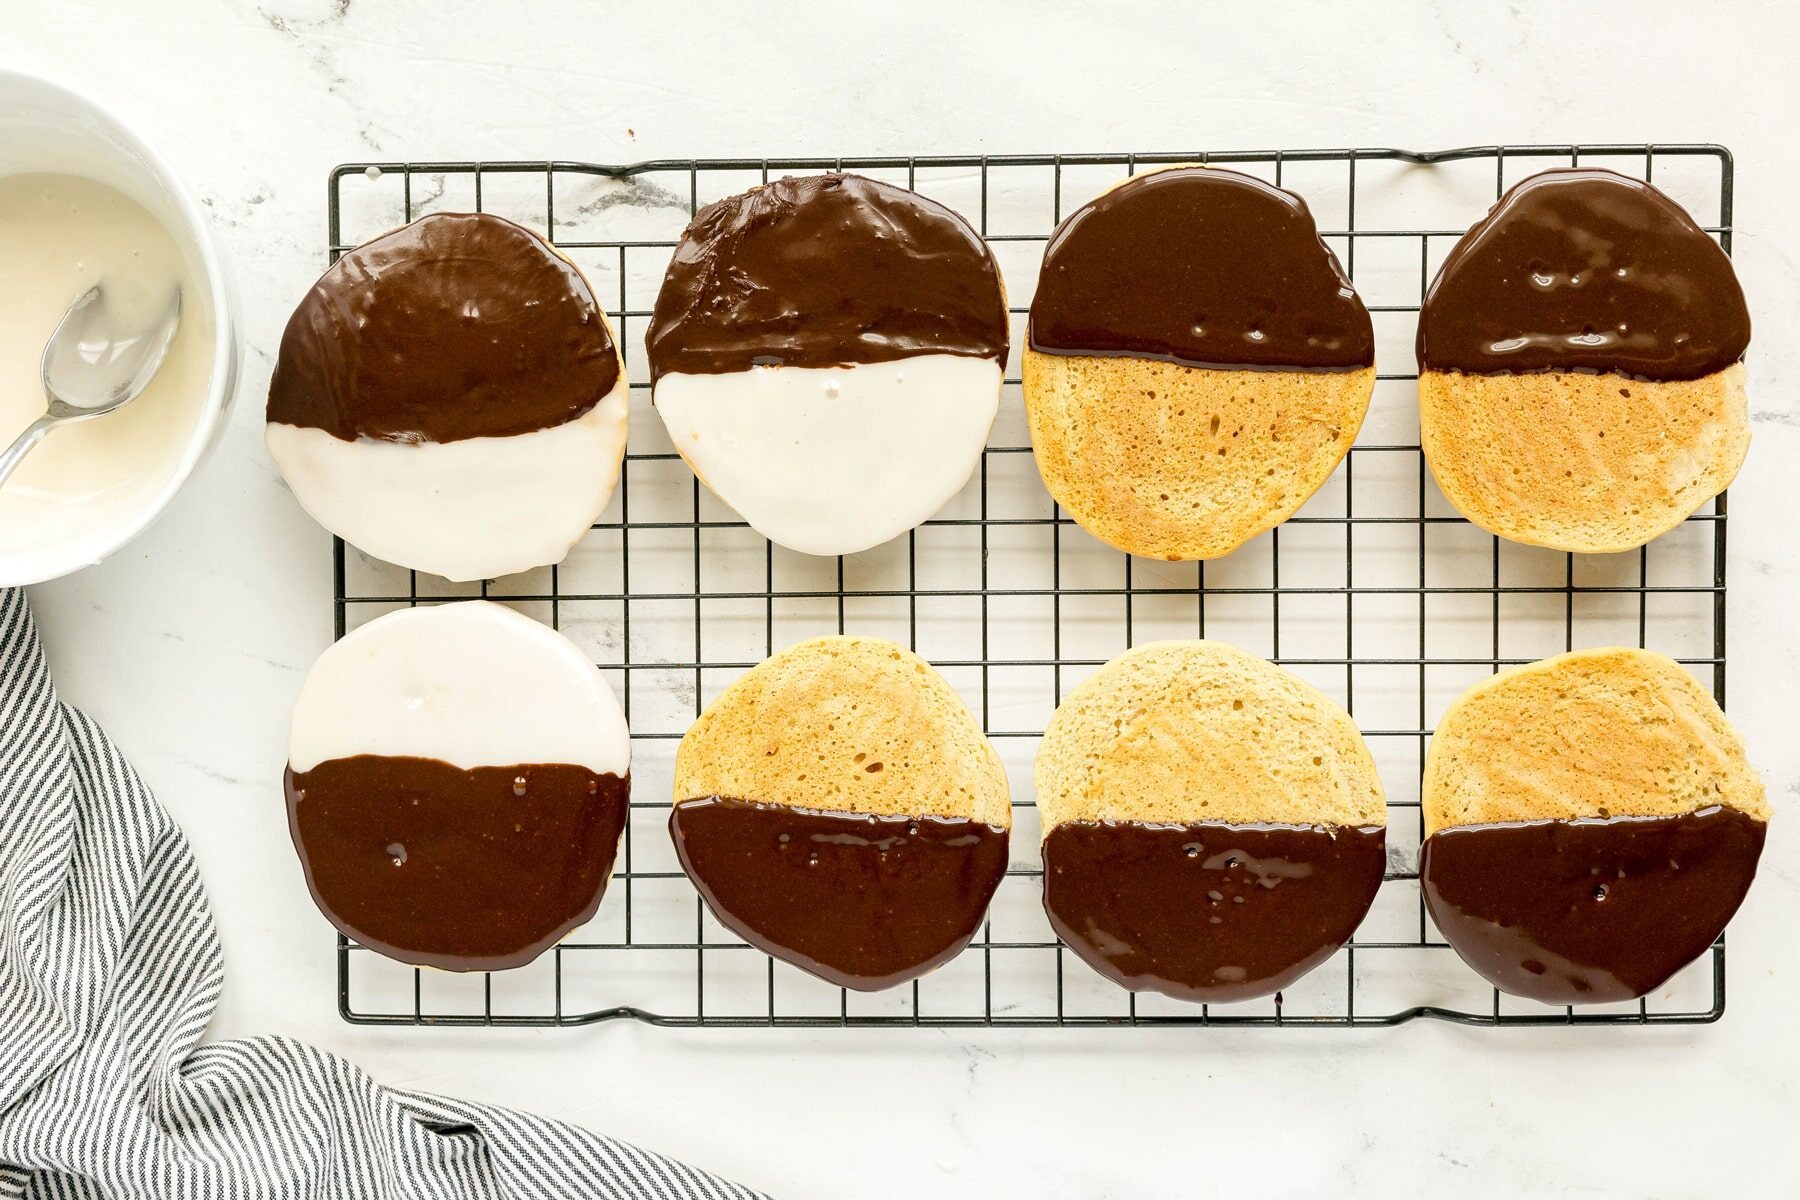
- Flip the cookies over. On the flat side, spread half of each cookie with vanilla icing and the other half with chocolate icing.
- Place cookies back on the rack and let the icing set for 15–30 minutes before serving.
- Make sure your butter and egg are truly at room temperature. Cold butter won’t cream properly with the sugar, and you’ll end up with a denser cookie. Pull them out at least an hour before you start baking.
- Don’t overbake. These cookies should look just set and spring back when you press them lightly. They’ll firm up as they cool. If they start to turn golden on the edges, they’ve gone too long.
- Let the cookies cool completely before icing. I know it’s tempting to get going, but icing warm cookies will make it slide right off. Give them a full 20–30 minutes on the rack first.
Black and White Cookie FAQs
Can I substitute the buttermilk?
Yes! Mix ⅓ cup of regular milk with 1 teaspoon of lemon juice or white vinegar. Let it sit for about 5 minutes before using. It works just as well.
Can I make these ahead of time?
Yes. You can bake the cookies a day ahead and ice them the next day, or make and ice them fully up to 2 days in advance. They actually hold up really well.
Why did my icing crack?
Icing usually cracks if the cookies weren’t completely cool before icing, or if the icing was too thick. Make sure the cookies are fully cooled and add warm water a little at a time to get a smooth, spreadable consistency.
Storage Instructions
- Refrigerate – Store in an airtight container at room temperature for up to 3 days. The icing sets completely, so they stack fine with parchment paper between layers.
- Freeze – You can freeze the un-iced cookies for up to 2 months. Thaw at room temperature and then ice before serving. I don’t recommend freezing them once iced.
More of My Favorite Cookie Recipes




Pin this recipe to find it later


Easy Black and White Cookies
Ingredients
Cookies
- 1 1/4 cups flour
- 1/2 teaspoon baking soda
- 1/2 teaspoon salt
- 1/3 cup buttermilk
- 2 teaspoons vanilla
- 1/3 cup butter room temperature
- 1/2 cup sugar
- 1 egg room temperature
- 1 teaspoon lemon zest
Icing
- 1 1/2 cups confectioners’ sugar
- 1 1/2 Tablespoons corn syrup
- 1/2 teaspoon vanilla
- 1 teaspoon lemon juice
- 1 pinch salt
- 1/4 cup cocoa powder
Instructions
- Preheat the oven to 350° F and line two baking sheets with parchment paper.
- In a small bowl, whisk together the flour, baking soda, and salt. Set aside.1 1/4 cups flour, 1/2 teaspoon baking soda, 1/2 teaspoon salt
- In a measuring cup, combine the buttermilk and vanilla. Set aside.1/3 cup buttermilk, 2 teaspoons vanilla
- In a large bowl, beat the butter and sugar until light and fluffy. Add the egg and mix until fully incorporated. Stir in the lemon zest.1/3 cup butter, 1/2 cup sugar, 1 egg, 1 teaspoon lemon zest
- With the mixer on low, alternate adding the flour mixture and buttermilk mixture in thirds, mixing just until combined. Scrape down the sides of the bowl as needed.
- Scoop about 1/4 cup of batter for each cookie onto the prepared baking sheets, spacing them about 2 inches apart.
- Bake for 6 minutes, rotate the pans, then continue baking for another 9–10 minutes, until the cookies spring back when lightly pressed.
- Transfer to a wire rack and cool completely.
- To make the icing, whisk together the confectioners’ sugar, corn syrup, vanilla, lemon juice, salt, and 2 tablespoons warm water until smooth and spreadable.1 1/2 cups confectioners’ sugar, 1 1/2 Tablespoons corn syrup, 1/2 teaspoon vanilla, 1 teaspoon lemon juice
- Divide the icing in half. Add the cocoa powder to one half and whisk until smooth, adding a little more water if needed to match consistency.1/4 cup cocoa powder
- Flip the cookies over and on their flat side spread half of each cookie with vanilla icing and the other half with chocolate icing.
- Place cookies back on the rack and let the icing set for 15–30 minutes before serving.
Nutrition
Did You Make This Recipe?
Don’t forget to share it with me on @thebalancingmom and follow on Tiktok @balancingmotherhood and Pinterest @thebalancingmom for more!